|
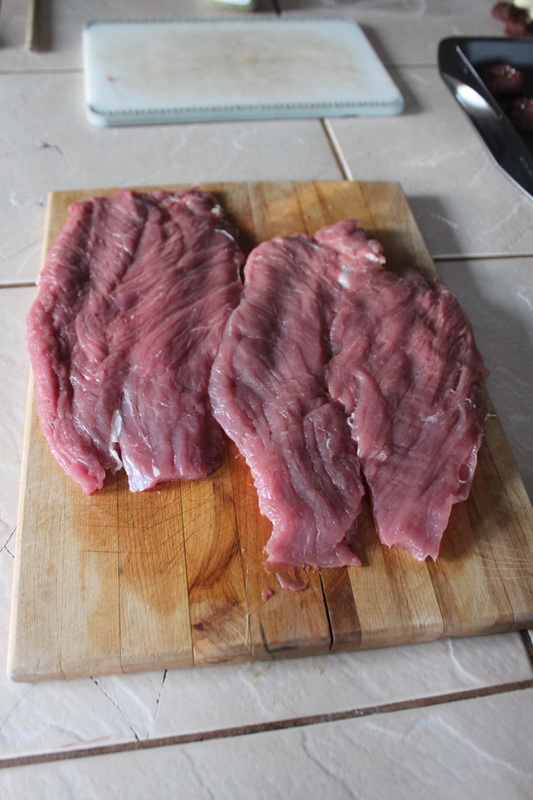
I've been married and cooking for myself for nearly 12 years, and until recently, I had never bought pork tenderloin. Except for bacon, I don't buy pork. It's never been my favourite. Whenever I think of pork, I think of dried out pork chops. Bleh. No thanks! My brother once brought a tenderloin to my house (among many other groceries) because he used to stop by to visit and fancied himself to be Jamie Oliver and would whip up some of the most delicious meals I've ever had!!! But, in that instance he decided to prepare another meat he had brought, and the tenderloin got tossed into the freezer, only to be pulled out later and turned into pulled pork. Oh yeah, I'll eat pulled pork, but, c'mon, it's shredded meat covered in a yummy sauce and eaten with coleslaw! Tasty! Anywhooooo, when scrimping and saving on groceries, beggars can't be choosers! Pork tenderloin was on sale, a sale so good I actually did a double take and went back to the cooler to investigate. Per kg, pork tenderloin was cheaper that week than any of the other regular meats we would get. So, I thought, "well, I might as well see what I can do!", and grabbed a few. My husband thought I was having a stroke because I was buying pork. Ok, he didn't think that, but he was like, "huh....?" Once home I Googled and pondered the potential of this meat. It seemed stuffing it was a must for a more guaranteed finished product. I had spinach which I knew would be nice, and having bacon inside seemed like a great way to keep the tenderloin moist from the inside out while roasting. Lemon and rosemary are a favourite flavour combo of mine, and knew that they'd taste great with bacon and spinach. Lemme say that this roast was goo-ooo-ooo-ooo-ood (read that with a slight Southern drawl and it'll make sense) : ) 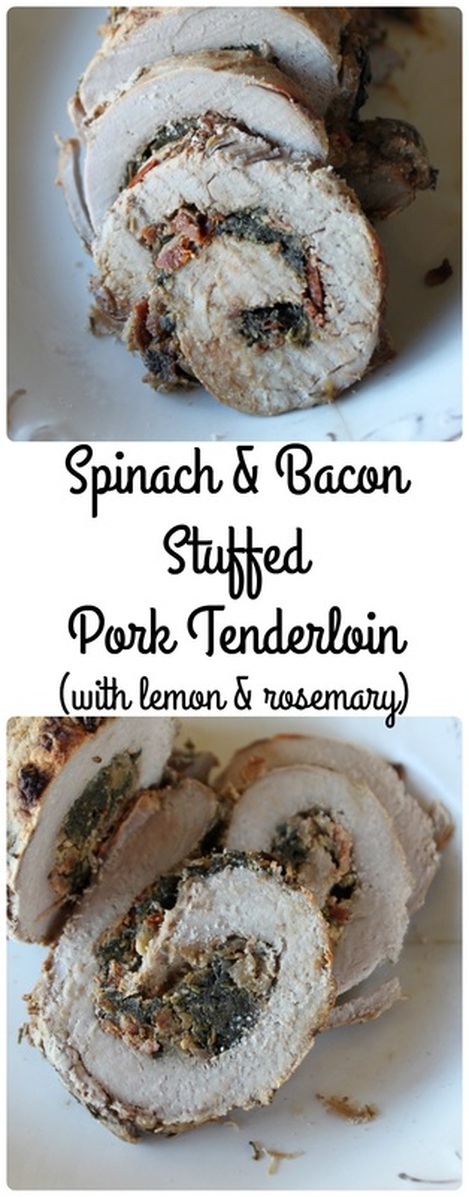 Spinach & Bacon Stuffed Pork Tenderloin (with lemon & rosemary) Ingredients:
Method:
 What we had for dinner that night I sliced into approximately 1 inch pieces, and we ate it with a side of mashed cauliflower, and the rest I tried to cut thinner so my husband could use it in a sandwich to take to work. Best sandwich ever! 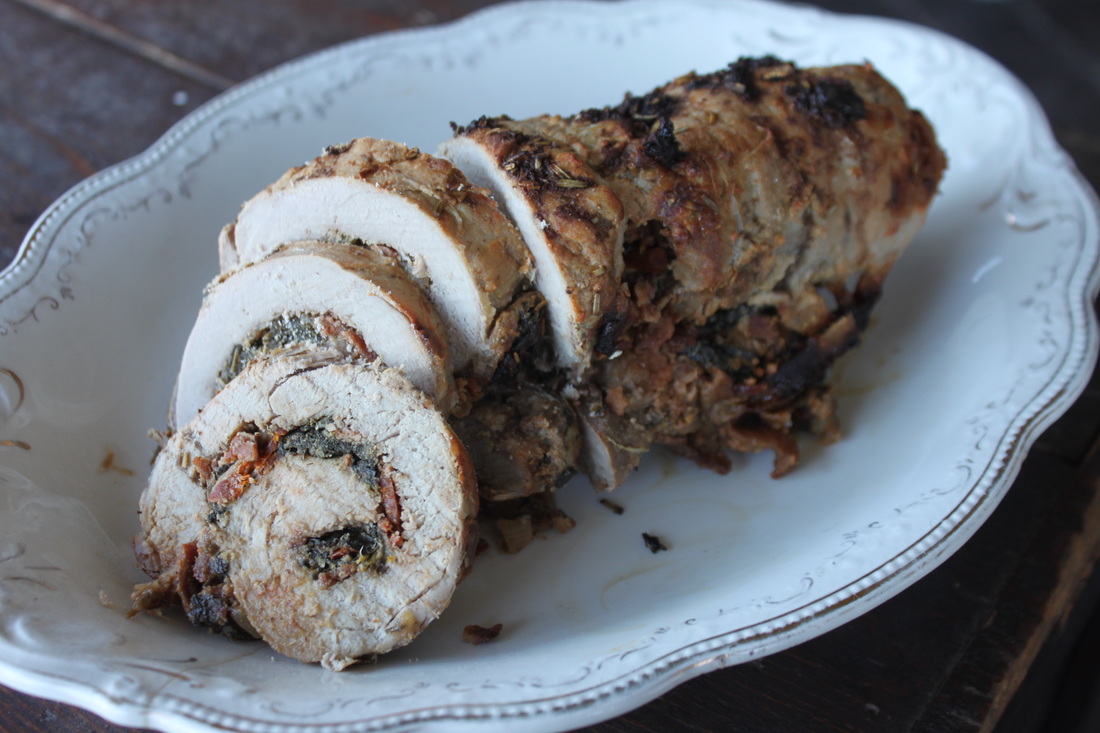 Happy Friday one and all. I'll meet you here again next week!
0 Comments
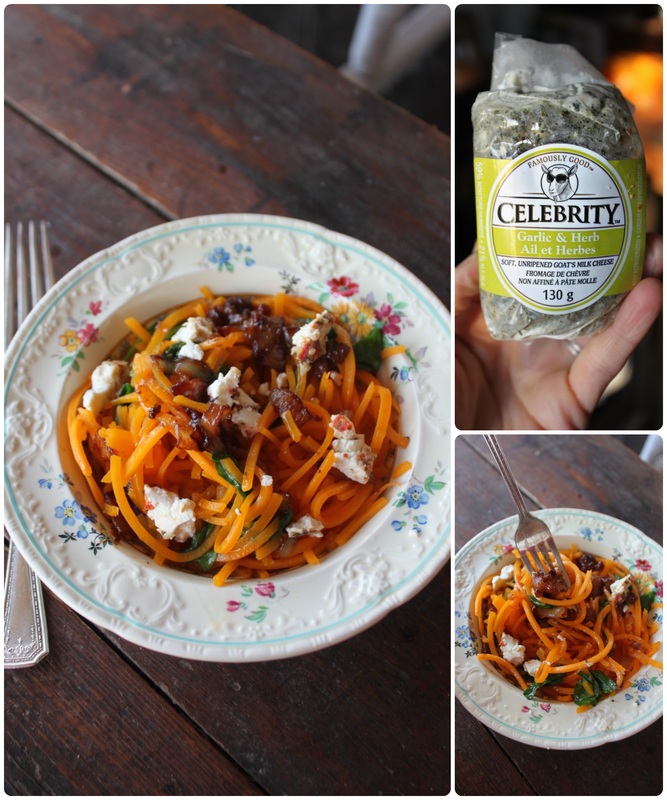
April Fool's Day! Planning any good pranks? The origins of April Fool's Day are murky, but it seems as thought every country recognizes it, and takes part in some way or another. My kids love Sponge Bob Square Pants....ok, I kind of love the show too, but there's an April Fool's Day episode where Sponge Bob plays pranks, and the level of his pranking is pretty close to my level.....  Needless to say I shan't be pulling any pranks today because I'm pretty crappy at thinking up any! So, let's move onto food! I found a recipe for spaghetti squash with bacon, spinach and goat cheese from BuzzFeed Life and it looked like a super yummy and simple recipe, but I was feeling pretty sick of spaghetti squash. I've really been enjoying noodles made from sweet potato though, and thought the recipe would still be good if I swapped out one veggie noodle for another. And it was indeed! This dish comes together really quite quickly, but has so many wonderful flavours that you'd think it required more skill or effort. Ooh!! Is that an April Fool's prank?!? I make a meal that seems really difficult to make, and when my husband and kids are all, "oh, what a delicious dinner! You are so skilled, this must have taken some time and effort!", and I let them go on for a bit, and then I spring a "April Fool's! This meal was hilariously easy to make!!!" Haha, some days my geek is all out there for the world to see, isn't it? Whomp whomp. My husband and kids don't talk to me like that at dinner anyway....they always say if they think something is yummy, and they say thanks for dinner, but that weird 1950's dialogue I had going up there was cra-cra! I think I should just move on now. 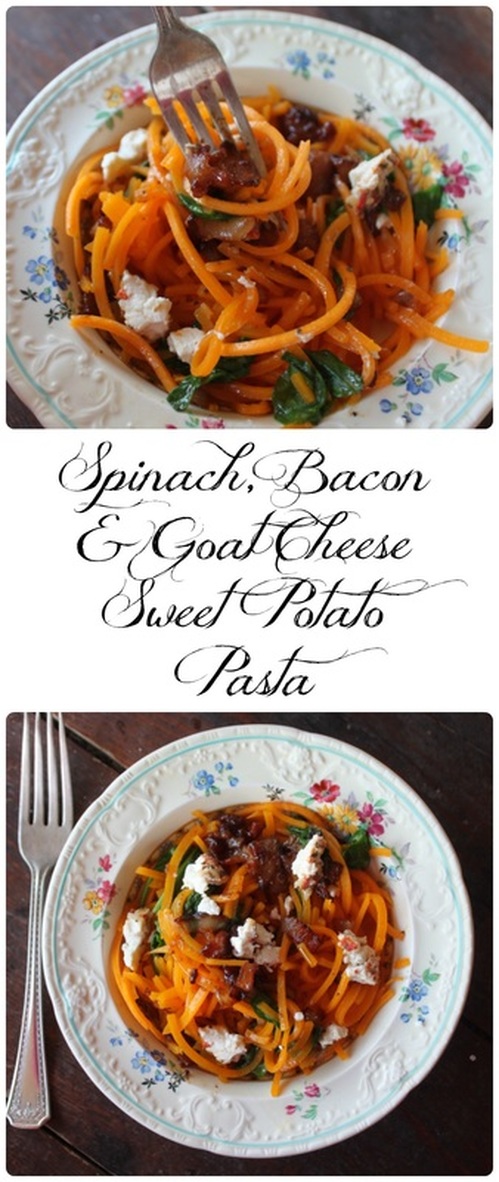 Spinach, Bacon & Goat Cheese Sweet Potato Pasta Makes 2 nice, big servings, or 3-4 smaller "lunch size" servings Ingredients:
Method:
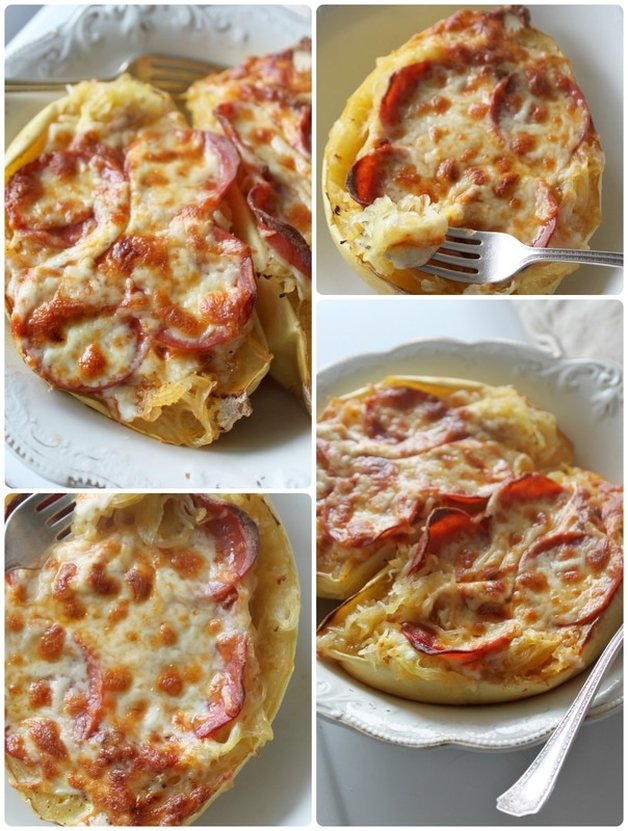
 Alright, well, have a good day! Watch out for those trying to play tricks on you! Don't forget that today marks the beginning of Autism Awareness Month, and that tomorrow is World Autism Awareness Day. My son's wonderful resource teacher sent me the link to this article about how awareness is important, but acceptance is vital. The author of the article puts it this way, "Why acceptance? Because autistic people deserve the love and respect that come with acceptance, not merely acknowledgment that autism exists. Awareness is passive. Acceptance is a choice". That is so well said. I talked about a few ways people can promote autism awareness in a post a few years ago "World Autism Awareness Day" if you wanna take a look there for a few practical ideas. Until next week, adiós, adieu, arrivederci, ciao, auf Wiedersehen, au revoir, sayonara, and goodbye! : ) Well, I hate to gripe about the weather....again....but it started snowing again last night! It's official! Spring is NOT coming to Ontario this year! Sorry! With some luck we'll hopefully get summer, but I'm not holding out hope at this point! While doing the barn chores this morning, and getting the hay out for the horses from our last bale I thought, "well, crap! I guess I'm going to need to get more hay?!?!" With the nice weather we had a few weeks ago I really thought we'd make it with the hay we had....but then the winter was like, "Psych! I'm cooooooming baaaaaack!". (insert weeping from this gal). Don't get me wrong, I like winter. But it's officially been spring now for 2 weeks, tomorrow is April, in 2 weeks it's Easter - so I want spring!!! I am saying that like a 3 year old having a temper tantrum! Alright....move on Amy-Lyn....no amount of whining will change the weather..... Here at the Van Londersele house we like pizza. We like store bought, homemade, take-out (well, we rarely order take-out, but sometimes people come to visit for dinner, and they stop in town and grab a pizza or two). We'll eat sauce, cheese and pepperoni on baked potatoes, zucchini, and stuffed into chicken breasts. Because, let's be honest, tomato sauce, cheese and pepperoni together are soooo yummy, it hardly matters what they're hanging out with, it's ends up being delicious! I recently have been trying to get my kids (aka-trick my kids) into eating more veggies. They are actually all pretty good about eating the veggies they like, which isn't a bad variety of veggies, but I want to be able to make less and less variations of dinner to suit us all. I'm not a make-8-different-kinds-of-dinner-to-suit-everyone kind of Mom by any means, but I do tend to make the family something to eat (it's always gluten-free), but because I eat mostly paleo, I'm the one with the adjusted meal. Yes, I am the picky child in our family scenario. Ok, I'm not picky at all, just specific. So, for instance, if we're having a pasta night, the kids will have gluten free pasta, and Adam and I will have spaghetti squash noodles, or some other veggie noodle (because I own a Inspiralizer and can make noodles out of anything!). Caleb, my eldest child who has autism is getting really, really good at trying new foods, but there are still a few he is very wary about. Spaghetti squash is one of those foods. But recently I'd made a casserole using spaghetti squash, and he ate it (he picked the broccoli out though). The casserole had a "cheese sauce", bacon and chicken though, so it was easy to get him to eat it. I'm not sure he even noticed it was spaghetti squash with how much he enjoyed the meats and "cheese". So, taking advantage of his enormous pre-teen appetite, and his love of meat and cheese, and the fact that he'd successfully eaten spaghetti squash without gagging, I thought this could be a good time to try something new and delicious. Pizza stuffed spaghetti squash! Yes indeed! I will openly admit that he was reeeeeeealy skeptical, and wasn't into eating his "pizza" out of the squash shell (or the "squashes stinky coat" as he called it!), so I dumped it into a bowl, added another generous pinch of mozzarella, and a sprinkle of parmesan....and he ate it! I may have also bribed him with a treat if he finished it. I mean, sometimes, no amount of meat, cheese, or treat bribery will work to convince him to eat something new, so the fact that it did speaks to the tasty value of these pizzas! He did say when he was done, "Caleb will not like spaghetti squash" (it sounds like a question, but he was making a statement), and I said, "but you ate it all?", and he said nothing. In my Mom brain though I heard him say "drat". : ) So, I'm not going to say "everyone will love this recipe!", but if your family already likes spaghetti squash then it's a no-brainer that you'll want to try this, but if your kids are on the fence, this may be the ticket to getting them on the spaghetti squash train! 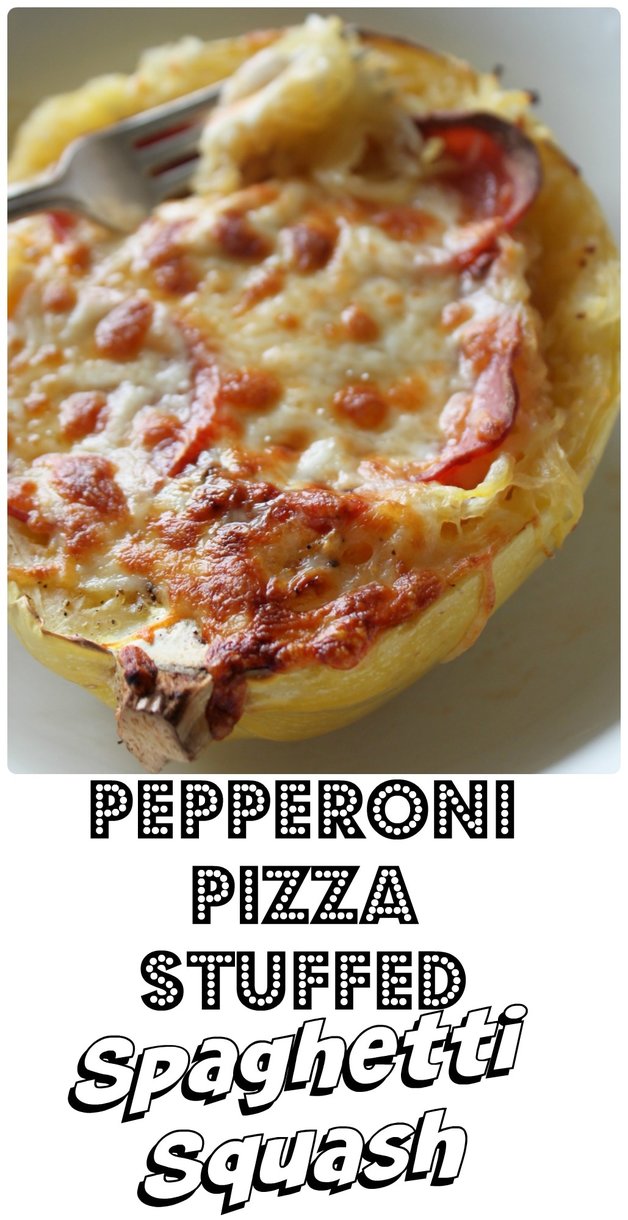 Pizza Stuffed Spaghetti Squash Ingredients:
Method:
 For a bunch more spaghetti squash ideas, check out this post from Buzzfeed!
I blabbed too much at the beginning of this post, so all I will say now is have a great weekend! Bye! I'm still here, fear not! I missed the boat on Motivational Monday and my Health & Fitness post....but, it is what it is! I'm moving on! The dish I'm sharing today is one I often make because it's so simple, and everyone in my house loves it! And any random kids that may be over also seem to like it! Seriously, on 3 different occasions, 3 different girls (6 & 7 year olds) have been over when I've served this for dinner, and each one looked at it like, "eewwwwww".....and then I said, "it's just potatoes, chicken, bacon and cheese", and they were like, "....oh...?" and proceeded to eat everything I gave them. Usually with added ketchup (bleh)-but to each his own! The recipe can be easily doubled and made in a larger pan (accommodating extra mouths to feed), and makes great leftovers eaten cold, strait-up reheated, or re-fried in a pan to serve with eggs, or or or, tossed into a few cups of broth/stock and made into soup! 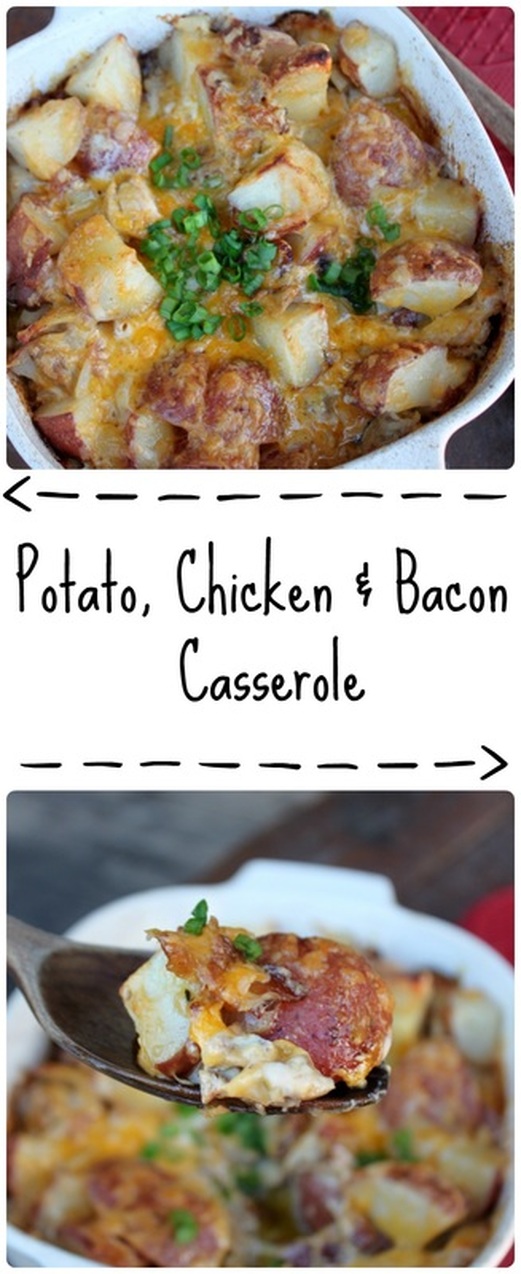 Potato, Chicken & Bacon Casserole Ingredients:
Method:
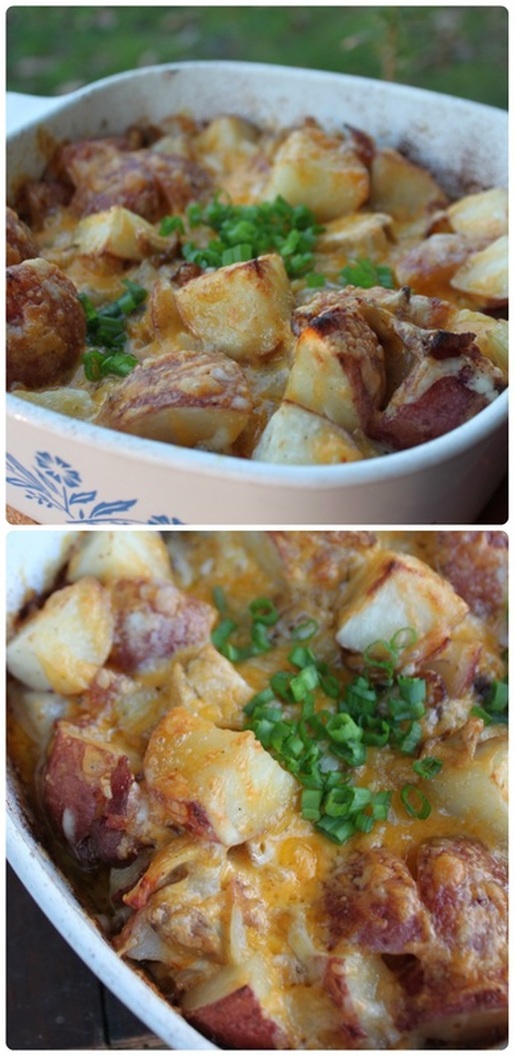 And there you have it! Simple, tasty, served with a side salad or even just raw, cut up veggies, and you've got a great meal! So......how was March Break? We did well over here; kept busy, had friends over to play and visit, did some crafts, made a lot of cookies and treats, slept in, stayed up late--it's been pretty good! The weather was mostly rainy (thumbs down), but kids quite like mud and puddles, so when it would stop raining they would make the most of the squishy yard and huge puddles! My girls have been turning our chicken coop (which has been vacant all winter) into a "clubhouse", which they would play in even while it was raining too, so that was great! Well, ok. I guess I'm done talking for now! I hope everyone had a great week, a good St. Patrick's Day yesterday, and that you have a good weekend while perhaps going to some St. Patty's Day parties? So, up until a few years ago I wouldn't have considered butternut squash to be something I would choose to eat on purpose. I would eat it at Thanksgiving, Christmas, and Easter family meals when it would be a side dish, but that was about it for me. Back in the fall of 2014 I decided to make a roasted butternut squash soup because our neighbour had given me some squash from his garden. I roasted the ingredients, squashed them with a potato masher, and added it all to a chicken broth. It was a good soup, even my husband (a true squash hater!) liked it. But it still wasn't a regular dish around our place. Then, just a few months ago, I bought a veggie spiralizer (the Inspiralizer, to be exact) and suddenly I wanted to turn every vegetable I possibly could into noodles!!! I decided to try making noodles out of butternut squash (just the strait "neck" part of it), and they were just about the yummiest noodles I had ever had! But the only problem was it left me with the bulbous bottoms with nothing to do! I would usually cut the bottom open, scrape out the seeds to roast for snacking, and roast the squash. Then when it was cooked, I would scrape the nice cooked squash out into a Ziploc bag and throw it into the fridge for some other use later. But one day, after scraping out the seeds for roasting, I ran out of time, and just tossed the uncooked seeds into a container, and the uncooked bulbous bottom of the squash into a bag, and put it all in the fridge. Well, fast-forward a few days, and I still had the squash in my fridge, and I was making chicken and veggie stock in my slow cooker. After I had finished making the stock and pouring it out of the slow cooker to cool, I wondered about making a squash soup in the slow cooker. With a quick Google search I found Pillsbury had a recipe that looked super-duper delish, and could be made by just putting everything into the crock-pot and letting it do it's thing! Well, this soup was so good, so very, very good! And, it freezes really well, making it a great soup for my husband to take to work! The Pillsbury recipe has you blending the soup in a blender or food processor, but I simply used my immersion (hand) blender (that I purchased for $4 from a local second hand store!) and that made the job super easy. Another option (though I haven't tried it with this soup), would be to let it cook sufficiently, and then just mash it up a bit in the crock-pot with a potato masher and not use a blender of any sort. In fact (as you can see) I like my soup a little lumpier, so if you're a fan of lumpy soup you can happily use a potato masher to blend this up! Anywho, this warm, fill-up-your-tummy soup is fantastic, & full of flavour. It may seem a little un-seasonal now, but I think it'll be a perfect soup to help warm ya up on a drizzly spring day!  Curried Butternut Squash Crock-Pot Soup Adapted From Pillsbury Ingredients
Method:
***Serve topped with diced apple, green onion, or roasted squash seeds!*** 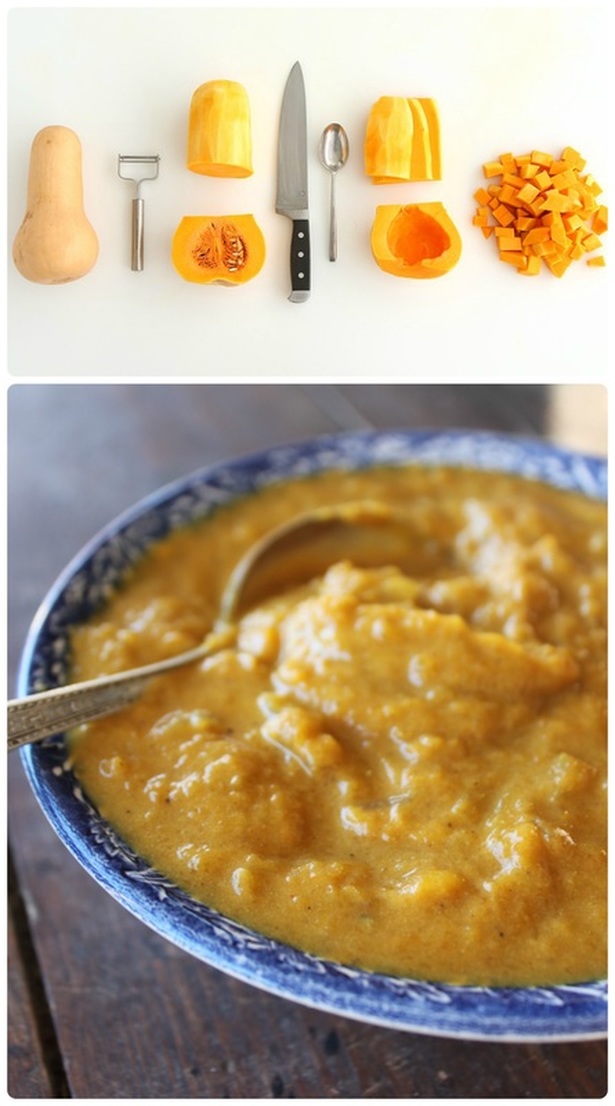 Here's a video link to Martha Stewart for a how-to on butternut squash cutting (it's also where I got that image of the squash prep)! Well, my husband just texted me to remind me that this weekend the clocks "spring forward" an hour for Daylight Savings for some of Canada (for a complete and home-schoolery list of Daylight Savings all over the world, click here!) : ) Alright, well....I can't think of anything else to tell you! Have a good weekend, make some soup, put some of it the freezer, ya know. xo My sister and brother in-law reintroduced me to the fry supreme a while ago (I think I'd only had the "real one" once or twice) when they came to visit and they suggested we make it for dinner one night. So, we cooked up a huge batch of fries, and went fry supreme nuts! If you're asking yourself, "what is a fry supreme?", fear not, I'll fill you in! Basically, a fry supreme is potato fries piled high with what you would normally find on nachos. The "real' fry supreme (in Canada, it's from Taco Bell) is simply seasoned meat, cheese sauce, green onion, tomato & sour cream, so if you're a purest, you can stick with those items! I, however, love adding seasoned meat, shredded cheese, cheese sauce, salsa (sometimes con queso-which is a cheese sauce and salsa mix), finely chopped lettuce, diced pepper, green onions, tomato, sour cream, and guacamole. I like to also add a drizzle of spicy bbq sauce, and a drizzle of ranch dressing. I mean, if I'm going for it, I'm really going to go for it! : ) Basically, anything you love on nachos also tastes amazing on french fries....but seriously, no, seriously.....it tastes 100000x better on "Tasti Taters" as they are called in Canada. "Tater Tots" is the name of these lovelies in the U.S. (and made by Ore-Ida). According to the (all knowing) Wikipedia, names from other countries include: "potato gems", "potato royals" or "potato pom-poms".in Australia and New Zealand. In the United Kingdom there was once a similar product called "oven crunchies" which are no longer available, but are still produced and sold under the name "potato crunchies". Canada also has an organic version from Cascadian Farm called "Spud Puppies". As for the 'recipe" today, it's less of a recipe and more an idea, a few tips, and a lot of drooling while dreaming up what you would add to your "Tot-Chos" Supreme (Ya get it right? Tater-Tots, nachos, Supreme-d?) Yes! : ) I'm sure I didn't have to spell that out for you, but I did anyway! 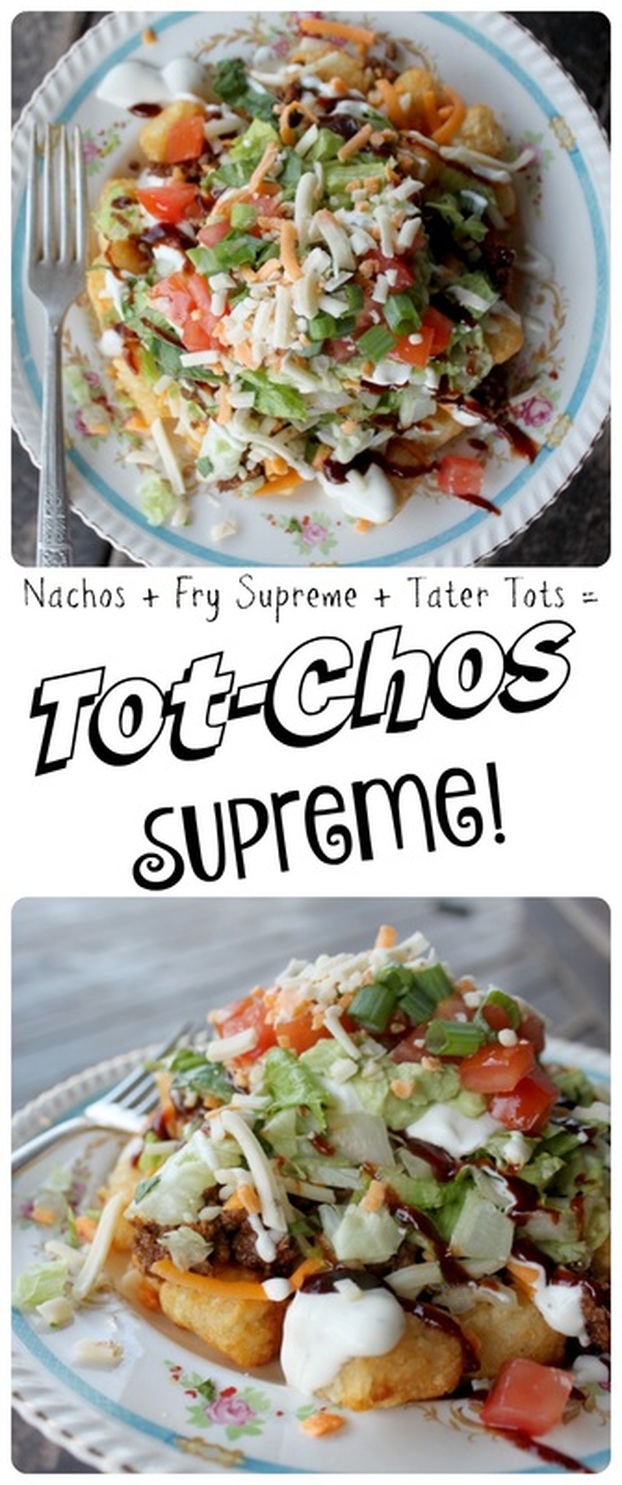 Tot-Chos Supreme Ingredients:
Possible Toppings:
Method:
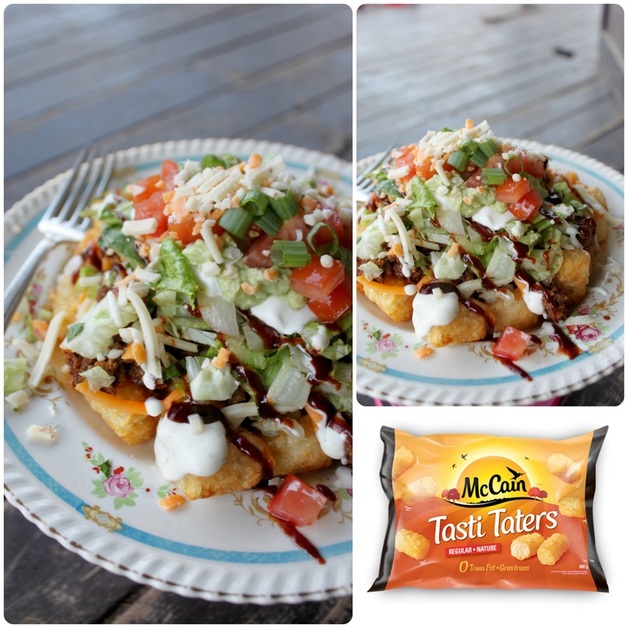 This meal is actually a great one to throw together for company (uh...not fancy company, obviously!) : ) Really though, if you set up all the toppings like a bar/buffet, then when the tots come out of the oven everyone can pile up their taters with toppings as they so desire. Sometimes, per gram, the price of Tasti Taters is cheaper than corn chips too, so, bonus! Welllz, my parents are coming up to visit this weekend, which we're pretty excited about! And, it's my hubby's birthday today, so we're going out for dinner tonight, which we're also very excited about! We usually go to a fancy-schmancy, locally owned restaurant in Belleville where we can get amazing steak, so, yuuummmmm........ This week has been an odd one 'round here.....Monday and Tuesday seemed like long and stressful days, the kids had Wednesday and Thursday at home because of snow days (so they seemed like long days too)......but now it feels like Friday is suddenly here! How confusing is that?!? Anywho....it looks like the kids finally get to go back to school today, and I'll just be busy baking a cake for Adam, making cookies for Sunday's "The Music man" rehearsal, and cleaning the guest room and house for my parents arrival! I hope you have a great weekend, whether working, staying home, visiting people, etc., etc., etc.! Just enjoy whatever you're doing! Don't waste time being grumpy or unhappy! Ok? Ok. : ) Mmmmm, I want to eat this again right now! But, it's pre-sunrise and "whipping up a batch" of sesame chicken seems like a little too much....? Yes? No? Anyway, when I made this for the first time, my husband said he would gladly eat it every week. That's saying a lot for him because he quite dislikes eating the same thing week after week. That's legit. Who wants to be bored with dinner? What a waste of a meal if you're bored with it!?! I love to love my meals! I love to enjoy my meals! And this dish is one I really love to enjoy! It is really simple to pull together, and tastes so great. I can't say "it's better than take-out" because, truthfully.....I don't think I've ever had take-out sesame chicken....? But I can say it has such fantastic flavour; it's sticky, sweet, garlicky & gingery! Wonderful, wonderful! 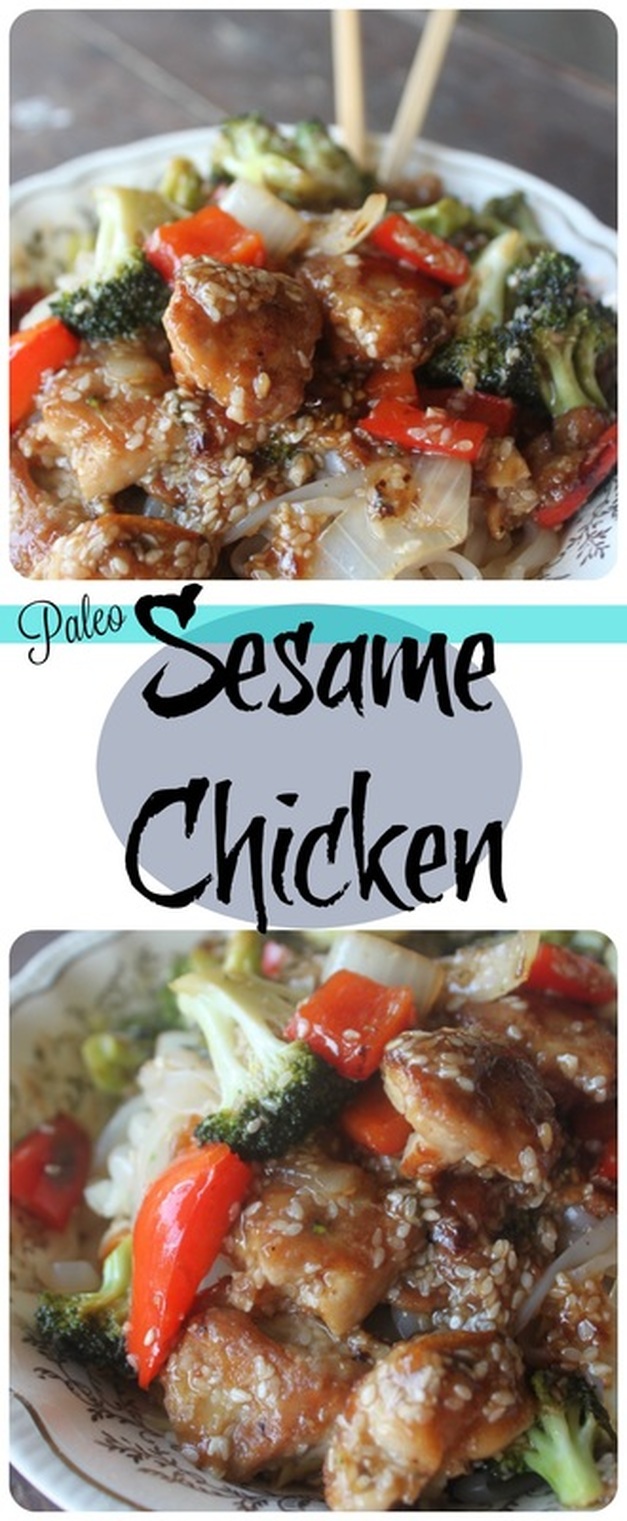 Paleo Sesame Chicken From Wicked Spatula Ingredients
***If you use frozen veggies, run them under some warm water to thaw out slightly*** For the Sauce
Method:
I like to serve Chinese dishes with stir fried cabbage (I just dump the pre-cut coleslaw mix into a pan with some oil, salt & pepper and fry it quickly). I also love using "miracle noodles" (I buy mine from Vitacost) 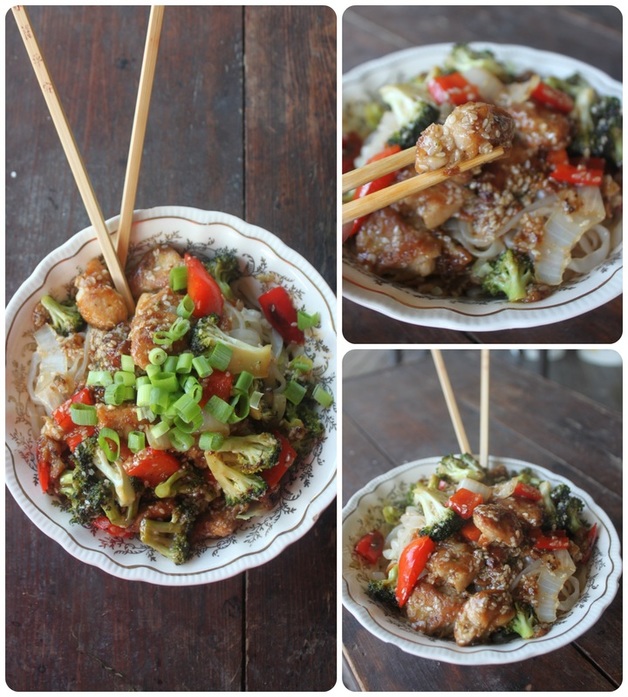 This week was like, "whaaaaaa?" for me.
Family Day was on Monday, so it was a holiday. Then Tuesday the buses were cancelled because of the wintery weather. Wednesday my kids school was closed due to burst water pipes. The kids finally went back to school on Thursday, but, I mean, that's confusing! My eldest child (who has autism) couldn't figure out what his day would look like ("free time for french?", "popcorn day?") because he was so thrown on what day of the week it was, and my youngest came out of her room and asked if we were going to church thinking that maybe it was Sunday! I felt the same! Wednesday I had a dance rehearsal for The Music Man and I got home late, so that was exhausting. Then last night my husband and I were at week 7 of a 10 week course we're taking, and we get home late from that, so I was even more exhausted! I want my coffee to be administered intravenously this morning....... When I finally sat my sorry self up in bed this morning, I mumbled to my husband, "guess what we're doing first thing tomorrow?", and he answered, "not getting up early?". He guessed right!!! Ok, whining over! : ) Have a great weekend! It's Shrove Tuesday, otherwise known as pancake Tuesday! Shrove Tuesday is the day that precedes Ash Wednesday, which marks the beginning of the 40 days of Lent leading to Easter. The name Shrove Tuesday comes from shrive (to absolve), meaning absolution for sins by doing penance (desiring to repent and to do so by works). The day gets its name from the tradition of Christians trying to be 'shriven' (or having a clean heart) in preparation for Easter. So, some people make a special point of self-examination, of considering what wrongs they need to repent from, and what amendments of life or areas of spiritual growth they especially need to ask God's help in dealing with, and they do so by restricting certain foods (some people now participate in Lent by giving up certain habits that are bad, distracting, or not useful to a full life). On the day before the 40 days of Lent (shrove Tuesday), families would want to use up all the rich foods in their homes (fats, eggs, milk and sugar) because those foods weren't eaten during Lent, and they likely wanted all that yummy and tempting stuff out of the house for the 40 days of fasting for the Lent season! And eventually, it became (for some) to be called Pancake Tuesday because of the fact that pancakes are a pretty obvious dish to make from the ingredients being fasted from! There are all sorts of stories about the real start of "pancake Tuesday", and about different traditions through history and around the world regarding pancake Tuesday. Very interesting stuff! Listen to this one: On Pancake Day, "pancake races" are held in villages and towns across the United Kingdom. The tradition is said to have originated in 1445 when a housewife from Olney, Buckinghamshire, was so busy making pancakes that she forgot the time until she heard the church bells ringing for the service. She raced out of the house to church while still carrying her frying pan and pancake, tossing it to prevent it from burning. The pancake race remains a relatively common festive tradition in the UK, especially England, even today. Participants with frying pans race through the streets tossing pancakes into the air and catching them in the pan while running. The most famous pancake race, at Olney in Buckinghamshire, has been held since 1445. The contestants, traditionally women, carry a frying pan and race over a 415-yard course to the finishing line. The rules are strict: contestants have to toss their pancake at both the start and the finish, as well as wear an apron and a scarf. Traditionally, when men want to participate, they must dress up as a housewife (usually an apron and a bandanna). The race is followed by a church service (found this story here). Anywho, every year I post some pancake recipe, but this year I wanted to point a few of my own recipes out, and also some super delicious recipes that I love from a few other bloggers! In this round up I've got the perfect (regular) pancake, specialty pancakes, gluten-free and paleo pancakes. There is something for everyone! Just click on the name of the pancake to see the recipe! Enjoy! Perfect Pancake Recipe Easy peasy, simple-as-can-be pancakes From Grace & Good Eats 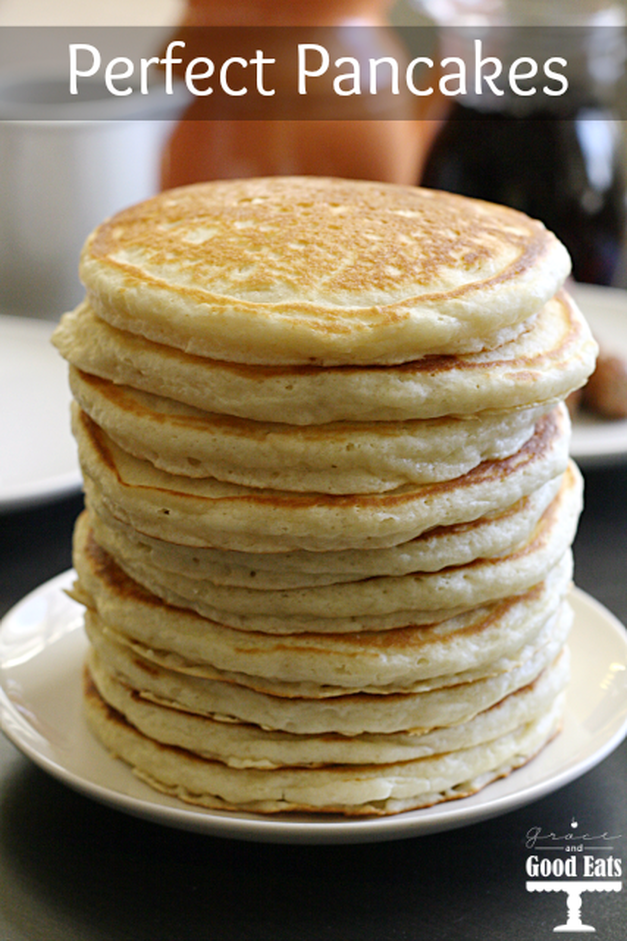 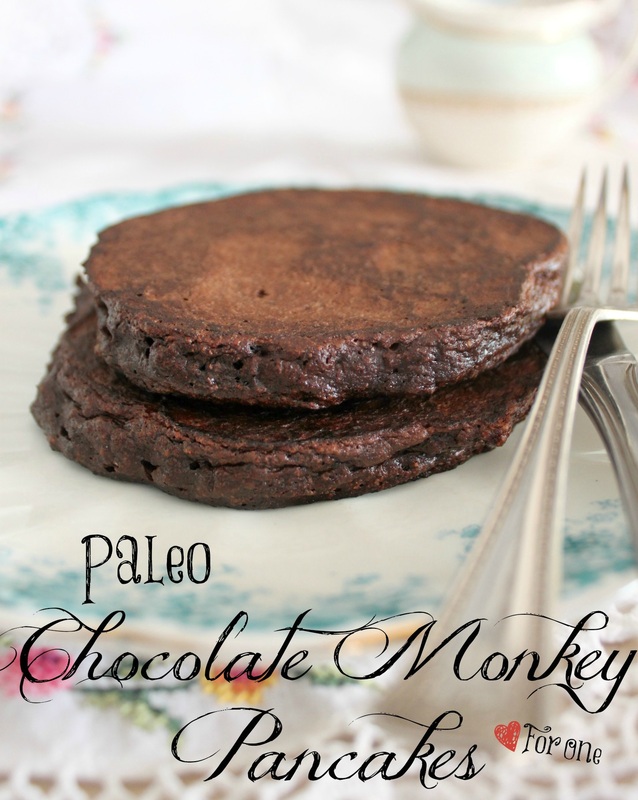 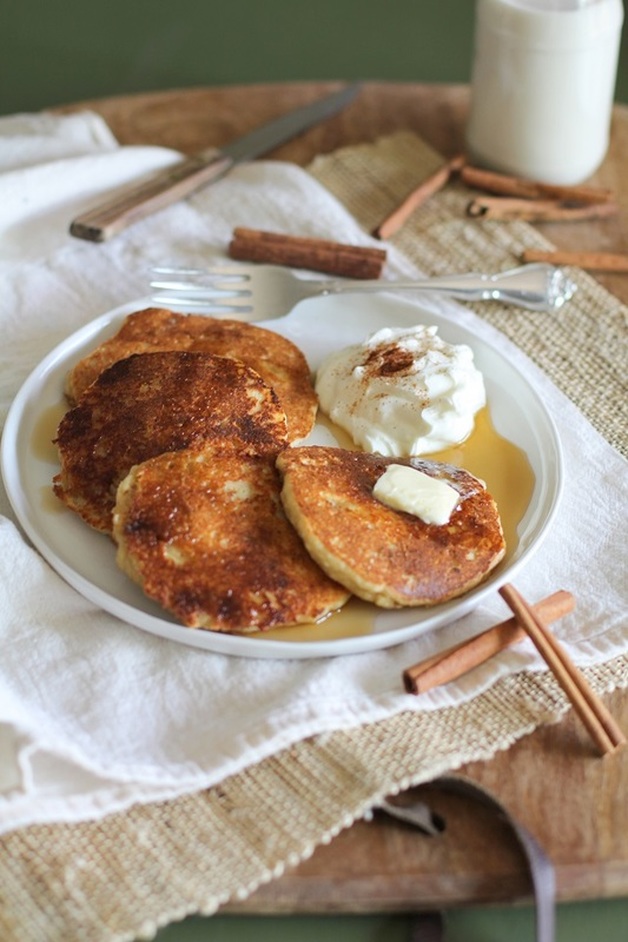 Gluten-Free Pancakes Just a strait forward g.f. pancake recipe (with a few chocolate chips hiding in there)! From Bushel & A Peck 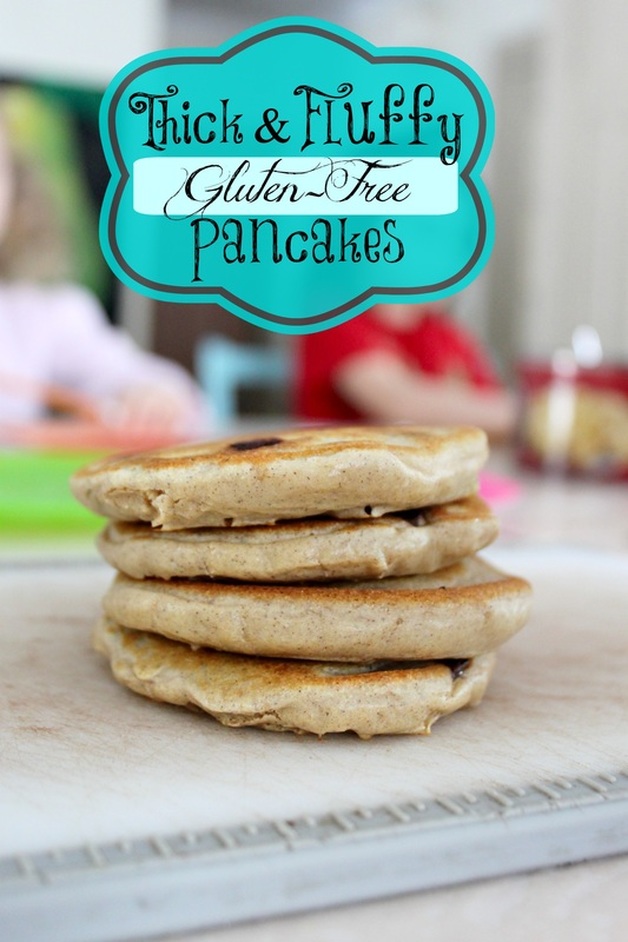 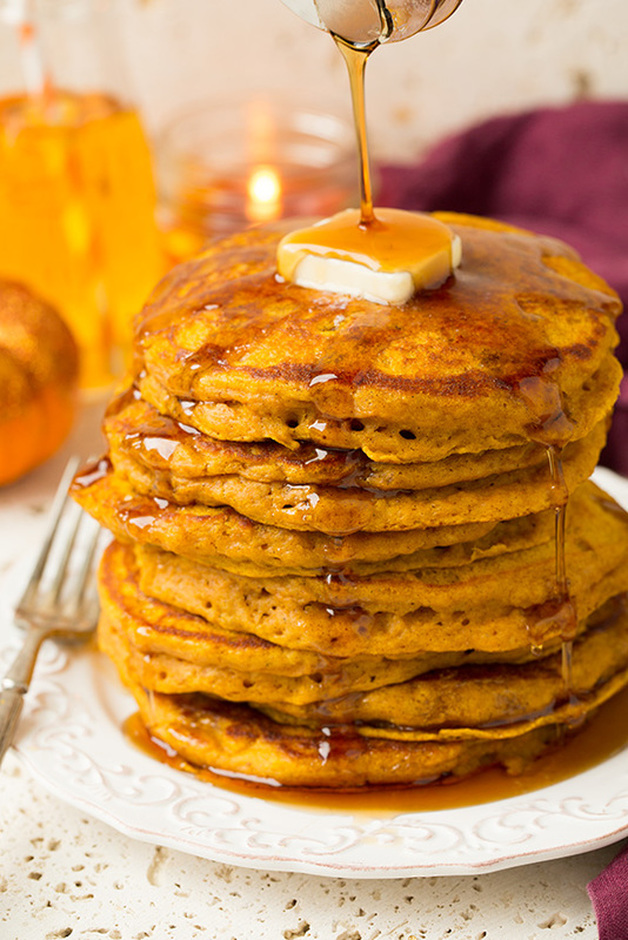 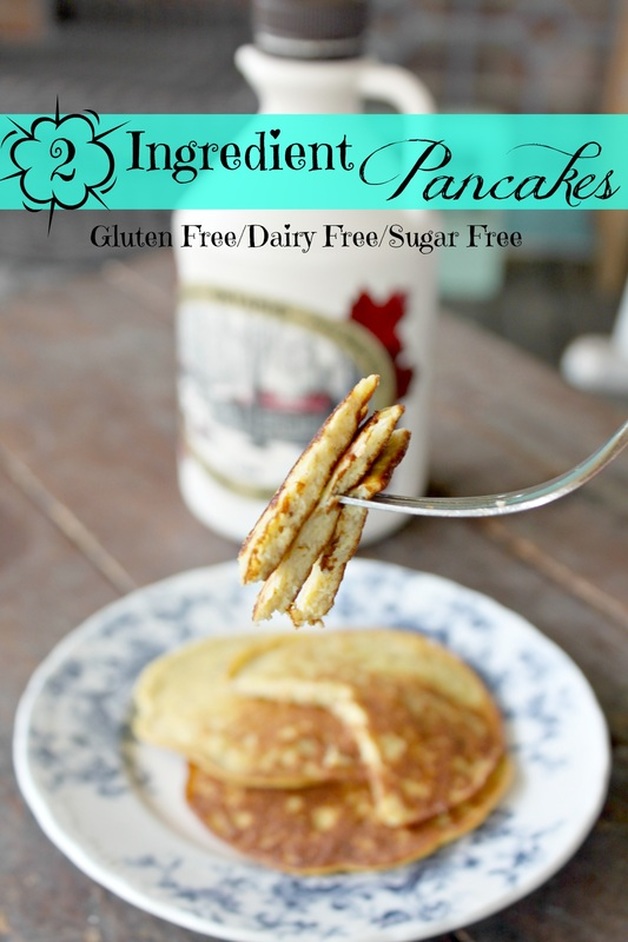 Chocolate Chip Oatmeal Cookie Pancakes Gluten free, and like a large, soft, pancake-y oatmeal cookie! From Chelsea's Messy Apron 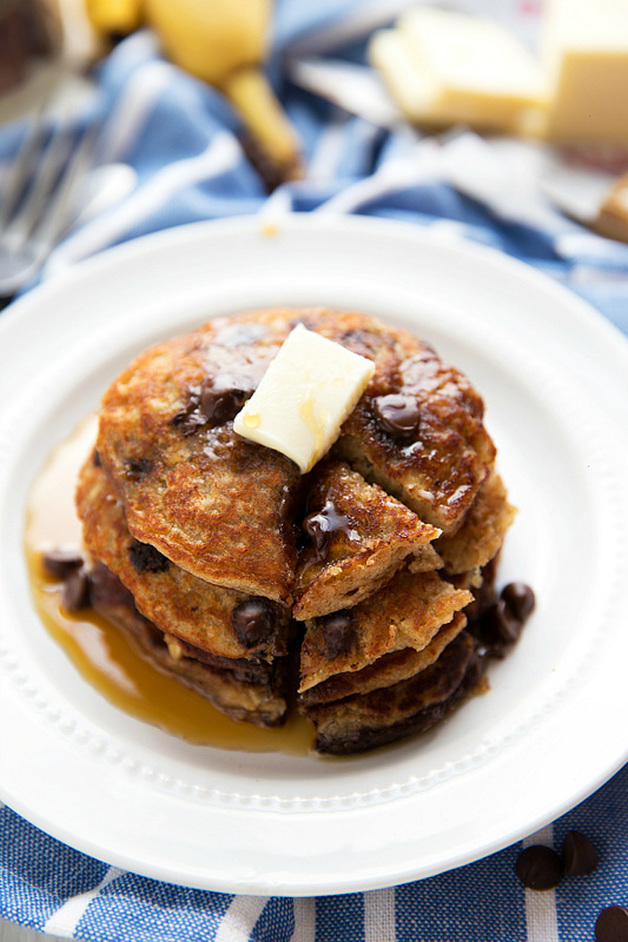  Baked Pancakes Perfect if you don't have time to stand in the kitchen flipping pancakes! From Eating on A Dime 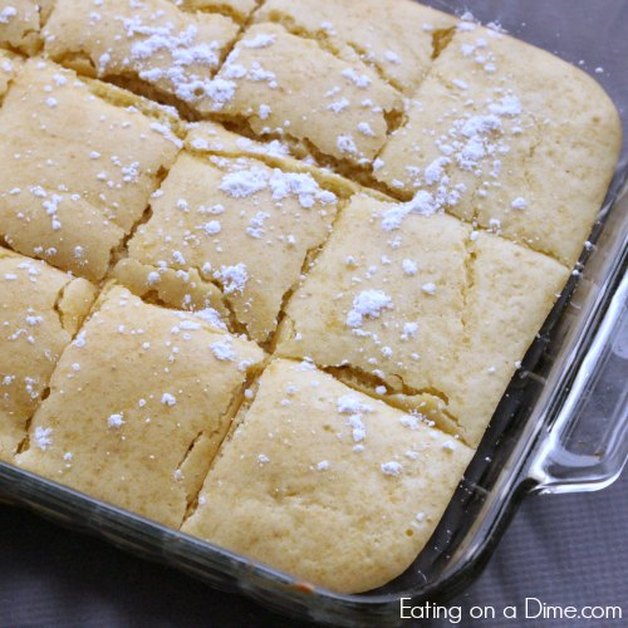 Just a little ditty to close here.....last night while cleaning up from dinner, I took the lid off my slow cooker to get the leftovers out of it, and a ladybug came careening out of no-where and landed right in the food in the crock-pot! And I dropped an f-bomb (that's the f-word, FYI). Confession time. I have a serious potty mouth. I mean, it's pretty bad. I don't say things my kids think are bad, like dumb or stupid, but I sure do say the ones I really don't want them to use! So, last night when I swore about a lady bug ruining the leftovers (I know it's just a small bug, but you agree with me that it ruined all the food?!?), I looked at my husband who's face was saying, "really? An f-bomb because of a bug in the food?" , so I said, "maybe I should give up swearing for Lent?" And, even though I don't always give something up for lent, I am going to do this. I swear more than is useful, and I should tame this beast! So, that's what I'm giving up for Lent! Are you giving anything up for Lent? Are you having pancakes for dinner? Are you sick of all my questions!?! : ) Granola bar recipe # 3! I first posted THIS gluten-free granola bar recipe back in December 2013, then just this past October I shared THIS recipe for my gluten-free, nut free, & refined sugar free granola bars. The reason I even made the second version was because I wanted a more clean ingredient bar to send with my kids to school, and it was good....for a time.... I mentioned in the post for the second granola bar recipe that my eldest son hates raisins, or any dried fruit at all. That recipe calls for dried fruit puree, and if I didn't get every single little lump of dried fruit pulverized, my autistic son's eagle eyes picked it out! Geez! So then I have this big batch of granola bars, and the girls will eat them and take them to school, but Caleb would not! Then one day I was prepping a butternut squash for dinner, and was cutting out the seeds to wash and roast. When they came out of the oven, Caleb descended on the salty, roasted seeds like an un-welcomed seagull and ate them all!!! I was like "whaaaaaa?" because I had no idea he liked roasted squash seeds! Well, since he clearly liked roasted butternut squash seeds, I thought I would offer him a handful of raw pumpkin seeds to see what he thought. He ate them and his only comment was, "these will not be very salty?" (the kid loves salty snacks and was a little bummed at the lack of saltiness in the raw seeds-but he still ate them!). Then I offered him raw sunflower seeds and he ate those up too, without any comments whatsoever! So, with this new knowledge I thought, "why the heck am I not adding more super-heathy seeds to my kids granola bars?!?" Well, I set out again to make a new granola bar for my kids to take to school, one with more seeds, no pureed fruit, still no nuts (nut-free school), no refined sugar, but still super tasty obviously or else my kids wouldn't eat them! 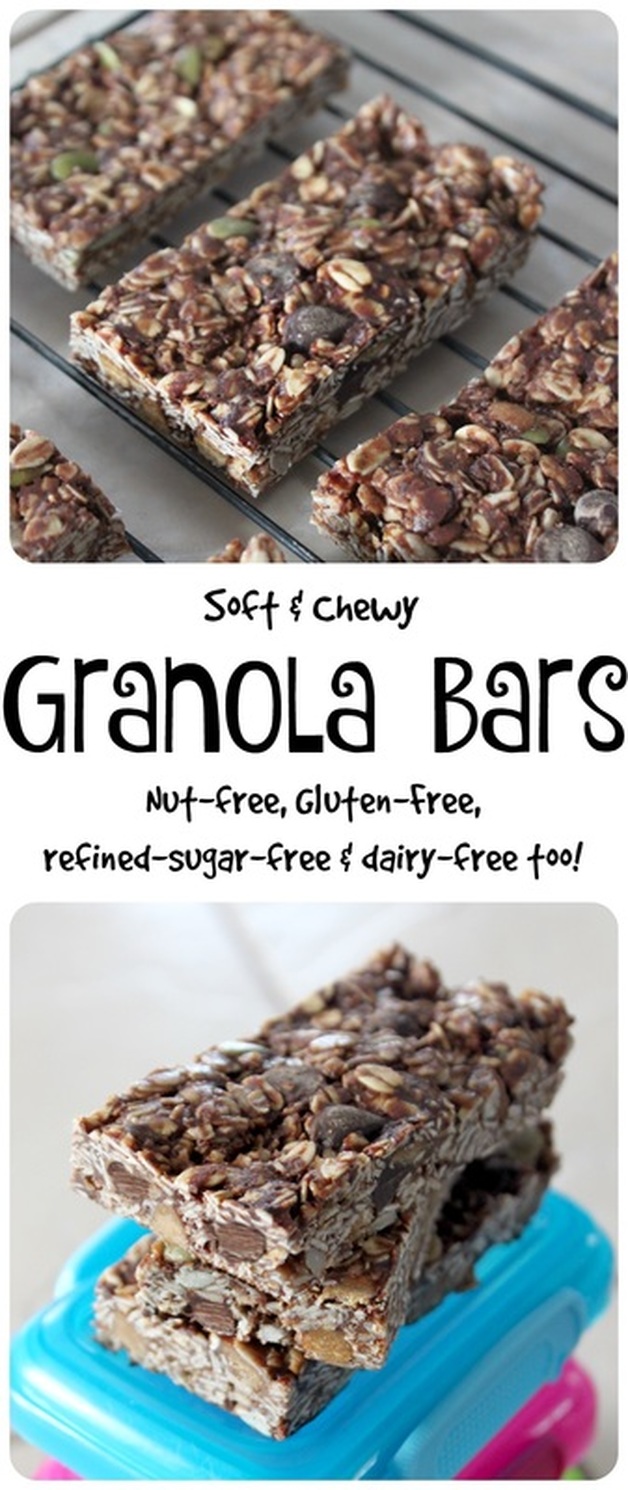
More Granola Bars!
Nut-free, gluten-free, refined sugar-free & dairy free Adapted from Keeper Of The Home Ingredients:
Method:
***Store these bars in the fridge or freezer*** Because of the sunflower seed butter, and the pumpkin and sunflower seeds, these bars need to stay refrigerated or frozen
 I am an affiliate marketer for Vitacost which is where I buy these products (which I use to make these bars!). What that means is that if you buy anything from Vitacost through my blog here, I make a small percentage at no extra cost to you at all! I know there are some other great online food companies out there, but Vitacost doesn't take an annual fee (like some other discount food companies do), and if you're in Canada it's the BEST place to get a ton of healthy, organic & whole foods at super-duper prices, and for a low flat fee shipping rate. Trust me, I spent a lot of time trying to find a good health food & product store online that would ship to Canada! Vitacost rant over!!! I just really love them, otherwise I wouldn't go on and on about it! : ) 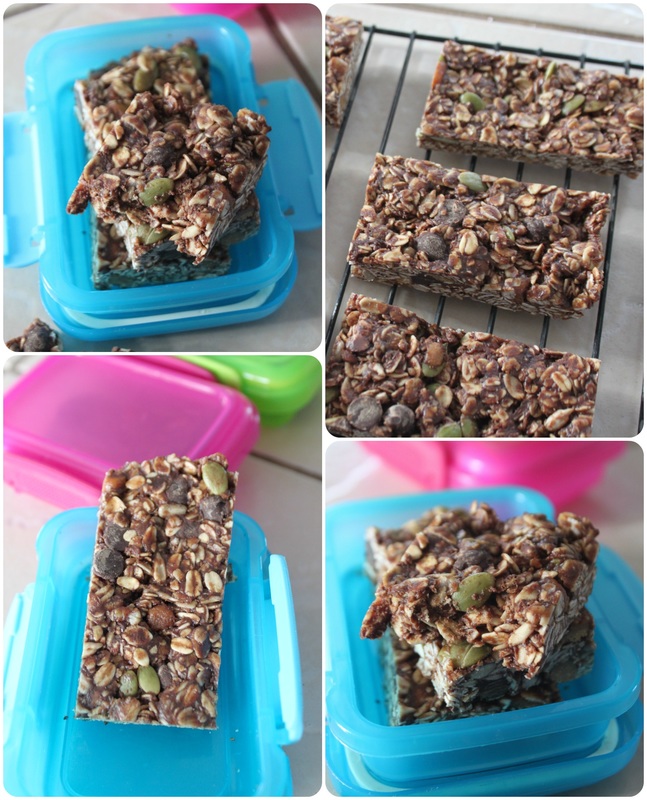
So, these granola bars turn out soft and chewy, just sweet enough, and with nice flavour and crunch from the sunflower butter and seeds. Yumm-o. And they last for quite a while in an airtight container in the freezer, which is great! So, let's move on from granola bars, shall we....? I'm working on choreography for The Belleville Theatre Guild's "The Music Man" right now, and I'm listening to that music a lot because I like to be extremely familiar with the music in a show I'm in or working on. However, I have been distracted and listening to another musical sound track lately because I am obsessed with the musical "Matilda"! Remember the book by Roald Dahl? They made it into a movie in 1996, but in 2010 it opened as a musical in England, then opened on Broadway April 2013.....and it's amaaaaaaa-zing! I mean, you've got this cast of freakin' talented people, mostly children, and it makes me go, "golly"! (actually more like, "gaaaaau-lee!"-see the difference?) : ) Because my random blog here is about whatever seems to pop into my head, I wanted to share a video clip from the 2013 Tony Awards where the Broadway cast of "Matilda The Musical" performed a medley from the show! Can I just say that these amazing kids perform this show 8 times a week, and then do performances like this, or on David Letterman and other late night shows, as well as the Macy's Thanksgiving Day Parade, I mean, geepers x 1000! At the end of the clip you see 4 Matilda's and that's because there are 4 girls who share the role (2 shows per week, and being a stand-by 2 days a week). Why do I know so much about this show? I already told you, I'm obsessed!!! I have always loved performing, but I was pretty bad at it as a child! I still did it here and there, but I wasn't any good. Then there's these kids! Hokey dina! How many more strange expletives can I use here?!? Golly, geepers, hokey dina, golly gee, gee willikers, hot-dog, oh boy, heavens to Betsy, jumpin' jahosaphat K, I'm done. The good news is that "Matilda The Musical" is having it's Canadian premiere in July, so I will get to see it! Two thumbs up! I'm signing off now dear readers! Leave a comment if you'd like about these granola bars, granola bars in general, or your favourite musical! : ) FYI, "Matilda" isn't my favourite musical, "Into The Woods" is, and has been since I was probably 8 or 9 years old! I listened to the cassette tape of the original Broadway cast recording a LOT! Anywho...I digress.... G'bye! It's finally gotten to be really wintery in Ontario!!! It was so warm and spring-ish through our Christmas holidays in Brantford, but as we drive home the skies were getting grey and blustery and the temperature began to drop. We got home, got the van un-packed, and it started to snow! The snow makes me want to (and need to in our old house!) wear 2 sweaters, cozy socks and slippers and eat warm, comforting food! In the past I was never a huge pasta eater. I enjoyed it once in a while, but it was never a food crutch for me (I had many others!). But as the fall settled in, I was feeling the need to change up our "usual" dinners, and comfort foods came to mind. COMFORT FOODS!!! I'm not 100% sure why I did that, but I said it out loud while typing it....I also said it like Cookie Monster....oh boy, I'm the captain of the crazy team today! Back to warm and cosy foods.....soups and stews, casseroles and pasta, all warm, made mostly in one pan or dish, and with leftovers for packing into lunches. However, my kids (except the youngest) hate soup, they'll eat stew, but usually with some complaining and suspicious looks at what might be hiding in the dish. They enjoy casseroles, but they're not my husbands favourite.....so, that leaves me with pasta as a good family-approved comfort meal! Side note, I know it sounds like my kids are fussy (and they sure can be!), but they mostly don't like those foods because we hardly ever have them and new foods can be scary (apparently!)! Hahaha, bunch of brats...my husband included! : ) Anyway, this recipe was approved by all (with a tiny modification for the kids--I'll give that to you in the method), and was so, so soooo good! It's creamy, a little spicy, and totally satisfying! I've made this using butternut squash noodles, sweet potato noodles, and spaghetti squash, but zucchini noodles could also be used. Oh, and if you're not paleo, feel free to use gluten-free pasta, or regular pasta! 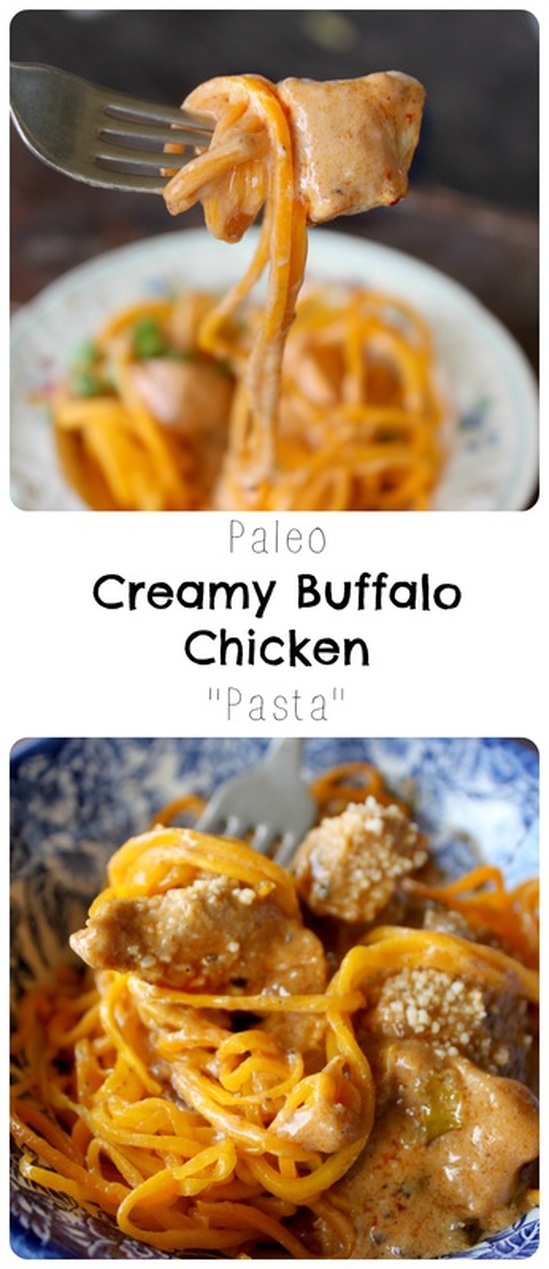 Paleo Creamy Buffalo Chicken "Pasta" Adapted from Brittany Angell Ingredients:
***I prefer to use roasted butternut squash noodles (using THIS spiralizer--it' will spiralize butternut squash without it needing too be soften at all first!), but you can also use sweet potato, or zucchini noodles. If you don't own a spiralizer you can just use roasted spaghetti squash. The amount you need depends on who's eating! I can eat an entire large spiralized butternut squash to myself! Opt for too much than too little though. Leftovers are better than not having enough. For the different cooking methods, see the instructions below!*** Method: ***Start by prepping your noodle***See below the sauce recipe for the how-to!
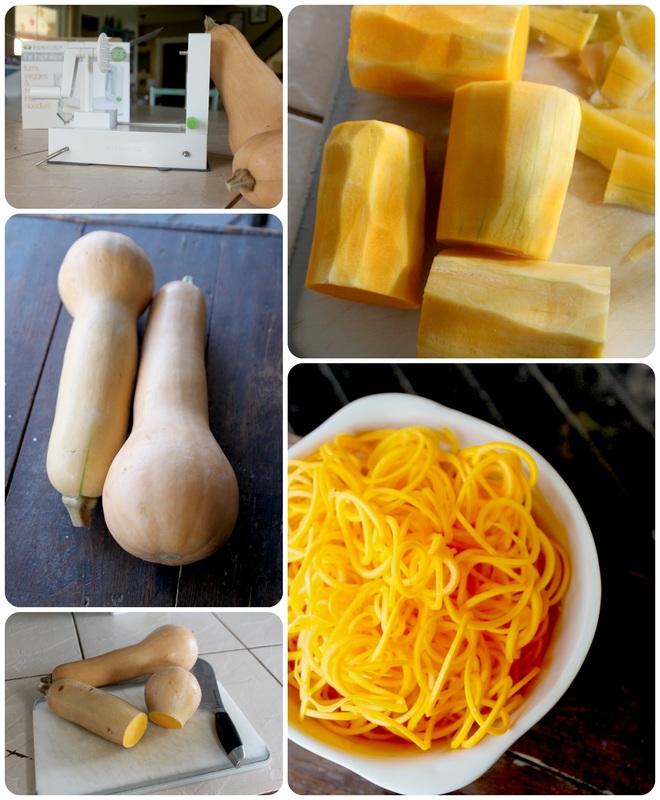 My butternut squash noodles! The Noodles! Butternut Squash- Preheat oven to 400- Cut the bulbous end of the squash off and set aside (you can scoop the seeds out to roast and snack on, and you can also roast that little portion to use in other recipes), then cut the top off the squash, and peel (see how to do this here) I use Blade D with my Inspiralizer for spaghetti noodles. Then I place them as evenly as possible onto 2 baking sheets and drizzle with olive oil. When you're almost done making the sauce, place baking sheets into hot oven to roast for 5 minutes, then take out, toss very slightly and gently, and place pans back into oven for 5 more minutes, switching which level the pan was on for the first 5 minutes. Sweet Potato- Spiralize into spaghetti noodles, and warm a large skillet over medium heat. Drizzle olive oil into the pan and place noodles into pan, and cook/saute until cooked through, about 10 minutes. Don't over cook them! Zucchini- Same instructions as for the sweet potato noodles, only cook on a lower temperature, and for up to 15 minutes. They are already soft, but just need to be warmed up and have some of the water evaporate. Don't overcook them! Spaghetti Squash- Preheat oven to 400- The typical way to roast a spaghetti squash is to cut it in half lengthwise and roast. But that's a difficult way to cut a thick and strong spaghetti squash! The easiest way to roast a spaghetti squash is THIS way. Cut the squash into rings, place onto a parchment paper lined baking sheet and roast for 40 minutes, flipping them over halfway through cooking. You'll end up with nice, long strands of squash noodles, it's a lot easier to get the noodles out, and they aren't as wet as spaghetti squash noodles that are roasted when simple cut in half. 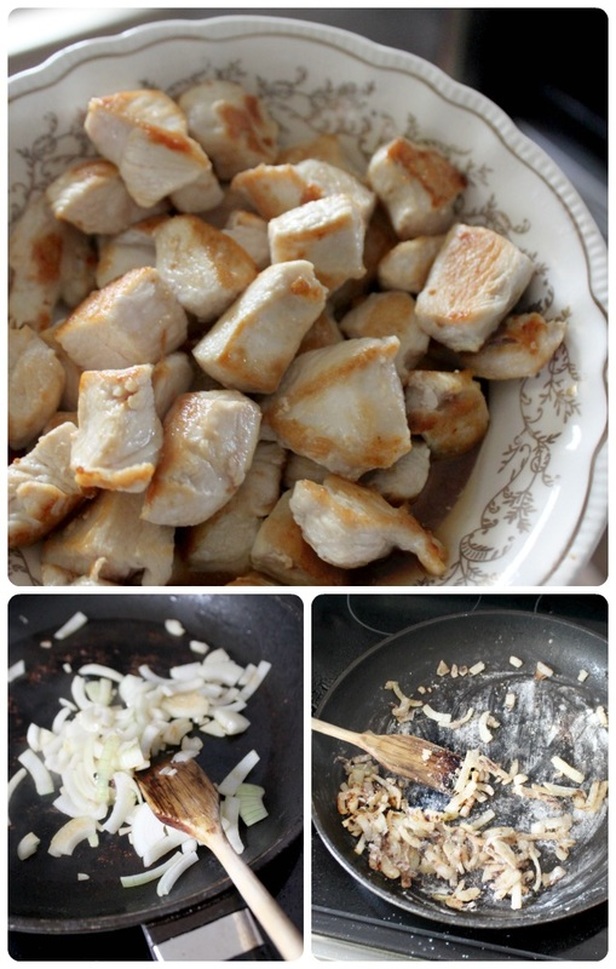 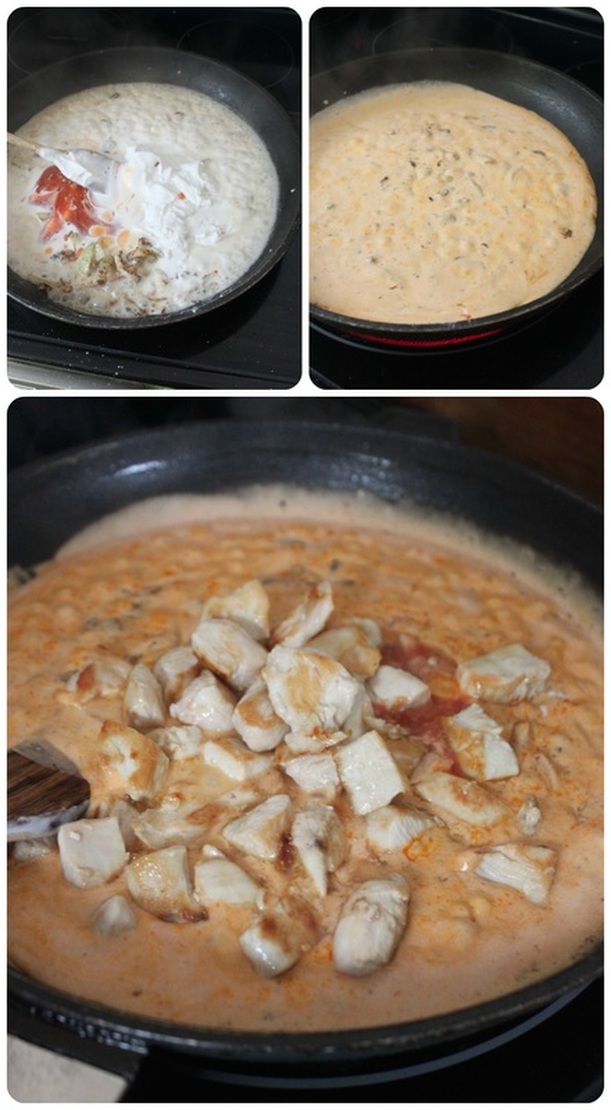 Making the fabulous sauce! Making the sauce is so simple! Two thumbs up! : ) 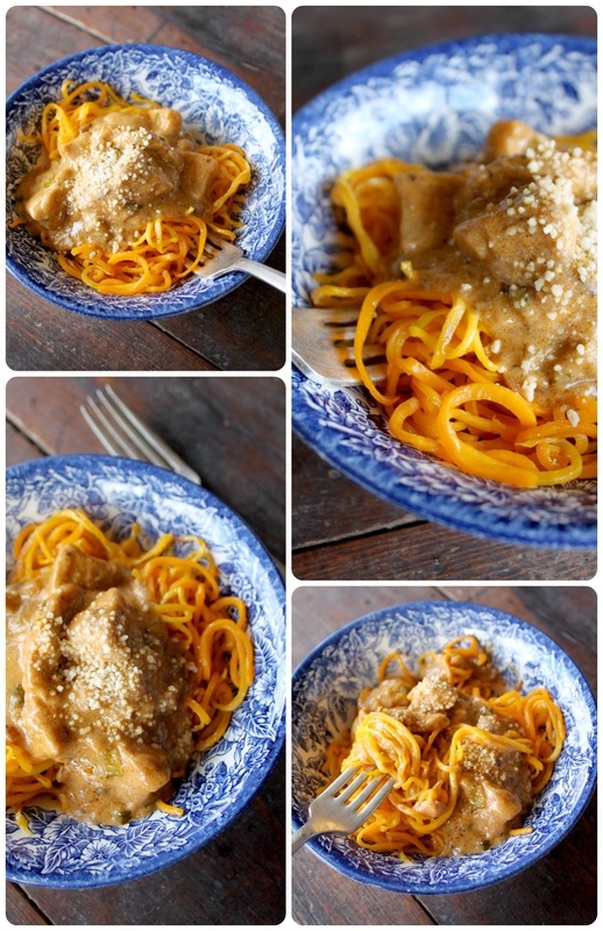 So many photos today!!!! : ) This meal is so tasty though, I needed to (apparently) include every photo I took! Haha, sorry! Well, ok, I really took about 40 more photos than this, so it could have been worse! I hope everyone had a good week! We did at the Van Londersele house! It was my youngest daughters birthday yesterday, and Adam brought a bouquet of flowers home for her and you would have thought she won an Emmy, a Grammy, and a Tony award all at once!! She was so thrilled she could hardly contain it! What a dear. This week also saw temperatures so low that made my nostril hairs freeze (yum), as well as the horses nostril hairs, and the dog had an icicle beard when she got inside! It also required me to fill our outdoor wood boiler 4 times a day! Sheesh! I wore a lot of layers this week, a lot of layers indeed! But, it's all part of the Canadian home that I love, so I take it in stride, knowing that we have 4 seasons that are beautiful and terrible each in their own way! So, this weekend we have the first round of auditions for the new musical "The Music Man" with The Belleville Theatre Guild. I'm pretty excited to get started on this new project! Have a lovely weekend all you good people! Oh, and share with me some of your favourite comfort foods, please and thank-you! : ) |
Hi, I'm Amy-Lyn! 
I am the lady behind this here blog! I live in the sticks with my animals, my super handsome husband, and my
3 amazing kids! Here you'll find things from recipes (gluten-free, paleo, and strait up junk food!), DIY ideas, thoughts on raising a son with autism, and whatever else pops into my brain! : ) Read more about me by clicking here! Want to Stay Connected?
Find What
|

 RSS Feed


