|
I found this recipe on Pinterest from The Pinning Mama...well, actually, I found the picture, and never even looked at how to make it! It was honestly so strait forward from their lovely photos that I never bothered to look at the recipe until today, when I wanted to be sure to pass the credit onto who deserves it! So, my method and ingredients vary slightly from the original, but the results are still divine. If you're a strict paleo eater and don't consume any dairy, I would wrap a piece of tin foil over the top of this to bake, then uncover for the last 5-10 minutes to give the peppers a chance to brown up a little. 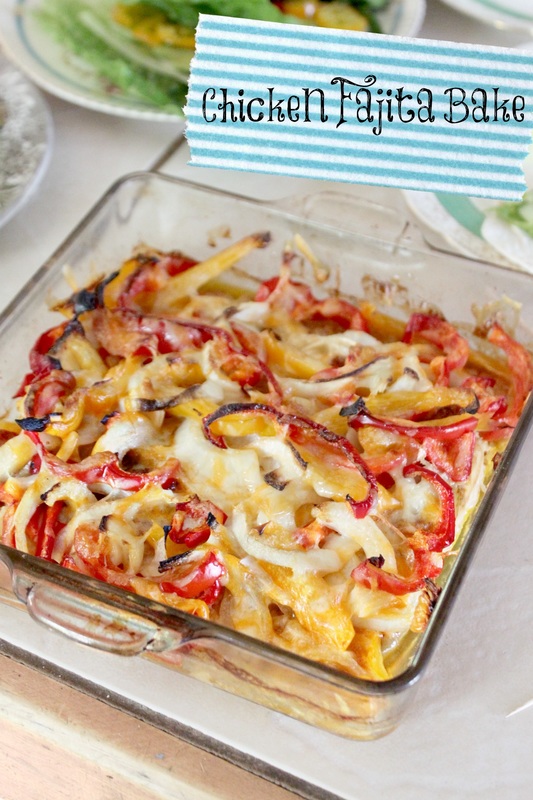 Chicken Fajita Bake Ingredients
Method:
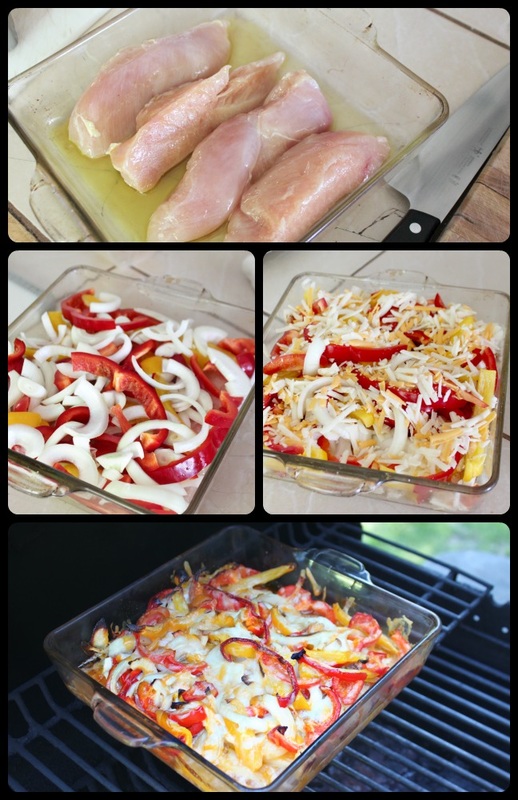 This recipe can easily be doubled, and is so simple to make. My kids, who can sometimes be fussy about when meals change ("this is very different from a taco!" my 6 year old announced) all enjoyed this. Hazaa! So, I've made it a bunch of times since then. I've used jalapeño peppers when I had them, diced a tomato onto it when I only had one pepper, more cheese, less cheese, etc. etc. Basically, this recipe is simple, easy to sub ingredients in and out, and also makes great leftovers. I once turned the leftovers into soup! Now that was deee-lish! :) 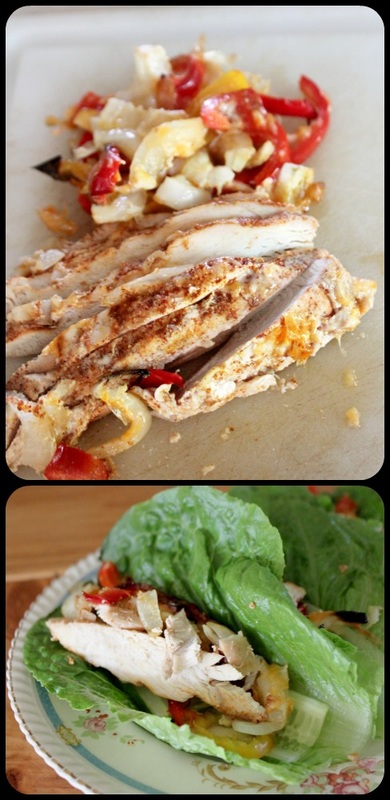 Well, tonight we have a paid preview for The Drowsy Chaperone, then opening night is Thursday! Yikerdoodles! If you live in the area, come to see it! It's funny, full of big song and dance numbers, and it is a Canadian show to boot (that can sometimes mean it might be terrible, but this gem went to Broadway and won a bunch of Tony awards!).
I've got no witty closing remarks....so, goodbye for now! :)
0 Comments
Hello there. How are we today? I'm feeling cold. I know it's spring, but seriously, a lot of days you need to be sitting right in the sun to be warm. If you're in the shade, or in the house, you're freezing! So, although hot-chocolate cookies seem like a lovely winter treat, they really hit the spot on any cool day! Made with hot-chocolate mix, chocolate chips, and mini marshmallows, these cookie honest-to-goodness taste like hot chocolate....only cold. They are super-yum. 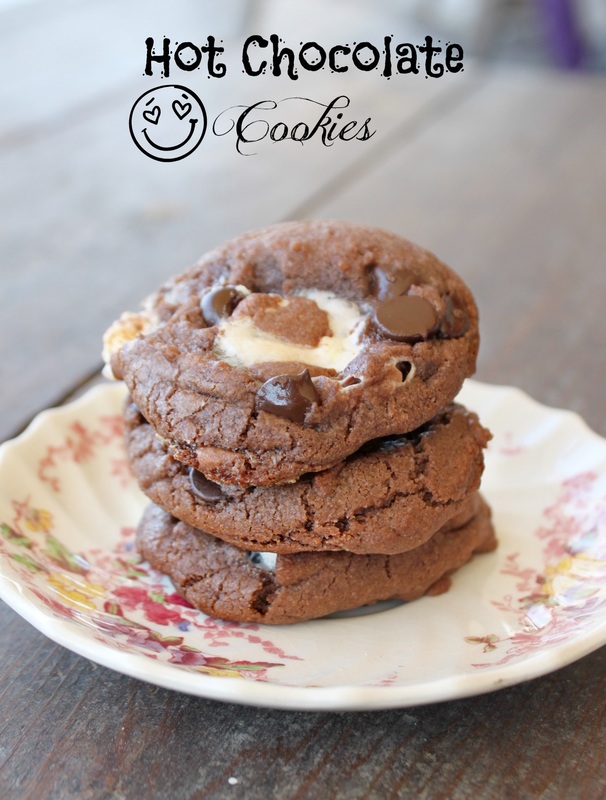 Hot Chocolate Cookies Ingredients:
Method:
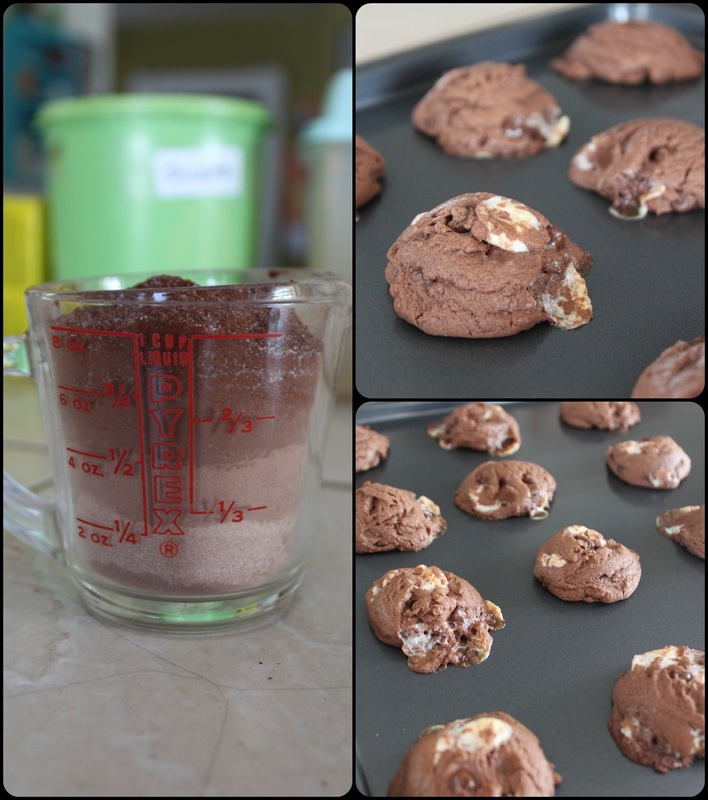 I bought new cookie sheets and they are the BEST! So, I didn't have to use parchment paper. You can see that the cookies are still poofy and soft-looking out of the oven. This is how they should look! They will flatten and cook a little more as they cool. You can also see the many hot chocolate mixes I used for this batch! 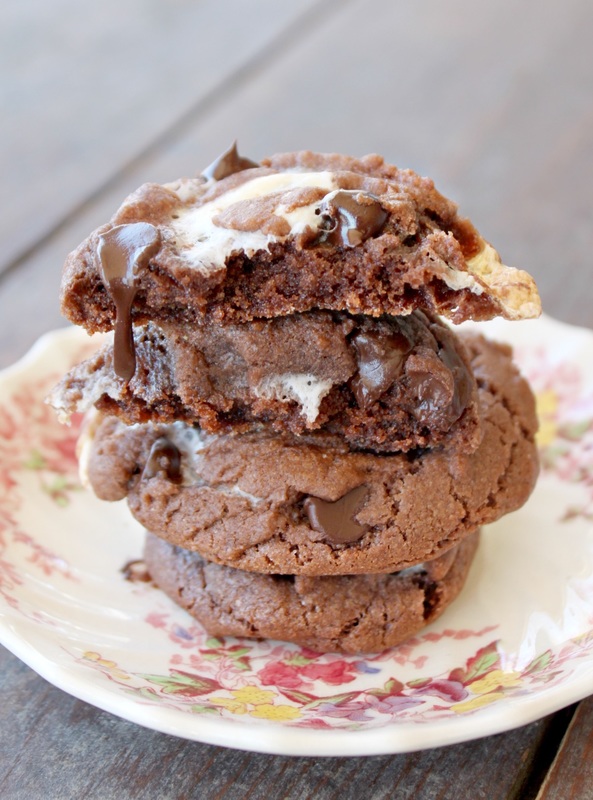 Well, alrighty.
I hope everyone has a good weekend, doing what you're doing! Today is a p.a. day for the kids, I have rehearsal tonight, then a full dress rehearsal on Sunday evening. We have a paid preview on Tuesday, then we open on Thursday! Ahhhhhh!!!!! I'm a little nervous/excited. I can't believe the show is opening next week; it feels like we just did auditions a month ago, not 5 months ago! Anywho, happy weekend to all, and to all a goodnight! :) I thought today was Monday..... Turns out its Tuesday and I'm loosing touch with reality! :) Adam was working all weekend, then yesterday (which was Monday, incidentally) we just got things done around the ol' homestead. So, anywho, today I bring to you a simple recipe for a paleo tortilla. We do a "Taco Tuesday" night every few weeks here, and I am always happy to just pile all my taco toppings onto a mountain of salad. We were low on the leafy stuff though one day, and I thought it might be nice to have an alternative to my usual taco salad and actually have a vessel to carry my taco goodness in. I started searching the web for some good recipes, and they all had either cauliflower which I didn't feel like cooking, mashing and draining, or coconut milk, which I was out of, or one million eggs to make up for the crazy amount of coconut flour used (coconut flour is very absorbent!). Simple is my main objective in the majority of my recipes, so I just thought, "well, these will only be for me (we had regular, gluten free taco shells for the rest of the family), so I don't need to make a million of them, I'll just aim for 2-3!". And I set off on the task! The result was a simple, 3 ingredient tortilla that was bendy, but strong, and was totally satisfying! 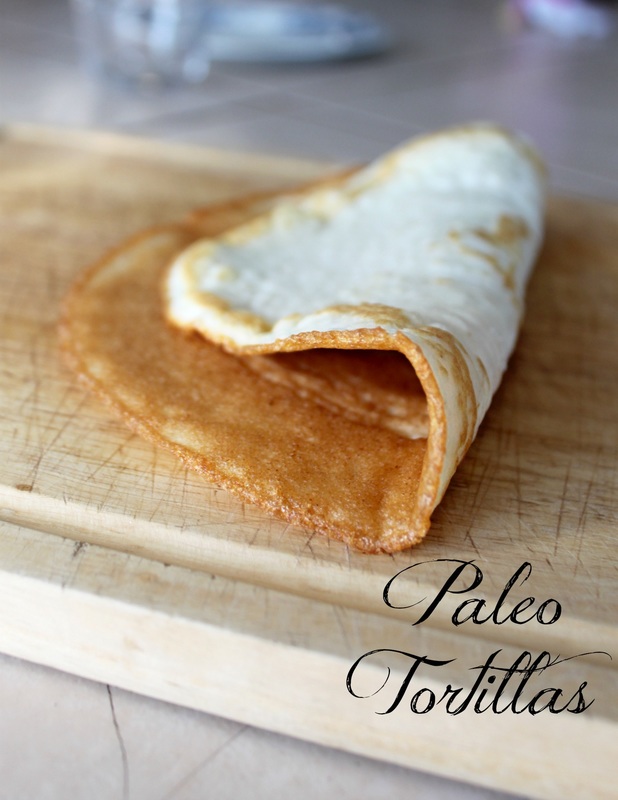 Paleo Tortilla Ingredients:
Method:
 That's it! I've made these a few times for a few different purposes. Once I added cinnamon to the batter, then once they were cooked I spread some almond butter in one of them, and rolled it around a banana! It was a great snack!
I've also added cayenne pepper to the batter, then I wrapped up diced leftover chicken, avocado, tomato, & onion. Yum! So, these are a blank canvas, really! Use them as you please! Have a great Tuesday! We've got a lot of ground beef....seriously, too much ground beef! we ordered food last year (in April) from a food company, and you "shop" and pick what you want, and then they deliver it in one fell-swoop! We had to emergency buy another deep freezer to accommodate the volume of meat that showed up at our house! The sales man (although super nice) had clearly not estimated properly when he told us the deep freeze we already had would be sufficient for all the meat we had coming. Anywho.....all that to say we still (over a year later!) have about 30-lbs of ground beef left! And that's with us eating at least 1-lb of it every week! Needless to say, coming up with ground beef recipes that are different and worth eating was getting difficult! Then Caleb (who loves cheeseburgers!) mentioned something about this beloved food, but we had no gluten free hamburger buns, so I told him I wasn't going to make burgers. Then it hit me! I have the beef, eggs, bacon, pickles and onions I would normally add to a cheeseburger-I didn't see why making it into one huge casserole wouldn't work! Well, unless, of course, the kids wouldn't eat it because it looked like garbage....so, I included the best part of a burger-the cheese! If you're strict paleo, omit the cheese, and this is still a fantastic recipe! If you eat primal (and can tolerate cheese)-then get your cheese on! Eww, that sounded way more gross than it was meant to....... The casserole is gluten free, full of bacon cheeseburger flavours, and the leftovers are the best! My husband loves it packed in his lunch. Thumbs up! 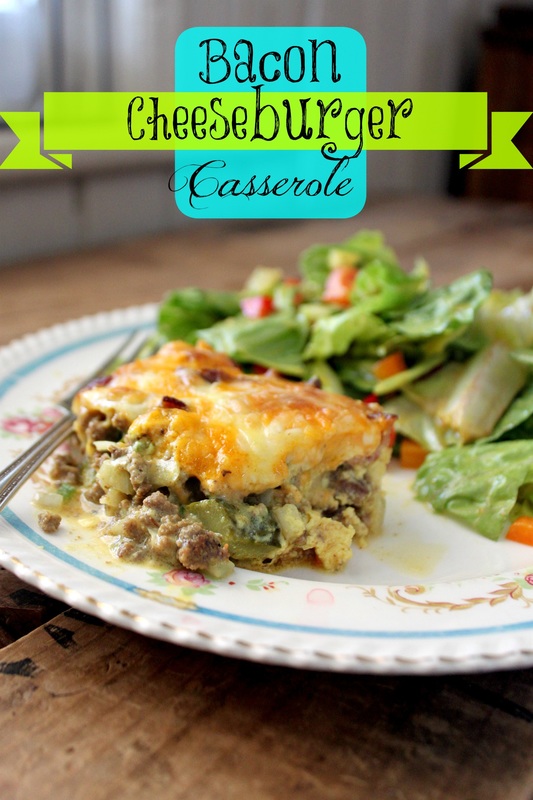 Bacon Cheeseburger Casserole Ingredients:
Method:
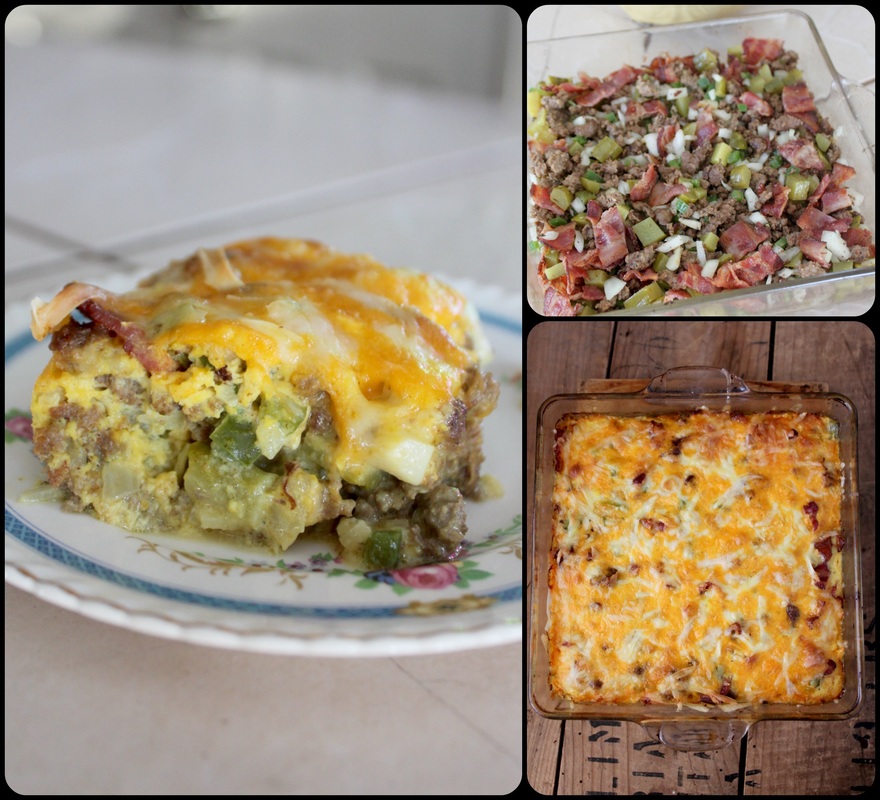 My kids honest to goodness love this casserole! They think I'm brilliant for making such a fantastic mess of a cheeseburger!
Every part of it is so bacon cheeseburgery and delicious! I had wanted to add tomato too, but decided against it as I didn't want this to turn out too wet, so I added slices of it on top before I ate mine. The next time we had it I put it right on top of my salad, added tomato, avocado, and hot banana pepper rings and ate it with the salad (I like lettuce on my burgers, so I figured it would be ok)! It was really good, two thumbs up! Well folks, I'm signing off! I've got to get baking my usual Friday night rehearsal treats, and I want to get out and clean one of my gardens that I've been neglecting! I hope everyone has a grand weekend (it's Victoria Day weekend {the early Queen's birthday celebration| here in Canada!), and I also hope that you come back here soon to see what else I've got cooked up! :) xo 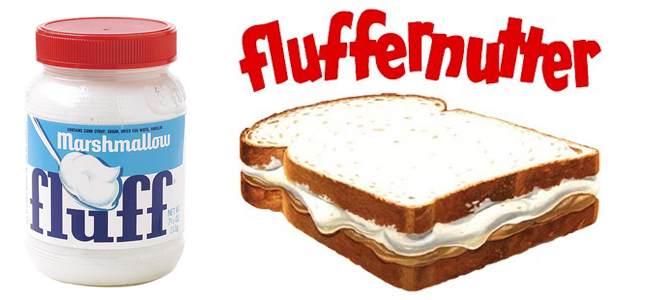 Let me start by saying that I in no way shape or form invented the "fluffernutter". It's a recipe on the back on the Marshmallow Fluff jar. Do me a favour and watch this fantastic commercial for the sandwich from waaay back. Anywhooo, a regular fluffernutter sandwich is fantastic, but I decided one day to spread some butter on the outside of it and fry 'er up (grilled cheese style).....oohhhhh man! Yum-o! 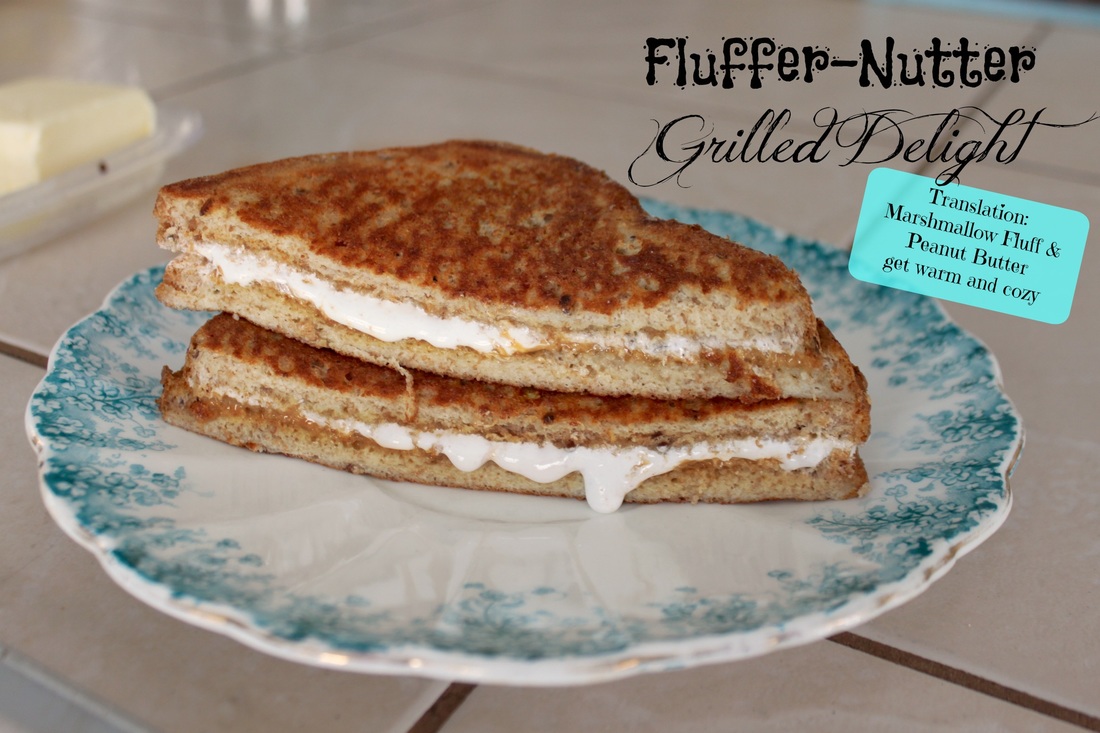 Fluffer Nutter Grilled Delight Ingredients:
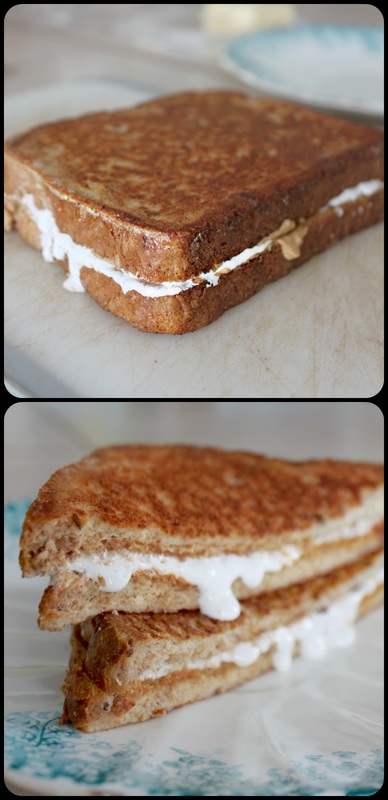
I obviously can't list exact amounts of the ingredients because it's a bit preference based! I also feel like you would be shocked and horrified at the amount of p.b, fluff, and butter I use.....whomp whomp :) Method:
 So, in case you needed another crazy-delishous, totally bad for you, definitely not anything but a dessert sandwich, check out this one (pictured below). What the-? Am I right? That bad boy is peanut butter, Nutella, and marshmallows turned into a sandwich, buttered and fried, then dusted with icing sugar. Mmmm, I haven't had this one in a while. I think I'll whip one up on my next treat day! 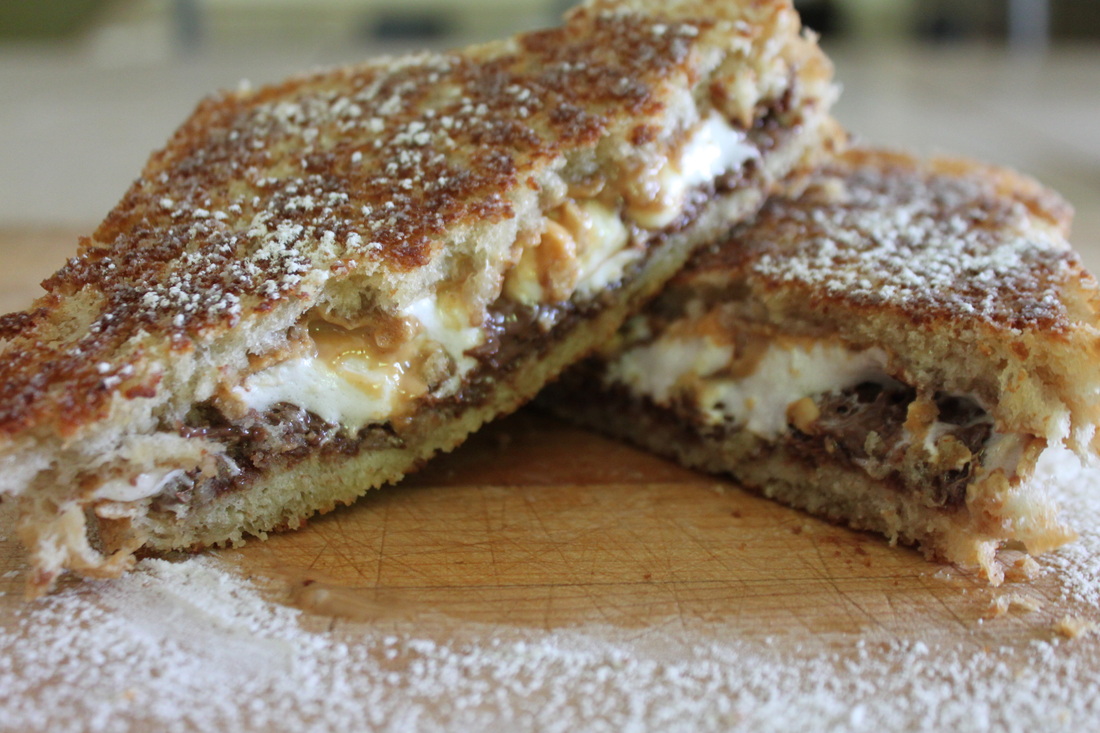 Alright, well, that about sums 'er up.
How's the spring going for everyone? Our gardens are coming up happy, although some bossy tiger lilies have taken over a portion of one of my gardens. And that's after they were completely trampled and squashed last year by our chickens who found those plants particularly comfortable and would get cozy and barge right into them, scratch at them, push them down, and turn them into a lovely sitting spot. Perhaps this is the tiger lilies revenge? They may be like the flowers in Alice's Adventures in Wonderland; you know, talking and being sassy and what-not? We just saw a local High-School's production of the show this past weekend, so I was thinking of my lilies while I watched that scene! Anyway, after last week of wearing tank tops and having back-sweat while driving, we go to today where the kids asked to wear hats, mitts, and scarves to school because it's so cold! Oh, Canada...so tricky. Well, I should be off, many a task to complete today, and only so many hours to complete them in! Black-Flies!!!!! They've arrived!!! That's all I have to say about that for now. Ok, I will add that 2 black flies already flew into my eyes today. Not my fav. Crock-Pot!!! I just wanted to do sound so crazy again. I think most people feel like a crock-pot is a winter, comfort food type of thing. Falseroo. I find I use it as much, if not more often, in the 3 other seasons because there is more to do out of the house! Well, even in the house, the spring comes, and you suddenly have the urge to organize your closet....which leads to organizing your room, which leads to building a new bed! I didn't build a new bed, but that sequence of events did happen to me a few years ago. We were sleeping on a hand-me-down bed from 1963. No joke. And I was sick of it and in my cleaning/organizing frenzy I started thinking, "I can build us a new bed!". I was going to too, but, long story short, I didn't. Wait? What was I talking about....? Geepers, crock-pots. So, days like the one I blabbed on about there leave you suddenly standing in the kitchen at 4:45 going, ".....oh yeah....dinner?". In that moment I usually make some eggs and cuts up some veggies and call it a meal, but I prefer to feel a little more amazing (and humble...) by having gotten a tonne of work done around the house AND having an awesome meal ready for the fam. The End. 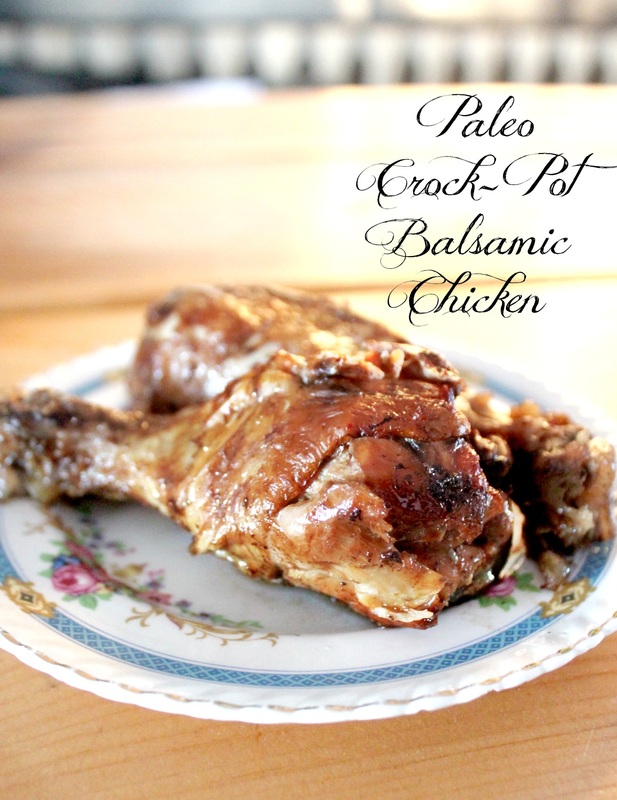 Crock-Pot Balsamic Chicken Ingredients:
Method: If you are prepping this meal the night before you need it, all the power to ya! :) You don't have to, but I'm just throwing that option out there!
If you're getting this ready the morning of the day you plan to eat it, do this:
*You can also cook it on high for 3-4 hours if the meat is thawed, or 5-6 if it's frozen. Cooking chicken low and slow is the best however. Just a wee crock-pot tip The balsamic vinegar really breaks down the meat leaving it tender and yummy, but it also lends a tang to compliment the sweet honey.
I've added other spices too, like paprika (a favourite of mine), cayenne pepper, I've even swapped out the basil for rosemary, which was great. So, what are your plans for this week? I think you should plan to make this :) Just sayin'. Alrighty, have a great Monday! |
Hi, I'm Amy-Lyn! 
I am the lady behind this here blog! I live in the sticks with my animals, my super handsome husband, and my
3 amazing kids! Here you'll find things from recipes (gluten-free, paleo, and strait up junk food!), DIY ideas, thoughts on raising a son with autism, and whatever else pops into my brain! : ) Read more about me by clicking here! Want to Stay Connected?
Find What
|
 RSS Feed


