|
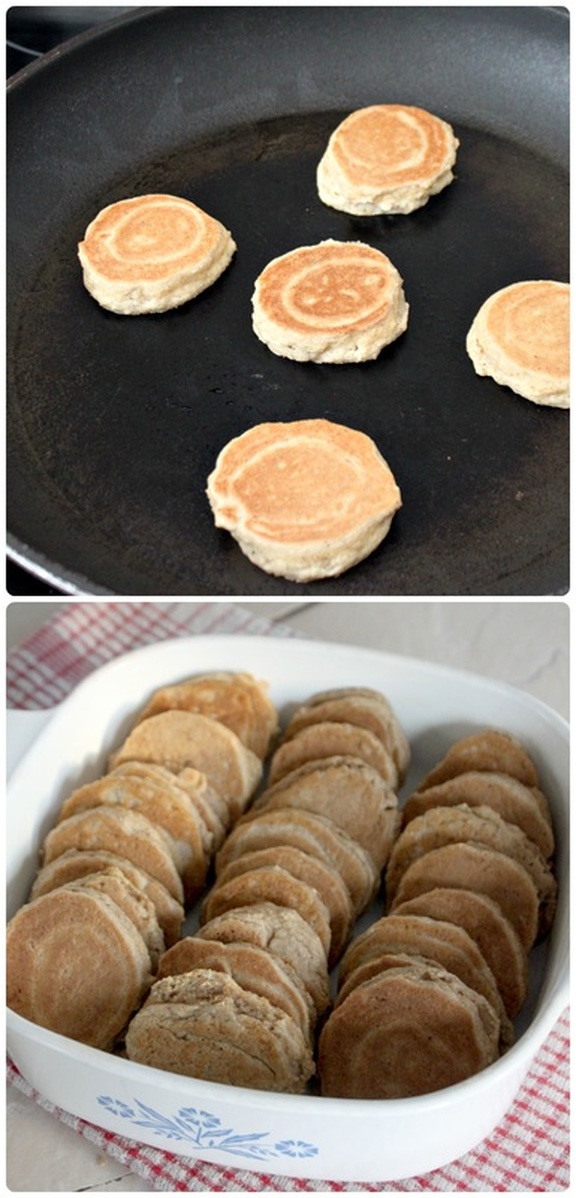
Hello there! I'm sharing a recipe today that was from Paleo Parents, who shared if from Julie Bauer's cookbook "Paleo Cookbook" So much sharing! I like to do a syrup based breakfast for the kids on Saturday mornings - wait, what? You don't know what a "syrup based breakfast", is? Well, it's a food item that gives you an excuse to eat maple syrup!!! :) I am truly Canadian. Anyway, making great paleo pancakes can be difficult, but I've made a few that I liked a lot (like these Chocolate Monkey Pancakes), but I was wanting to try something new, and also something I could make ahead. Well, I found this little dream of a recipe, and we loved it! I made the mini pancakes on Friday night (and wanted to eat them right then!), then I simply stuck 'em into an airtight container overnight, and got the rest whipped up in no time in the morning! This is so good! If you make the mini pancakes and think "why can't I just eat these like this?". Well, you can if you want to! But, making them into a delightful little pancake bake just makes it seem more like a cozy bread pudding. It seems more filling and satisfying somehow. I also changed the recipe slightly, and swapped out the coconut milk for applesauce in the mixture you make that gets poured over the mini pancakes before being baked. It made these a wonderful, apple cinnamon pancake bake! Anywho, it's the bees knees, and I think you should give it a whirl! 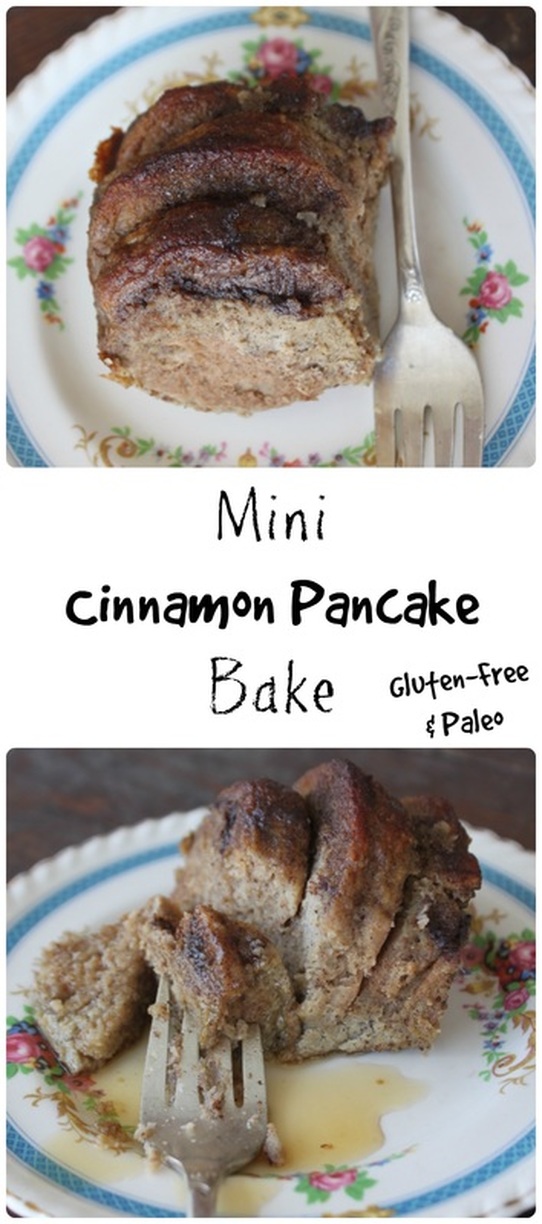 Mini Cinnamon Pancake Bake From Paleo Parents, with some adjustments of my own The Mini Pancakes Ingredients:
Method:
The Mini Cinnamon Pancake Bake Ingredients
For the topping:
Instructions
 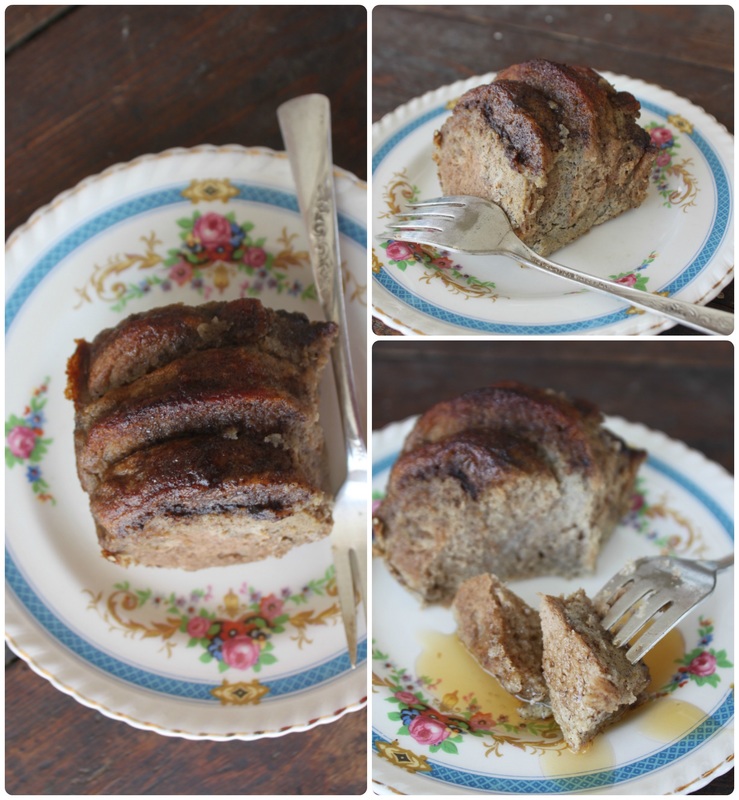 I have a very (VERY!) wiggly 6 year old on my lap while I'm writing this and when she saw the pictures she said, "Oooooohhhh! I looooove these french toasts!!!" : ) So, I think that sums this up nicely! Have a wonderful weekend!
2 Comments
Hello there! Until a few years ago I would not - nay - COULD not eat shrimp. Originally, this started from a place of growing up not eating a lot of shrimp, but also knowing that shrimp were bottom dwellers (garbage eaters!), made my stomach turn. This does not seem like a great intro to this post....hold on, it get's worse! Hahaha! So, after I got over that and tried shrimp again randomly as an adult (I just tried the cold shrimp with the classic seafood sauce), I came to realize that shrimp was pretty tasty and I actually liked it. And then, a set back. We showed up for an Easter meal at my in-laws, and my brother-in-law had something smelling so good on the BBQ. I asked what it was and he said he had been marinating jumbo shrimp for a few hours and was now grilling them. Well, yum-diddly! I had only really eaten "party shrimp", as mentioned, but this smelled so good, and I was willing to try! Well, didn't he just bring me one when they were ready.....and it was a large, frightening, unpeeled shrimp! I literally went, "OH NO! No, no, no, no, I can't eat that....". Like a baby. Like a giant baby. My father-in-law came to the rescue and offered to peel it for me (where I couldn't see him doing it!), and then I ate that shrimp. It was tasty. But I knew my shrimp limits then and there. If the shrimp is naked, I'm good. If it's got eyes, and creepy little legs. Good golly, keep it away from me!!! For this post I wanted to find some useful links to help with the peeling and deveining process, and literally, out loud at my computer sat going, "Bleeeeh! Eeeewwwwwww!!" while making faces of disgust. I still can't handle shrimp that look like little sea creatures. Here's a link for those of you who can handle it though! If all of this made you question eating shrimp at all....I'm sorry. Seriously, so sorry. This coconut shrimp is so good though....you may want to reconsider your feelings. I shan't ever change my feelings about shrimp I'd need to peel and devein, but shrimp that's ready for fried coconutty goodness? That's a no brainer! These tasty morsels come together easily and relatively quickly. They are great on a salad, served with sauce, eaten alone, and even eaten cold the next day! I usually eat mine next to a mountain of Moo-shu (I just make a meat free version). 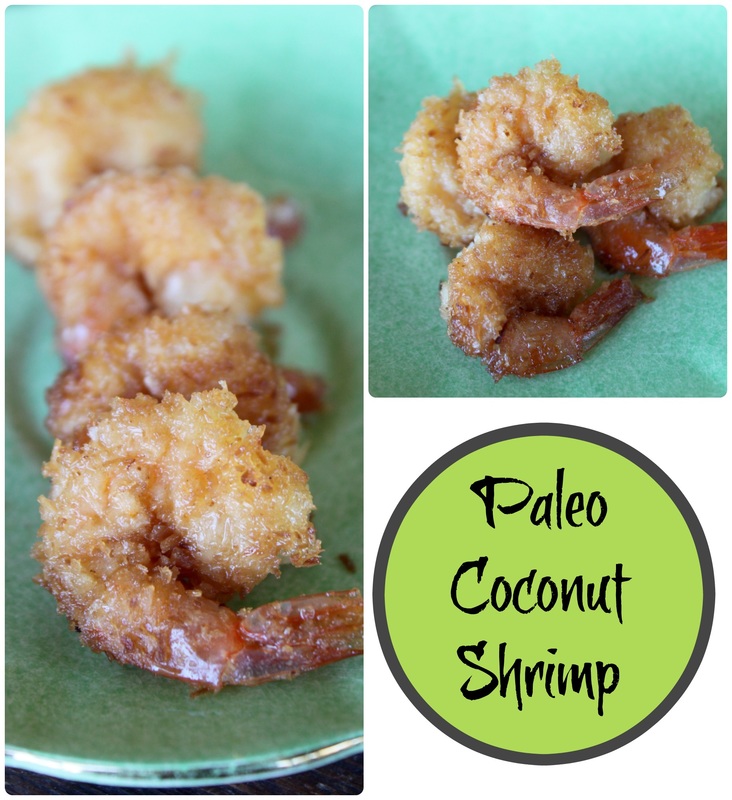 Paleo Coconut Shrimp From Wiked Spatula Ingredients:
Method:
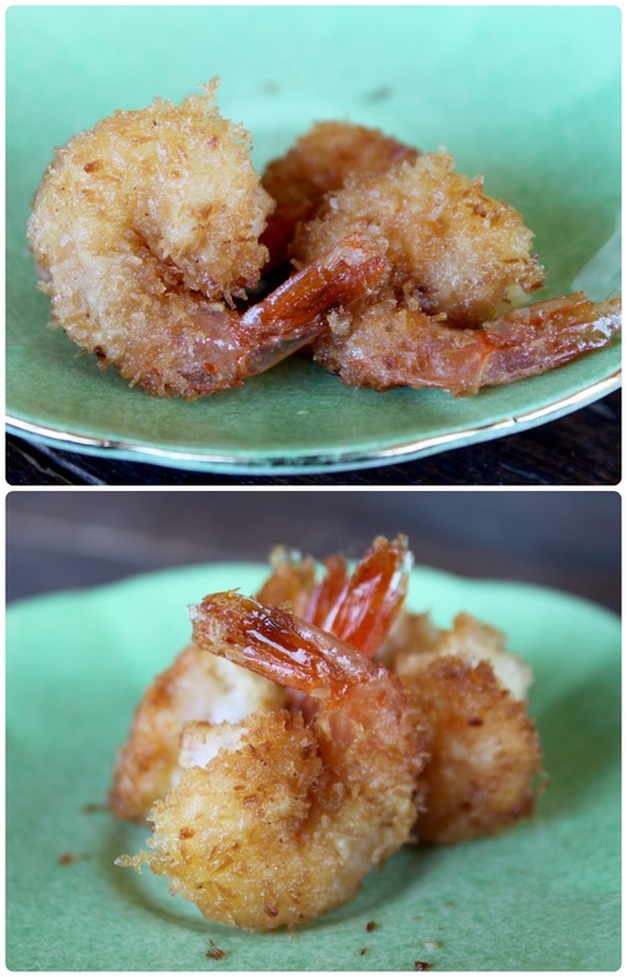 Looks good, eh? It is. It so is. Well, that's all for today! I didn't get a chance to post anything last Friday because it just turned into a day of busyness (not business), and then last minute my husband and I decided to go out for a late anniversary dinner, and well, the day just vanished. Poof! Anywho, how do you feel about shrimp? I want to know! So, feel free to share with me your truest feelings about the little sea creature. : ) My sister sent me this, and I literally laughed out loud! So, enjoy a good laugh this Monday on me (via my sister)! 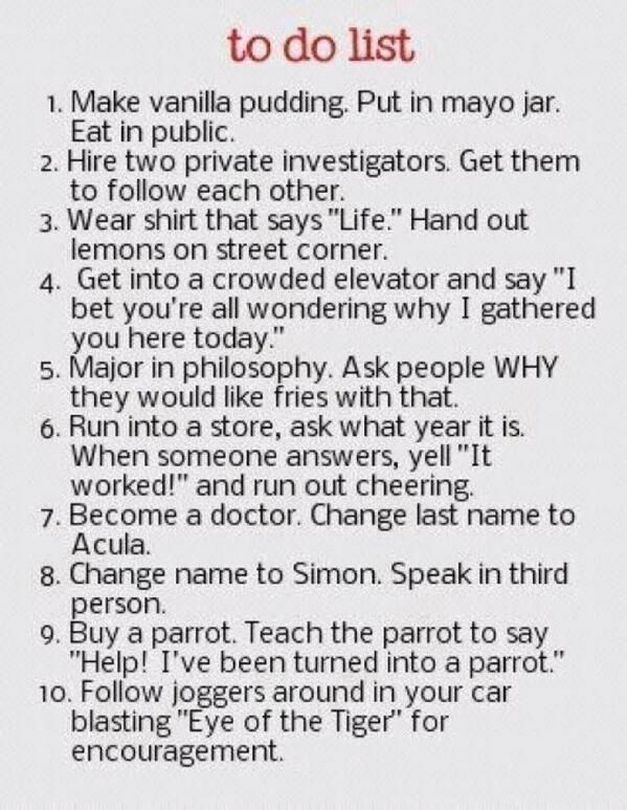 On my Health & Fitness page I share a new workout that I'm loving lately. It's a Body By Simone workout created for Sweaty Betty's GetFit4Free campaign. Happy Monday! Hello! Over on my Health & Fitness space I talk about helping to keep kids active! Go and check it out! Aww, go on, just go. : ) 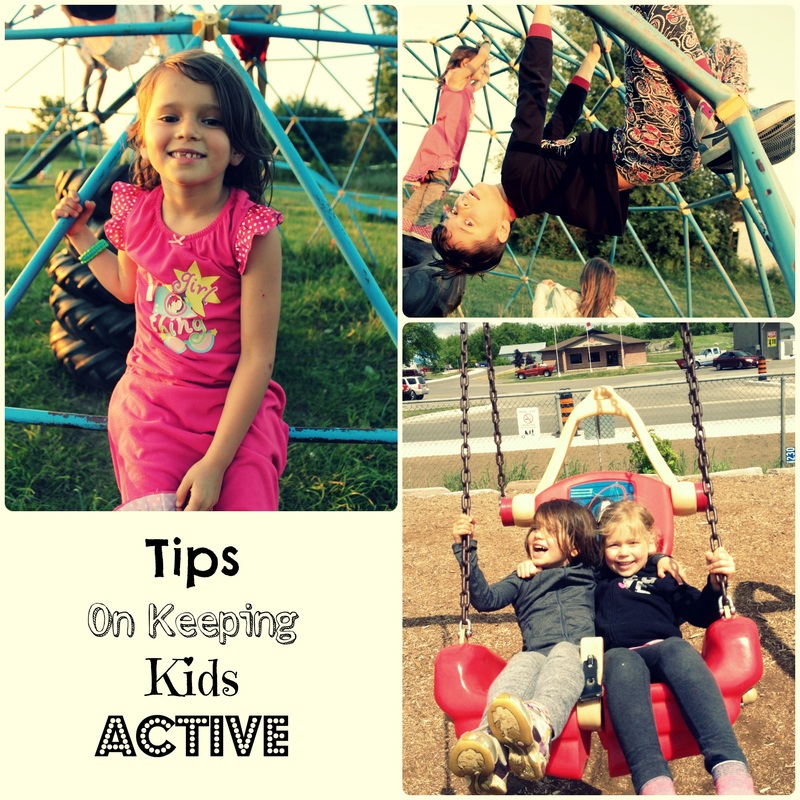 For a little Monday laugh, I wanted to share one of my all time favourite YouTube videos of a dear wee lass trying her darndest to get into first position in her ballet class. She's a freakin' hoot! I hope everyone had a great Monday!
Is it true?! Is it really real?!? Is spring finally, finally here?!?!?! : ) Our spring here has been warm...and then snowing! And then warm....and then snowing!!!! And then all the kids got sun-burnt one Saturday.....then we had an ice storm! I mean, good golly. Anywho, I'm washing the snow pants and winter coats for the third time to put away for the warmer months, and am hoping it'll stick this time! Well, when the winter won't end, more and more cookies get made! These super simple gems are made using a cake mix, and we added some super fun mini candy covered chocolate chip thingies.....I honestly can't remember what they are really called...? Anyway, enjoy! 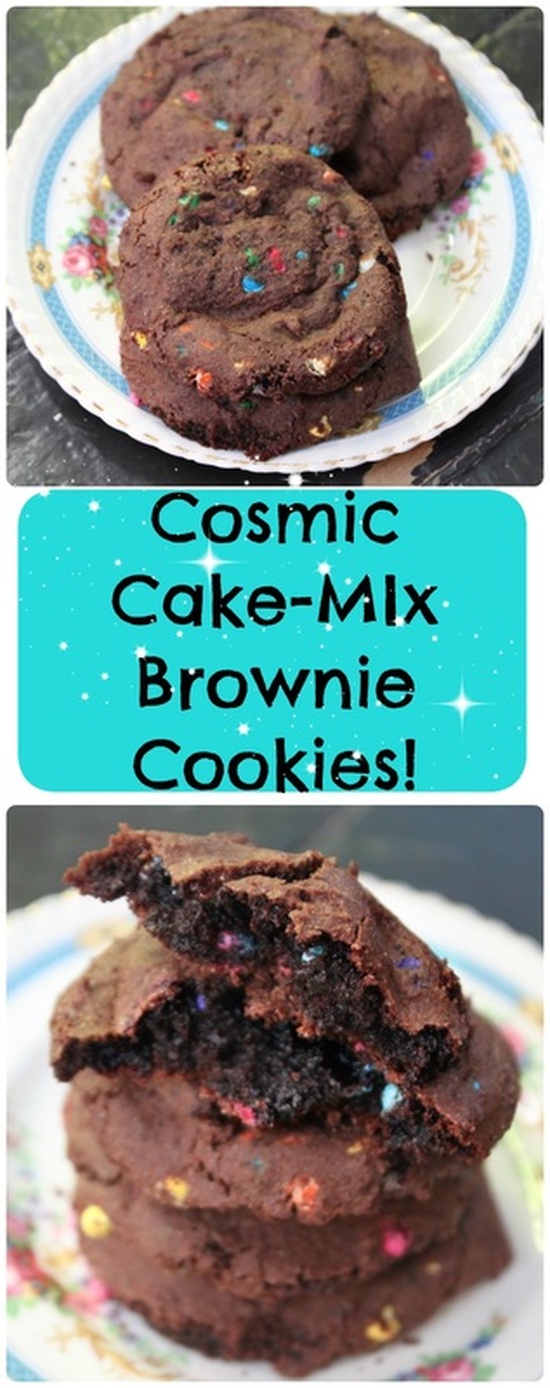 Cosmic Cake Mix Brownie Cookies I get approx. 22 cookies using a 2 Tbsp sized scoop from one batch Ingredients:
Method:
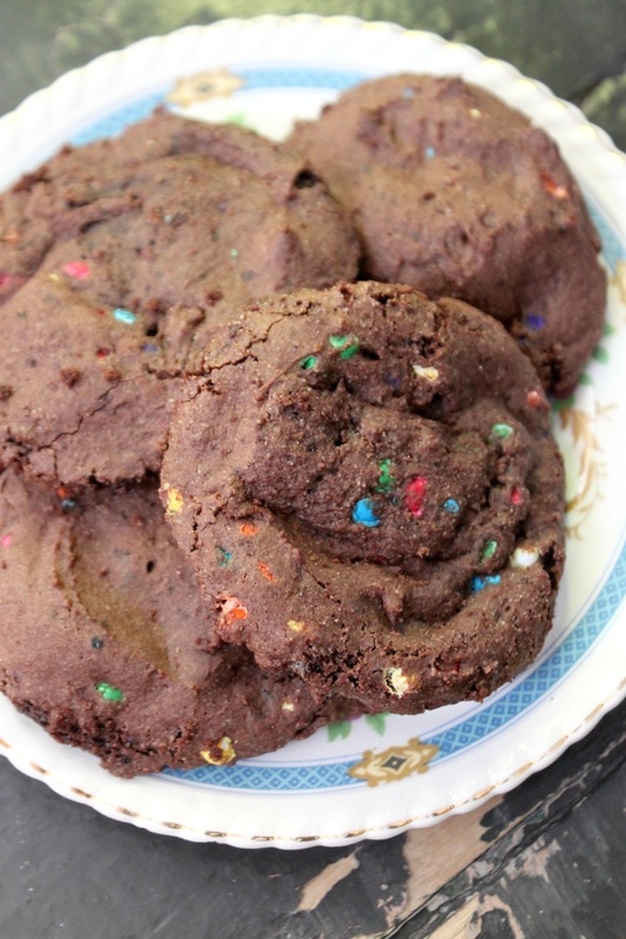 I made this particular batch o' cookies with a President's Choice Gluten-Free Chocolate Cake Mix. Someone at church gave it to me because their son who used to eat gluten free wasn't anymore, so she kindly gave us a bag of random gluten-free goodies! I basically never need a gluten-free cake though except for Caleb's birthday, and my homemade recipe is so darn good, so using the mix for cookies was definitely more up my alley. I was able to pack away a bunch of the cookies in the freezer and have them ready to take-along for my gluten-free Caleb if we went somewhere I knew there would be some treats he couldn't partake in. Well, that's it, I guess. My mind feels like bleh....yesterday I was filling out a form for a police check, and I wrote my birthday year as 1893. Then I put a 5 instead of an S at one spot, and I also wrote my address one line above each line I was actually supposed to write it on. Golly gee willikers. Hopefully my brain is taking some sort of rest to get ready for some sort of awesomeness....? Yes? Fingers crossed? Have a great weekend - and a great Mother's Day! Be sure to show some love to some motherly figure in your life! Well, I usually post about autism on a Thursday....and I missed the last Thursday in April (April being Autism Awareness Month) because last week turned into a week of unexpected things and being away from home, and then iMovie being a complete and utter jerk to me! : ) Well, maybe it wasn't as personal as it felt, but the video I had made was ready, and I was just going to post it on Friday, but gee golly, I couldn't get anything to co-operate for me! So, it was a huge lesson in patience, and also in letting things go - like posting on the correct day and in the correct month......let it go, Amy-Lyn....let it go.....deep breathing....ok, I think I'm ok now. Anyway, here's the video for this years Autism Awareness Month! Caleb picked the song again ("Feel It" by TobyMac), and it's a collection of photos from last April to this April! A year of funny faces, wonderful singing, and a back to school interview too! I hope you enjoy it! |
Hi, I'm Amy-Lyn! 
I am the lady behind this here blog! I live in the sticks with my animals, my super handsome husband, and my
3 amazing kids! Here you'll find things from recipes (gluten-free, paleo, and strait up junk food!), DIY ideas, thoughts on raising a son with autism, and whatever else pops into my brain! : ) Read more about me by clicking here! Want to Stay Connected?
Find What
|
 RSS Feed


