|
We were having some friends over, and I was in the mood for a casserole (endless days of snowing will do that to anyone!), but also wanted something a little nicer. These bundles were made ahead of time, baked up like a dream, and tasted delightful. I was pleased.  Chicken Bundles (for 16 Bundles (an adult would eat 2, a child would eat 1). Cutting the recipe in half would work too. Ingredients:
Method:
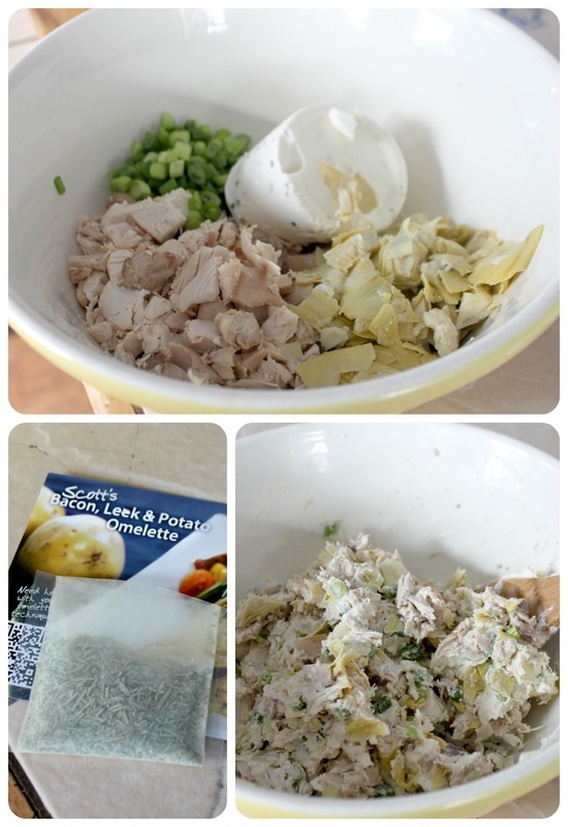 I made my bundles before bed, and wrapped them up and put them in the fridge until I was ready to bake them the next day. I put the egg wash on them before baking. 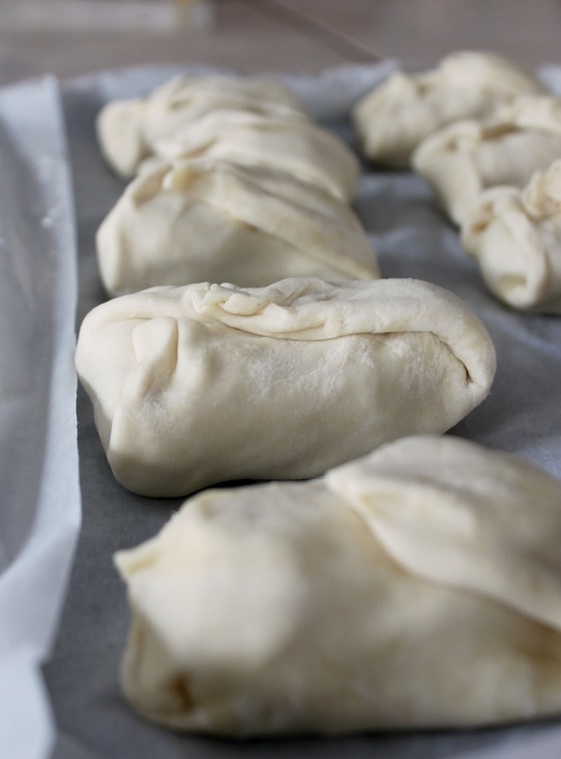 Wrapped, and awaiting the egg wash before baking These took time as far as rolling the pastry, and filling each rectangle up, but really, it is all very basic and simple work for what turns into a beautiful meal. I simply served these with a big leafy salad.  Lovely little bundles I can think of lots of other good things to put in here, but what would you add? Share your ideas!
Have a great weekend!
14 Comments
Today's post about autism is a little different. Usually I will write about my 9 year old son who has autism, and some challenge or another he faces. But today, I wanted to give a list of things NOT to say to a parent of someone with autism (so, I guess this is about autism and the challenges others face when knowing what to say, and how it makes us parents feel). I also want to say that some days hearing any of these comments can be worse than other days. If I'm having a terrible day with my son, some of these comments can leave me with a lump in my throat that turns into sobbing in the nearest empty isle at the grocery store. But on better days, I can shrug some (not all) of these things off. Not all parents of kids with autism are hurt by such comments as listed below, and that's normal too. Just like all kids with autism are different, so all parents of kids with autism are different! 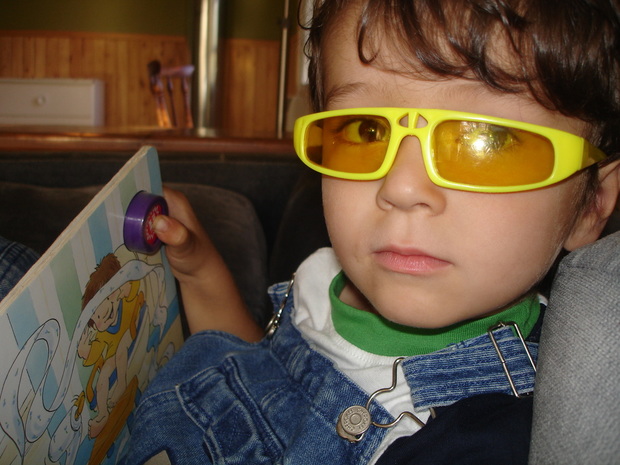 Caleb looking like Elton John What NOT to say to a parent of someone with autism (in no particular order)
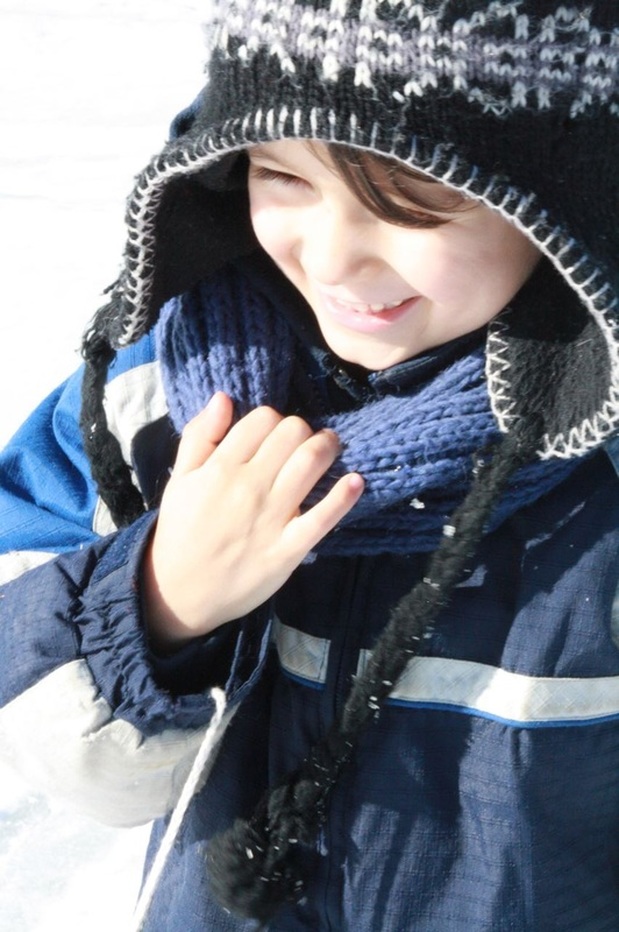 Out on the ice Do you want to know a good thing to say? Either A: Nothing (yup, just don't say what you were thinking), or B: "You're doing a great job". That is a basic, life giving compliment with nothing attached!
Perhaps I'm being too sensitive, but truth is, my thing here is to help people become more informed about autism. So, I think putting a list of things out there that us parents don't want to hear is helpful. If you have a child with autism, or special needs, what might you add to the list? I keep posting recipes for soup, and saying that you can use homemade stock, but could never remember to take pictures of making the stock to post about it! Well, I finally remembered, and here it is (well, the making of veggie stock, at least!). 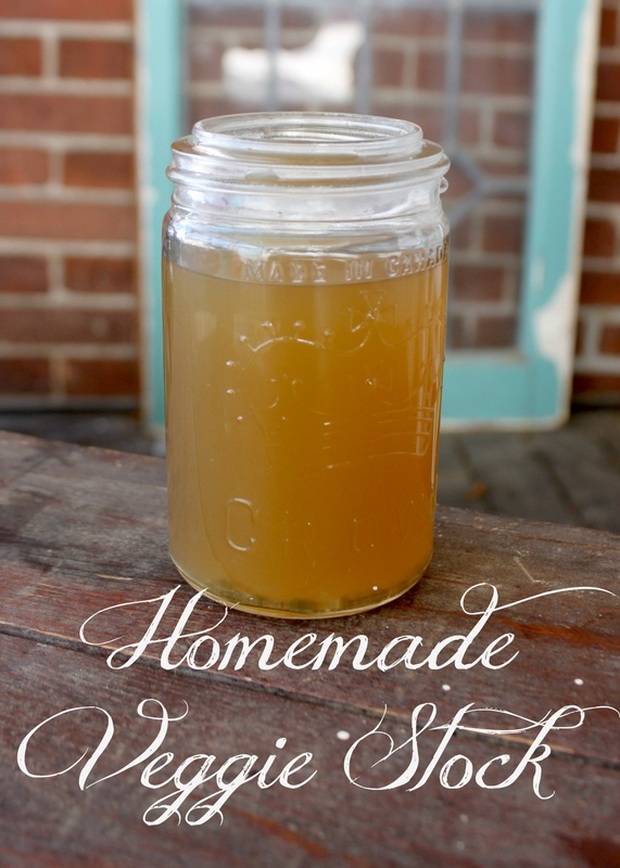 Homemade Veggie Stock Ingredients:
Method:
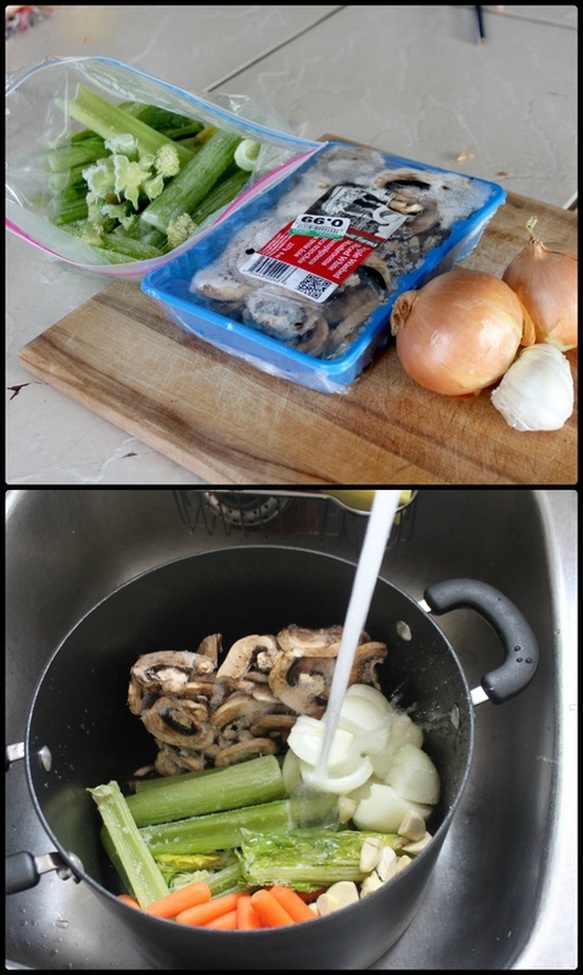 In this stock I used frozen celery scraps, frozen kale stems (I forgot about them and added them after I had filled the pot), frozen mushrooms that were marked down, 2 onions and a head of garlic. I also threw in the last of the baby carrots. As far as choosing good veggies for a stock, some are stand-outs. Mushrooms add a deep, earthy flavour, carrots give it some sweetness, and celery has a peppery taste that spices up a stock. Cutting everything up can help release some of the flavours, but I generally just throw all my frozen (or need to get out of the fridge) veggies into the pot as is, and let it really simmer down. That gets most of the flavours out. 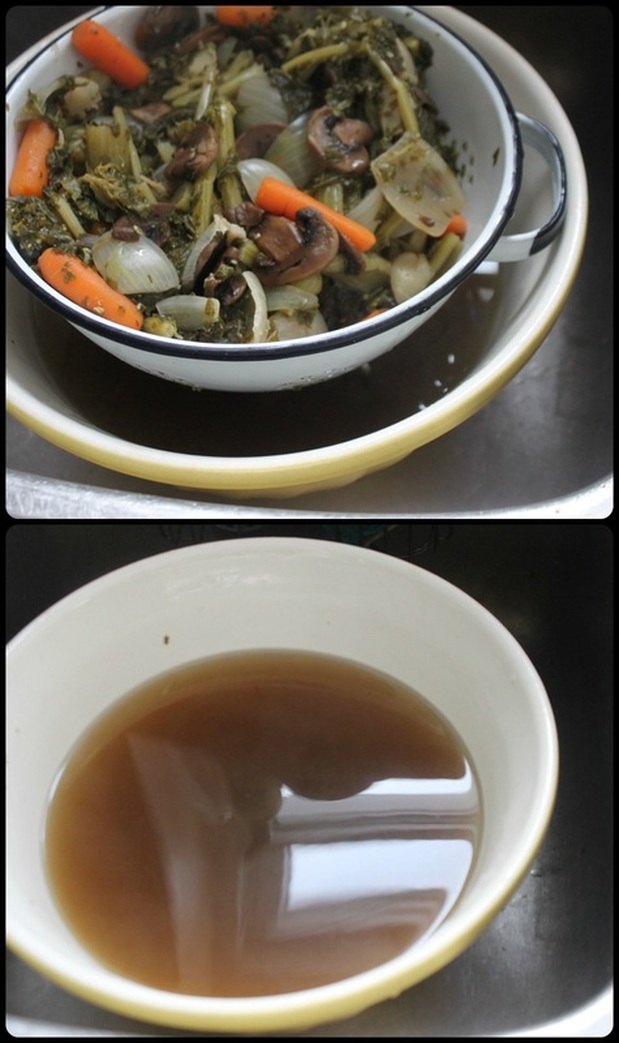 Making your own stock is simple, requires no real recipe, helps use up veggies that may have normally just been thrown away. Also, it is much better for you than the MSG laden stuff you generally find pre-made (or in bouillon, or powder form) in the grocery store. All good things in my book!  Not everyone keeps the outfit they brought their baby home from the hospital in (or the first thing they put on the baby if it was a home birth). I did though, because I wanted to remember how small my baby was, and as a special thing for them to be able to see when they were older. Only problem is that keeping a cute outfit in a baby box tucked away in a closet is not that special! I know, big surprise! So, this idea is beautiful, and a nice way to display that outfit. Two of my sisters have done this (or something similar), but I'm not sure who I stole the idea from! Either way, only one blogged about it here (the other sisters' shadow boxes made an appearance on that post too). Check out that post! 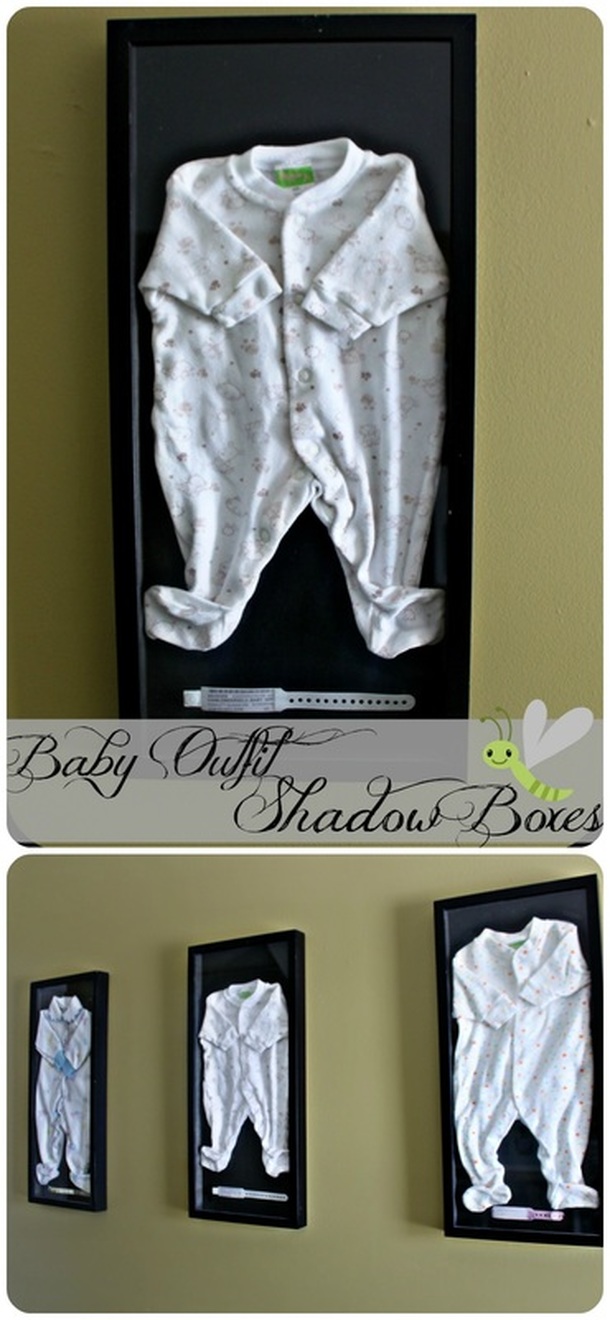 The art store "Michaels" often has good sales on their frames, and that's when I bought mine. They also always have a 40% off coupon in the flyer every week, so if you just need/want one frame, go for that! You can probably check online for a coupon too, but I'm a little old school and just bring in my little flyer clipping. It is a fairly easy process, the shadow box comes with double sided tape (though you may want to buy more, just in case). In some spots I needed to double-side tape the inside of the outfit as well (like in the collar) to keep it from hanging open-ish. Other than that, it was a fairly quick process getting it all together and hung. 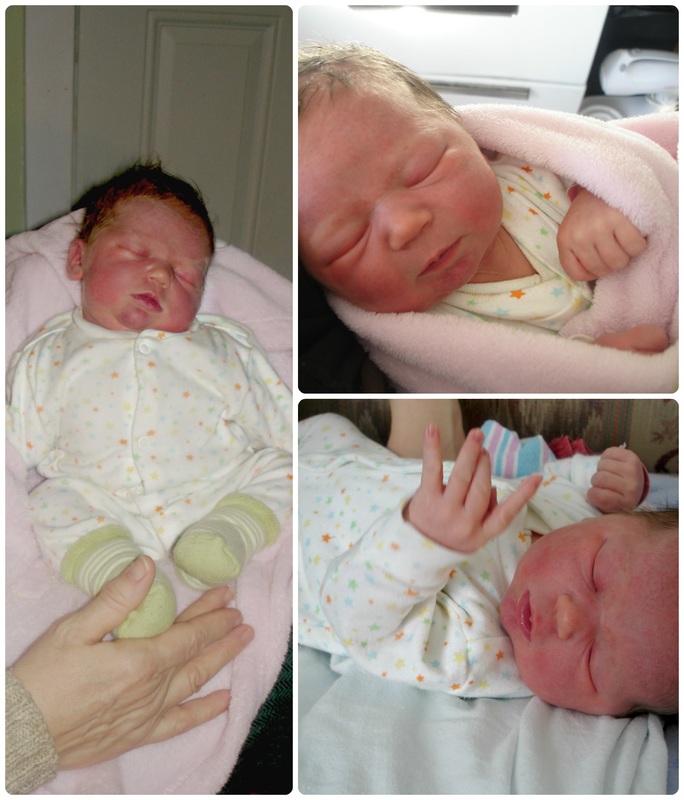 Pictured above is our Keziah as a newborn, wearing her first ever "outfit". You can see this outfit on the far right of the wall of our shadow boxes. I enjoy seeing these hanging in the hall, and am glad I stole the idea from one (or both) of my sisters! : ) xo So, a hand pie? Basically, it's a pie you can hold in your hand. I feel sure you figured that out on your own, but I wanted to fill you in just to be sure. Think of a customizable, homemade, in a flaky pie crust Pop Tart. Making hand pies this weekend came from having the kids home an extra day (snow/ice day on Friday=no school), and wanting to do something fun and different (and also easy) with them. I started with my basic pie crust recipe (it's also below), and went from there! 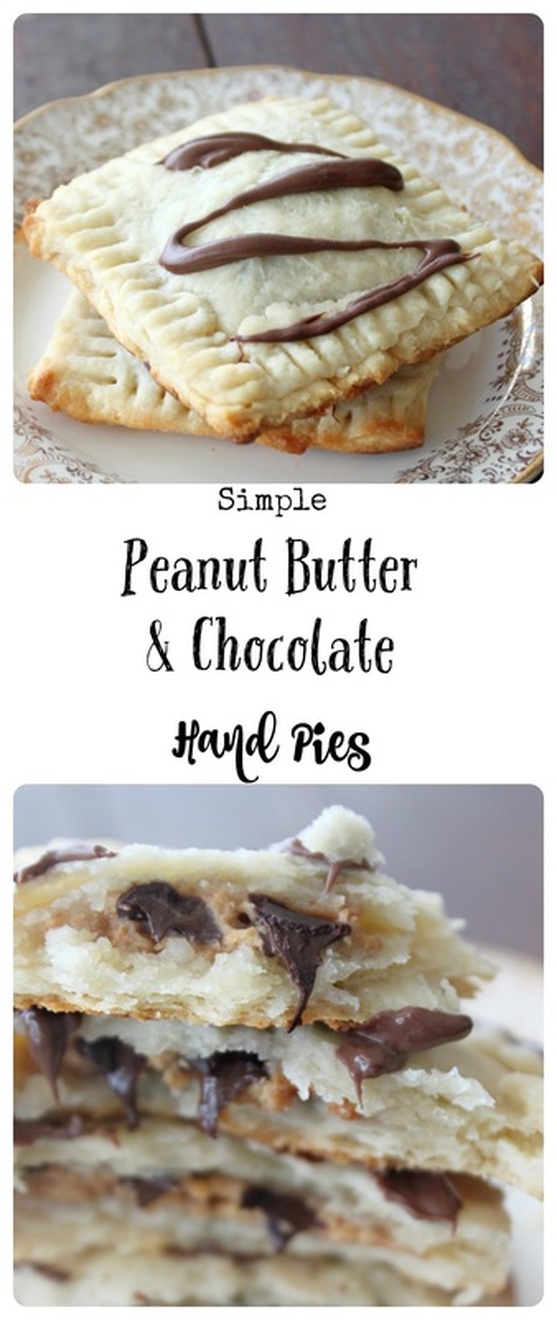 Peanut Butter & Chocolate Hand Pies Ingredients: For the Crust:
For the filling:
Or Try:
Method:
*I drizzled mine with some nutella, just because :)  The pies turned out really nice, and the girls loved getting to just hold them and not needing a plate or fork. I liked having those few less dishes to do! 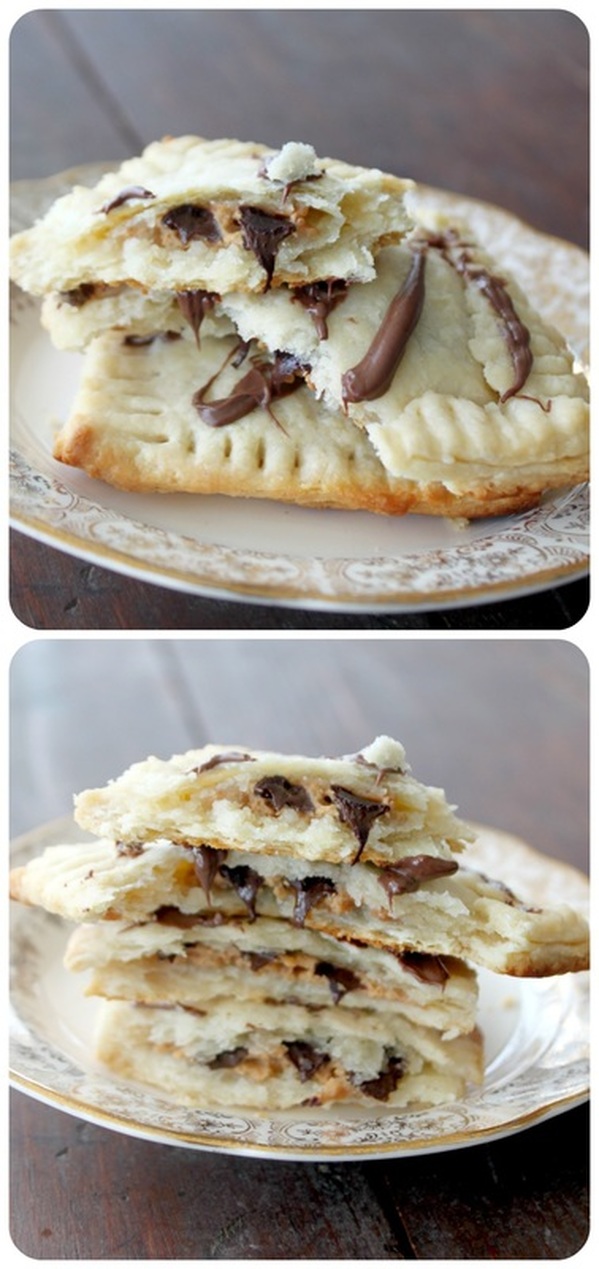 You could fill these with different jams, and make them for a breakfast or brunch with company, you could also make them like mini apple pies and bring them to a fall pot luck. I think these little beauties have lots of potential!
Happy Monday! I have a thing for mini stacked cakes. I started watching a (very cheesy!) show called Sweet Genius, and people on that show did this crazy stacked mini-cakes thing, and I loved it! Therefore, I wanted to do it! It's (obviously) a little more time-intensive than one big cake, but the end result is really darling, and seems a little more special. Plus, there's the scrap cake bits you get to eat as you go, so....right? 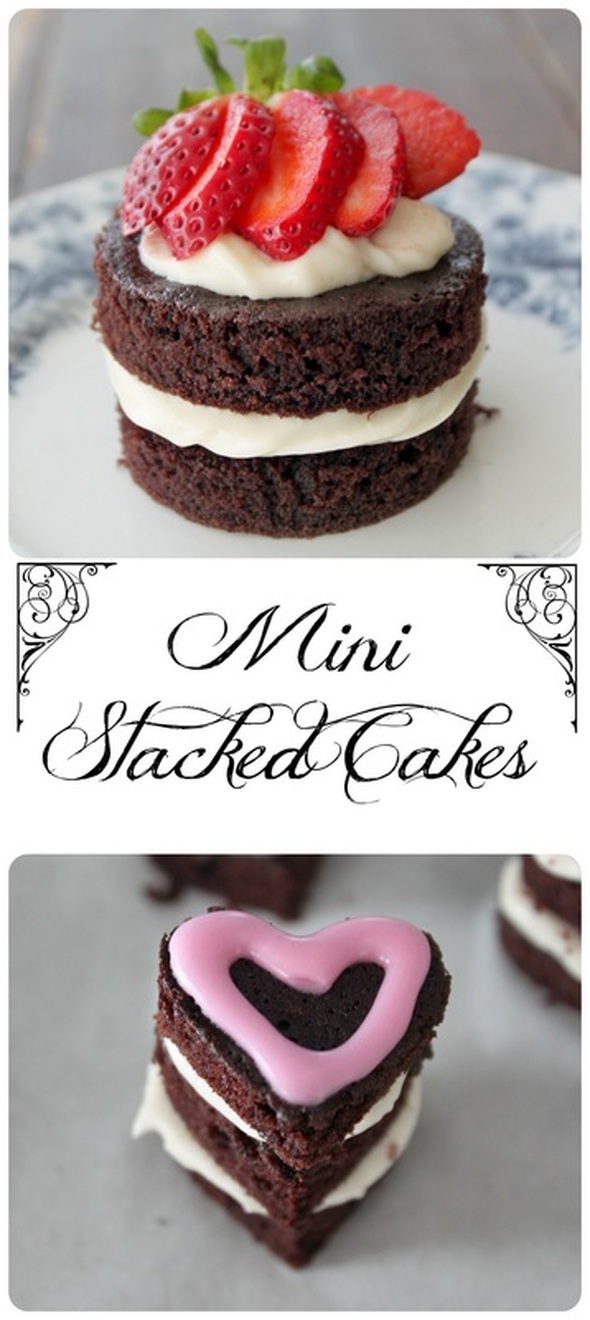 Mini Stacked Cakes Ingredients:
Method:
From here, just decide how many mini cakes you want to make, and how many layers 8. Set out as many muffin liners as you need cakes, and place one cake into each liner (if you opt out of using liners, simply place the mini cakes onto the plate you plan to serve on). 9. Pipe icing onto a cake, and top with another cake 10. Continue until you have as many layers as you want, and finish with icing and a topper 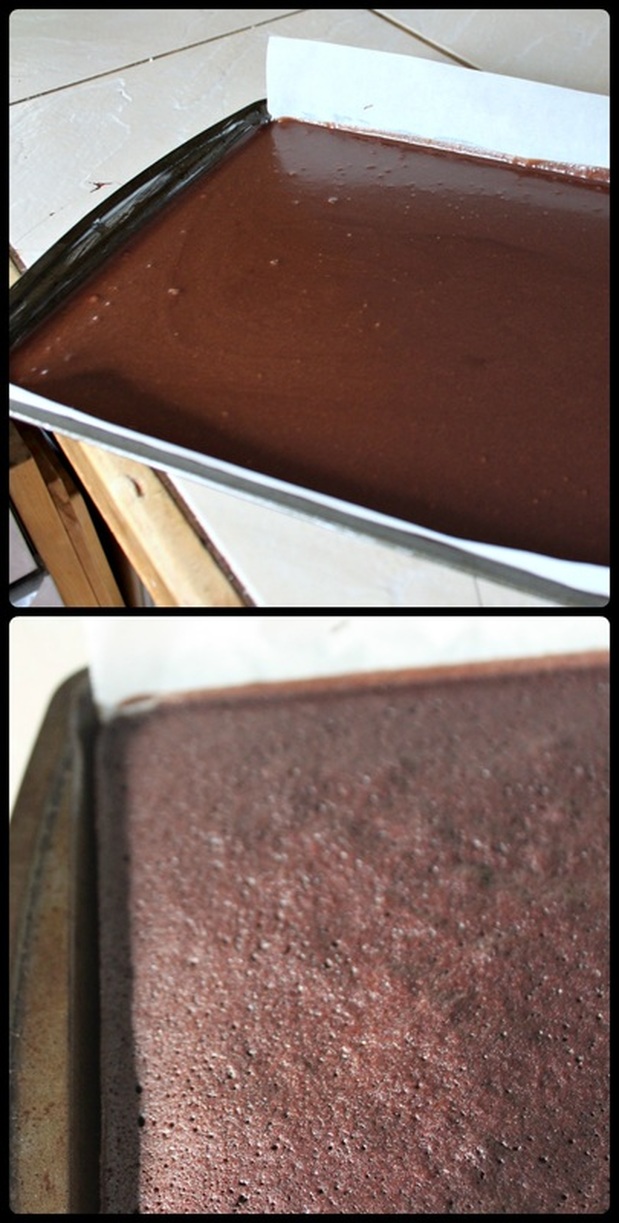 The cake poured into the cookie sheet, then out of the oven, with all it's tiny bubbles (so you know it's done). I made the mini heart shaped cakes for Valentines day, and the kids loved them! I hope everyone has a great weekend!
People often think that children with autism are fearless because of the crazy dangerous things they will do such as running out in front of cars, or jumping down from the top of a playground set instead of taking the slide down. My son with autism once climbed up the outside netting/tubing of an indoor playground (the netting around this playground was there because the top of the playing equipment went as high as the ceiling). Yet, that same day he ran away screaming from a butterfly that flew past him..... 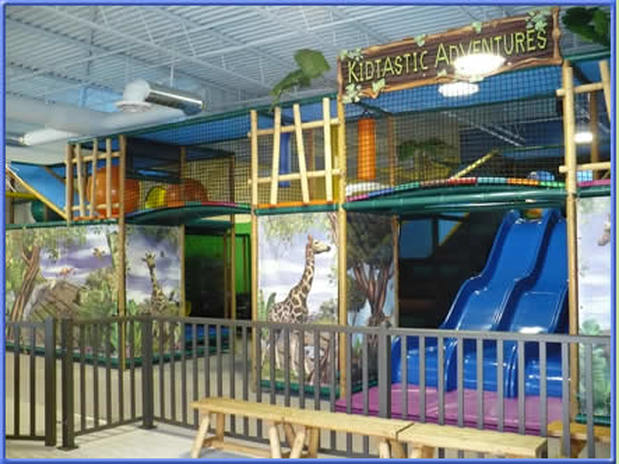 The indoor playground that Caleb pulled a "spider-man" on and was climbing up the outside. This photo does not belong to me. So, why is there such fear in surprising things (like butterflies), and no fear where others see something to fear? Part of the answer is that many children with autism are not fully aware of their surroundings. A quiet, beautiful butterfly to me might be a scary faced, noisy wing flapping medieval creature to my son who is more sensitive to sights and sounds than I am. They also have difficulty with body awareness (the relation of themselves to their environment). So, if I stood at the top of a steep hill, I would understand that if I ran down it too fast, I would likely end up toppling down, so I might choose to simply walk instead. However, a child with autism only sees the hill, and looses their understanding of themselves, and might just start running down and letting the gravity and angle of the hill take them, until they are falling. 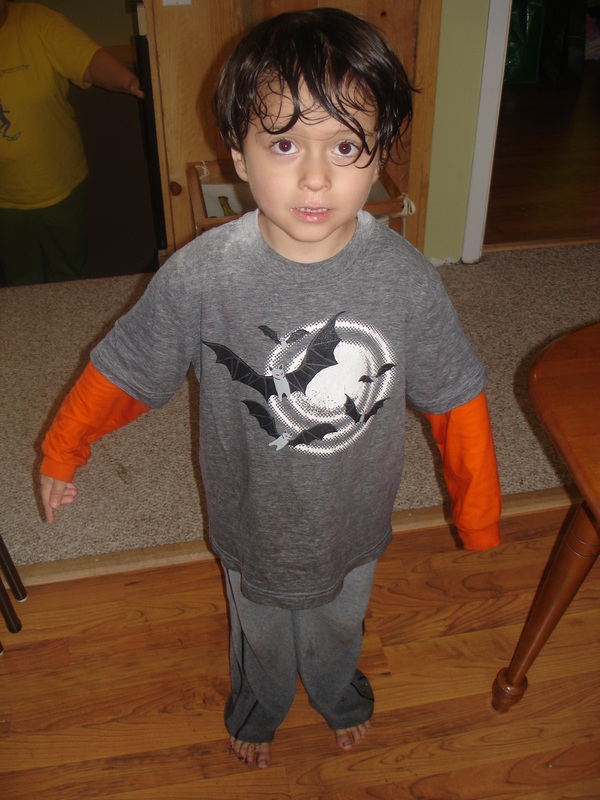 One of Caleb's lake jumps (our friend who was watching him had to jump into the lake (work boots and all) to get him out. The other answer to the question of why children with autism are so afraid of some things and not others is an underdeveloped sense of danger. In the brain, the amygdala plays an important role of processing of memory and emotional reactions, that includes fear. Research has been done that indicates this part of the brain in children with autism is often under-developed. The amygdala would generally learn what is dangerous, remember that dangerous thing, recognize it when it sees it again, and figures out what to do about it. So, understanding how the amygdala is involved with fear responses helps explain how an autistic child could run and jump off a dock into a lake without a thought, but run and hide when the micro-wave beeps. The amygdala is having trouble accurately identifying and remembering the things that should be threats in their environment. Children without autism learn about danger by hurting themselves, being verbally scolded, thinking ahead and imagining a bad outcome or recognizing signs of fear in their body (like a racing or thumping heart, or sweating). But cause and effect, language and communication, imagination and prediction, sensing and interpreting feedback from their bodies are all things children with autism struggle with. So, some dangers might just never get identified as dangerous at all.  Another lake jump! He seems happy with himself though and clearly didn't think it was a dangerous activity. Caleb literally jumped into lakes and pools again and again (and again....) as a child. Yes, we were watching him, but he was a fast little bugger when he was younger, and his sense of (real) danger was non-existent. We have had to teach him by reinforcement and rewards what is truly dangerous, and what is not.
He is learning, and getting more mature (as mature as any 9 year old regarding danger!), and I honestly have faith in him and what he is capable of doing and remembering. He knows now (finally!) not to run into water without a life jacket, or an adult present (he's getting to be a good swimmer), though he does still run away screaming when he sees a butterfly.... (he actually calls them "dragon-butterflies"). As "normal" people we tend not to notice many of the dangers around us because we assume our brains (our natural defence) will tell us when there is danger. Sometimes it's easy to forget what those dangers are, and to assume that kids will naturally avoid the things that we know to be scary or threatening. Things I've learned while raising my son with autism, and what I think all caregivers, or people who know a child with autism can keep in mind are: Teach specific rules about what they can and cannot do. Make social stories about things that are dangerous and ways they can stay safe. Explain (and explain) why things are dangerous and what could happen to them in a dangerous situation. Lastly, don’t assume that the child will naturally avoid things that you consider dangerous; just be ready to have that child get into harmful situations that other children would avoid due to fear. I used to eat cream of mushroom soup a lot back in the day. Then (whenever it was) I started trying to eat less soup in a can, I just sort of forgot about this soup. So sad. But, I started thinking about it again recently, and having had such good luck making my other soups with a cauliflower base (faux-tato soup, & roasted red pepper soup) I suddenly realized I could have been eating cream of mushroom soup all this time! What wasted time! 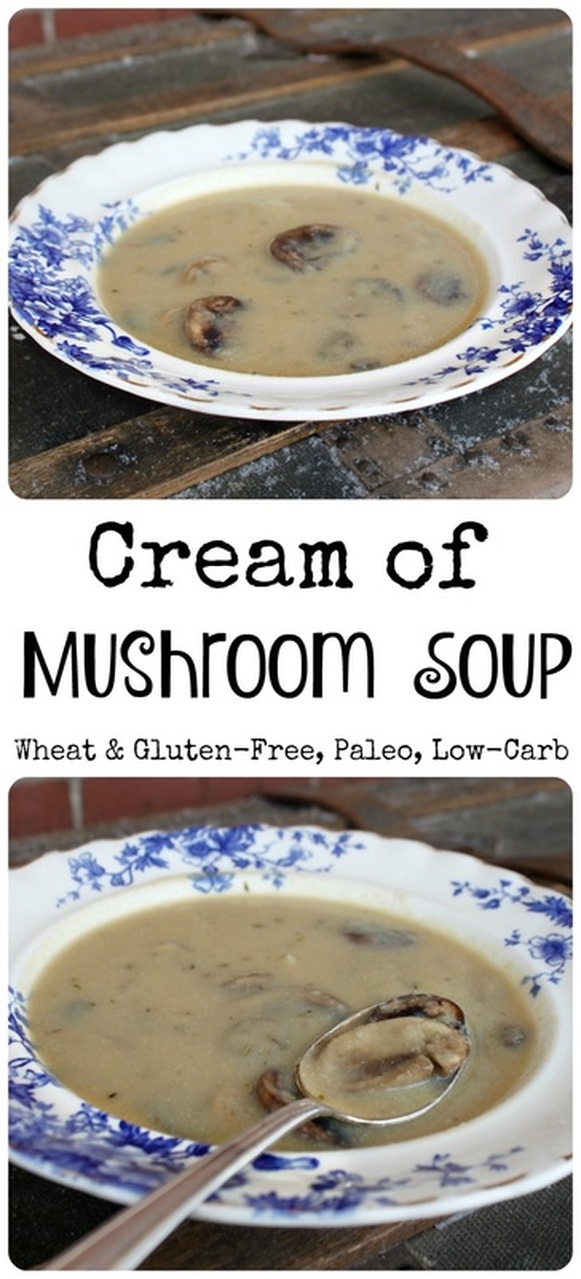 Cream of Mushroom Soup Ingredients:
Method:
*You can also steam the cauliflower if you want. Simply place in a pot, add enough water to cover half way, and bring to a boil over medium heat. Turn it down, and let it simmer 5-7 minutes, until the cauliflower is tender. Add the onion and garlic to the mushrooms to sauté. 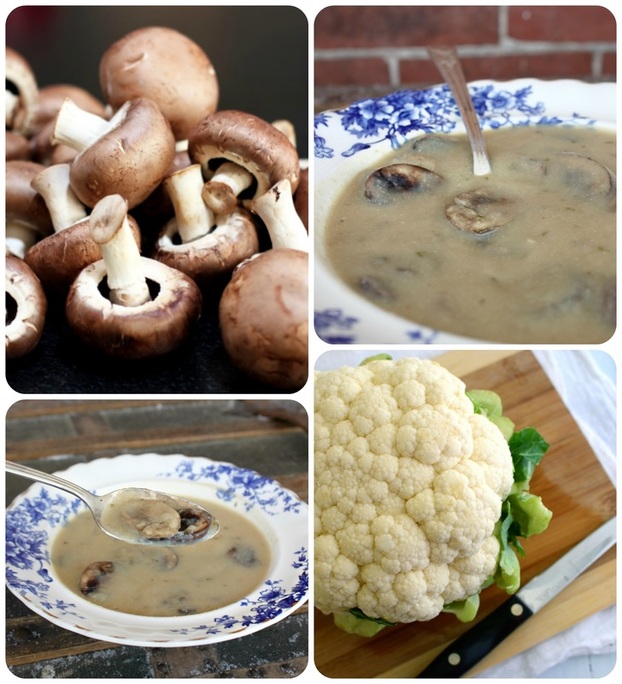 We've been enjoying a lot of soup with this fantastically cold, snowy, wintry weather! I'm fairly sick of shovelling our driveway, but I am not sick of soup! I used the leftovers to make a meat & potato casserole with potatoes, meat, cheese, and this soup, which is so tasty, simple to make, and really customizable! When we moved into this house, I found this "shelf" in the barn. Someone had taken the box that a typewriter had been delivered in, stood it on it's side, and used the top they would have taken off to build some shelves in it. It was cool. 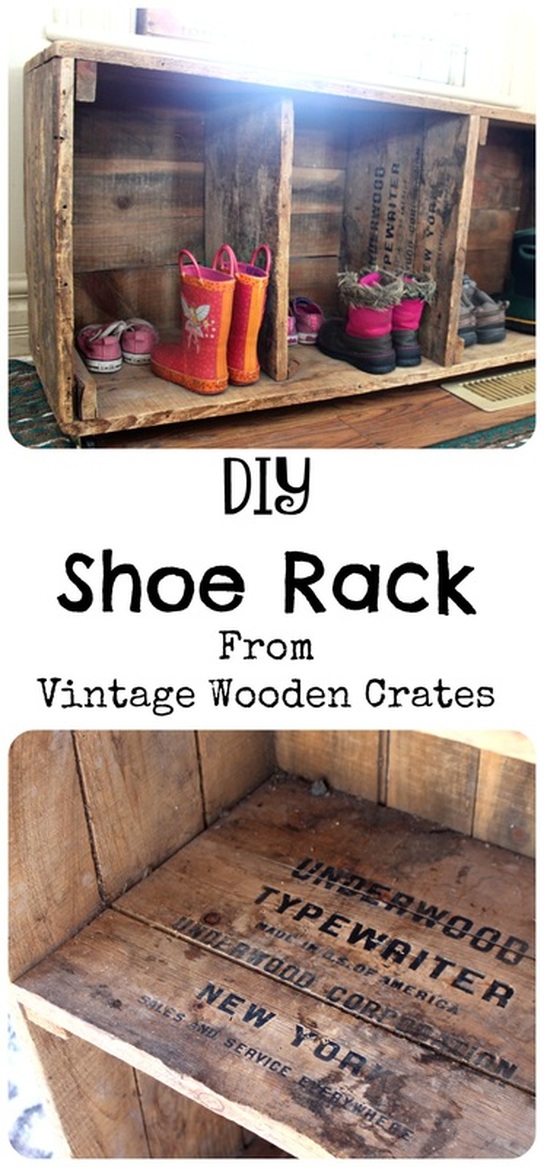 I knew I didn't want this beauty hiding in the barn, so I took it to the house, and cleaned it up. I also knew I didn't want/need it as a standing upright shelf-thingy. So, I decided it might be serviceable as a shoe holder at our front door. I picked which side I like best to be the top, and fastened some simple, inexpensive casters to the bottom four corners. I knew I would want caster for two reasons: First-This box would sit slightly over a heating vent, and I wanted to get it from sitting right on top of it all the time. And second-so that I could easily drag this out of the way for easy cleaning.  Because this was just one large box, and someone had it as a standing shelf (pictured above), all I needed to do was attach casters, and we were good to go! Even without the dividers though it would have been an excellent shelf. I really do like how it looks at our front door, and each of my three kids has their own little "cubby" as we call it. They know to put their stuff in their, and it keeps all the kids from crowding (and fighting) in front of our cramped front closet! 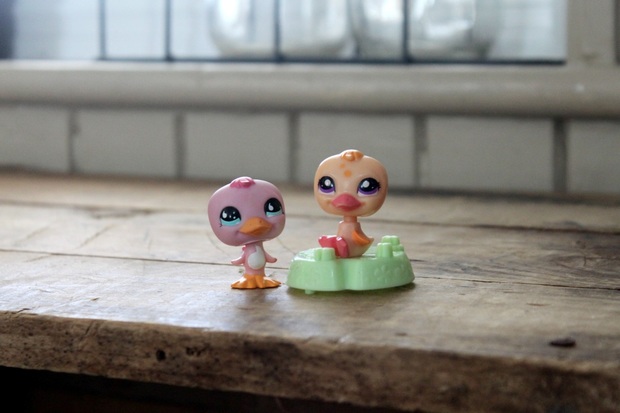 My daughter wanted me to take a photo of her ducks on the shoe shelf :) Other Ideas! Knowing that huge typewriter boxes aren't always readily available, and that not everyone will find one in their barn, I've included some other shoe racks from wooden crates for you to be inspired by! 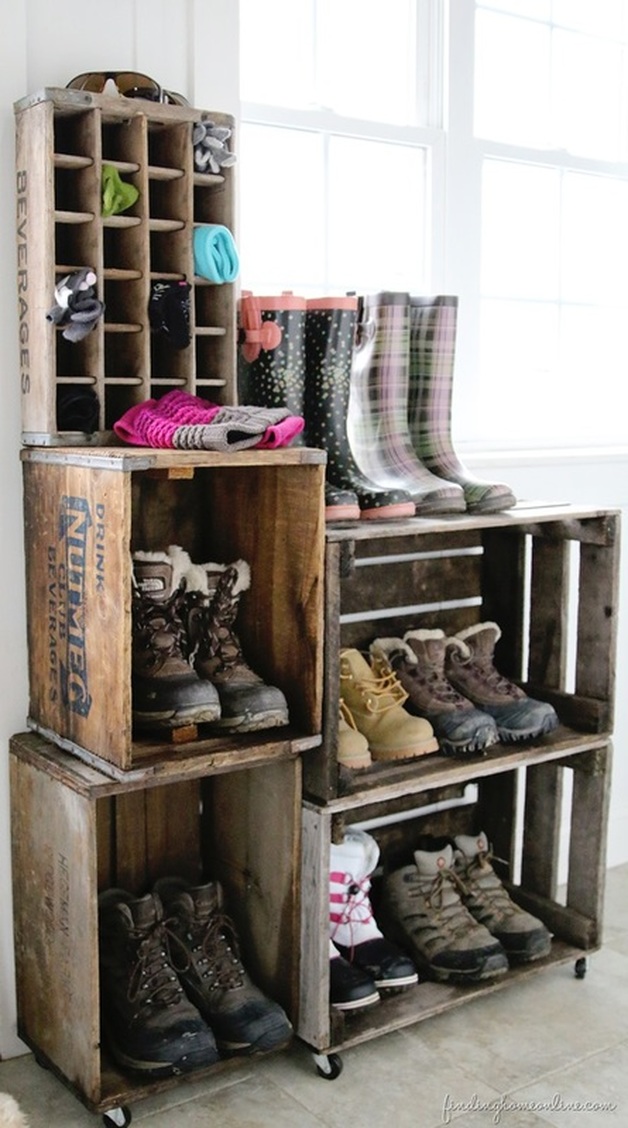 At Finding Home Farms there is this beautiful shoe rack from multiple wooden crates. Find the tutorial here. 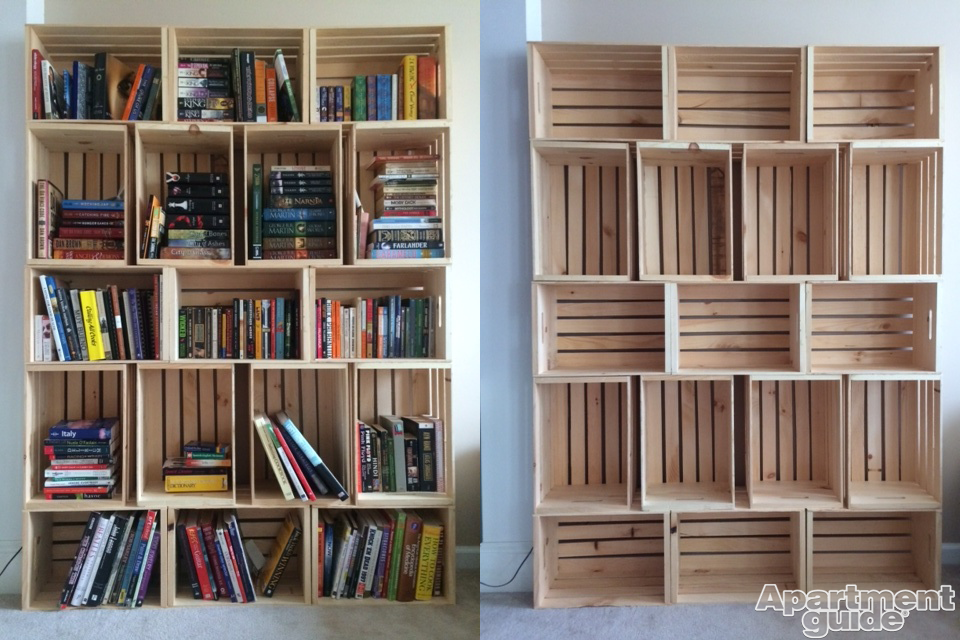 If you can't find/can't be bothered to find vintage crates, you can find new ones at stores like The Home Depot, Canadian Tire, Michaels, and Wal-Mart. Apartment Guide has a tutorial on how to accomplish this shelving from these new wooden crates. It shows the shelves with books, but it can obviously be made to the size you need and used for shoes & boots! Click here for that tutorial! 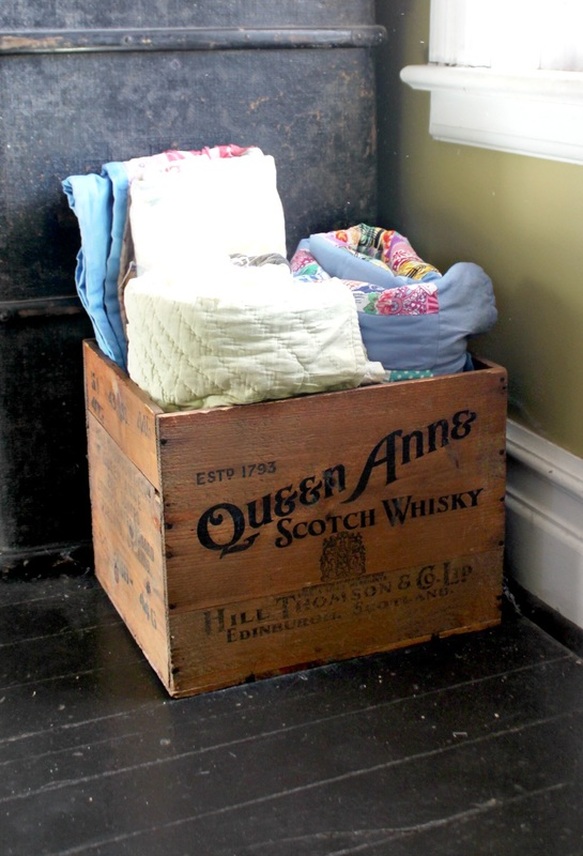 Using an old crate to hold quilts for display and for guests to be able to grab if they are sleeping over and are freezing in our old house! Some of my other uses for old wooden boxes (and steamer trunks) can be seen here. I love finding old things, and bringing them back with a new job, it often saves us money, and is always one-of-a-kind! When I first got married 10 years ago, I couldn't cook (at all!), and didn't bake that much either. I liked to try, and would sometimes make a wonderful cake, or a great batch of cookies, but besides some good moments, I was a dolt! One thing I used to buy a lot was the Pillsbury pre-made pie crust, or the Robin Hood Flaky Pie Crust mix. Both were good, flaky crusts, and were simple to use, but the prices weren't usually the best. Anywhooo, short story long, at some point I realized I needed to face my fear of pie (and tart) crusts, and make my own. Holy jumpin' it's easy! 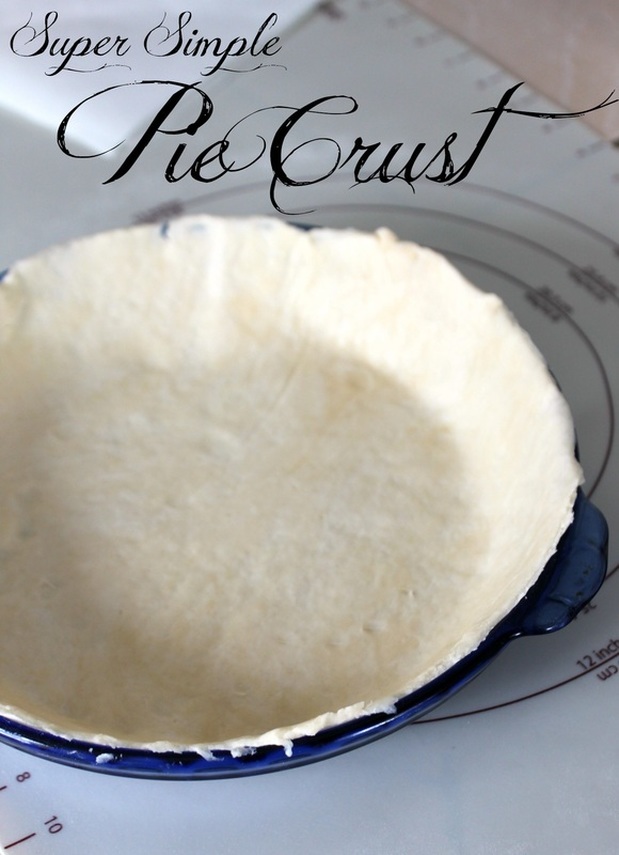 Super Simple Pie Crust makes 1 (one) 9 inch pie shell, or roughly 12 tart shells Ingredients:
Method:
*See below for tips on pre-baking. 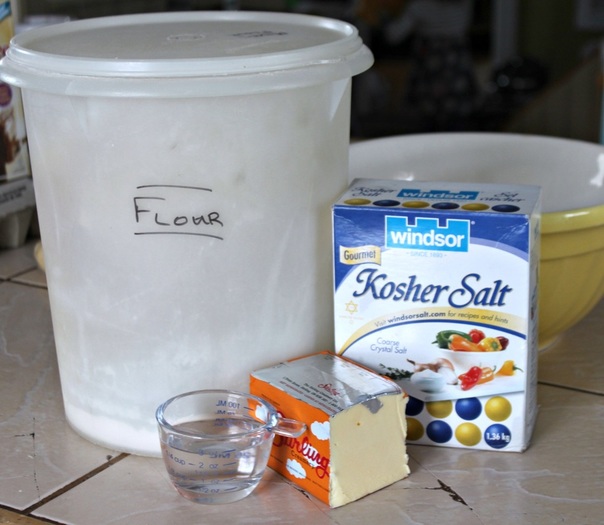 All you need to make your own pie crust Some pie recipes want you to bake the crust first, and other recipes don't. If your not sure what to do, usually you would pre-bake a crust when the filling is liquid or when the filling itself is not baked (like a no-bake cheesecake filling). If your recipe calls for a pre-baked pie crust, freeze the crust in the pie plate for at least half and hour, this is an important part of pre-baking a pie crust, as it will help keep the sides of the pie from sliding down when you bake it. 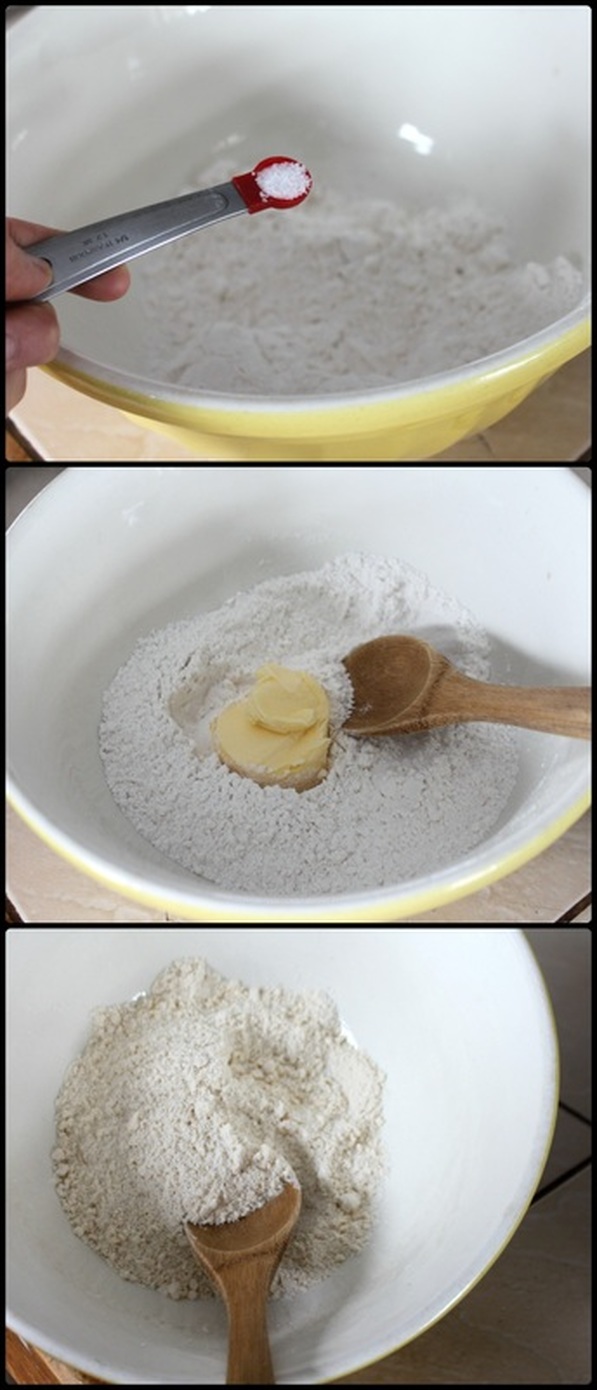 Simple steps The way I do a pre-baked crust:
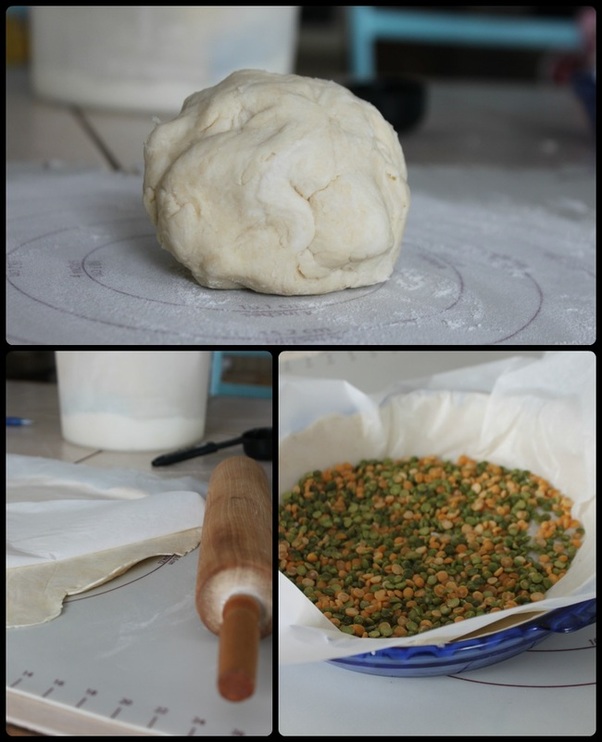 That bottom right photo is my pie crust getting ready for pre-baking. I use dry lentils for pie weights. You can put the weights you use back into an airtight container for re-use as pie weights in the future. Just be sure to to label the container so you don't cook them to eat! Really easy right? I know, I sort of felt like a dork when I realized how simple it was! I have used this crust recipe for fruit pies, custard pies, meat pies, and quiches. It is just a flaky, not too sweet vessel for whatever you can imagine! |
Hi, I'm Amy-Lyn! 
I am the lady behind this here blog! I live in the sticks with my animals, my super handsome husband, and my
3 amazing kids! Here you'll find things from recipes (gluten-free, paleo, and strait up junk food!), DIY ideas, thoughts on raising a son with autism, and whatever else pops into my brain! : ) Read more about me by clicking here! Want to Stay Connected?
Find What
|
 RSS Feed


