Bushel & A Peck
  • Blog
  • Health & Fitness
  • Artist Biography
  • Paintings
  • Photography
  • Drawings, etc.
  • About Me
  • Contact Me


Hand Pies

2/24/2014

3 Comments

 
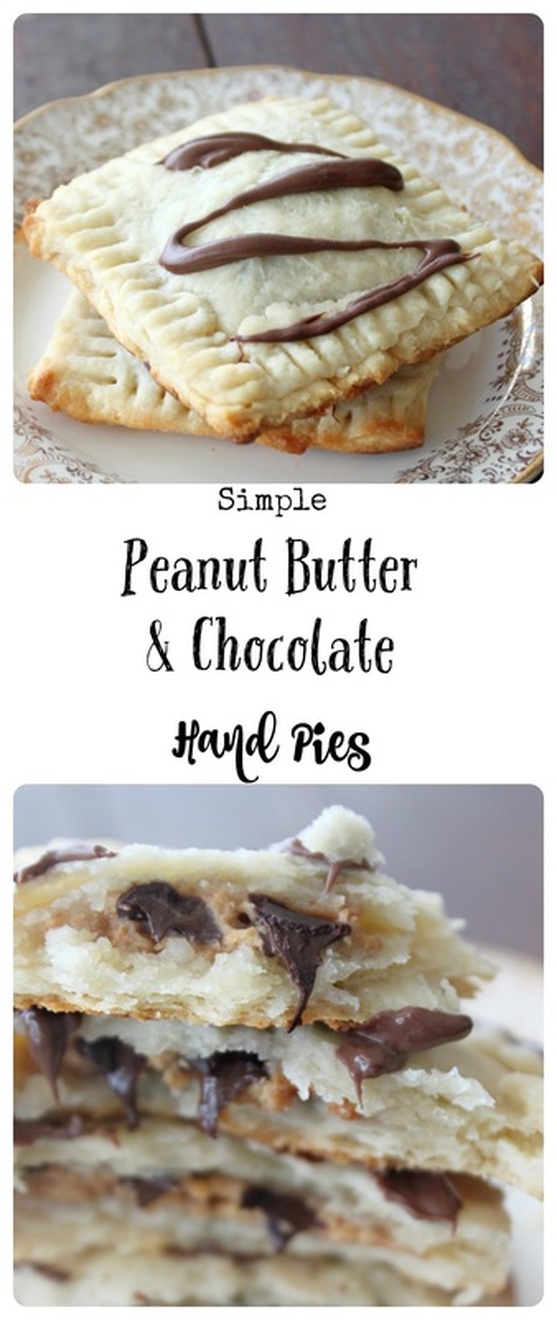
   So, a hand pie? Basically, it's a pie you can hold in your hand. I feel sure you figured that out on your own, but I wanted to fill you in just to be sure. Think of a customizable, homemade, in a flaky pie crust Pop Tart. 
   Making hand pies this weekend came from having the kids home an extra day (snow/ice day on Friday=no school), and wanting to do something fun and different (and also easy) with them. I started with my basic pie crust recipe (it's also below), and went from there! 
Picture
Peanut Butter & Chocolate Hand Pies

Ingredients: 

For the Crust:
  • 1 1/4 cups all-purpose flour
  •  1/4 tsp salt
  • 1/3 cup cubed, cold butter, or vegetable shortening
  • 4 to 7 Tbsp cold water


For the filling:
  • Peanut butter & chocolate chips
 
Or Try:
  • Peanut butter & Jam
  • Peanut butter & Nutella
  • Jam (your favourite kind)
  • Marshmallow fluff and chocolate chips
  • Apples and cinnamon


Method: 

  1. Heat oven to 375 degrees F. Line a baking sheet with parchment, set aside. 
  2. In a large bowl, measure the flour & salt, and gently stir to combine
  3. Add butter (or shortening) to bowl, and using 2 knives, or a pastry cutter, or your own chilled hands (run them under really cold water), work the butter into the flour and salt until it you have coarse crumbs.
  4. Add the cold water, one tablespoon at  time, and mix using a wooden spoon until you have a nice, thick dough. (the amount of water you use will vary from place to place, as well as from season to season). You may need to use your hands to incorporate all the flour. Roll dough into a ball.
  5. Place the dough ball out on a sheet of wax or parchment paper, and squish it down to an approximate rectangle. Place another sheet of wax or parchment paper over the squished rectangle of dough, and using a rolling pin, or a large can, roll the dough out to  approximately a 10 x 20 inch rectangle.
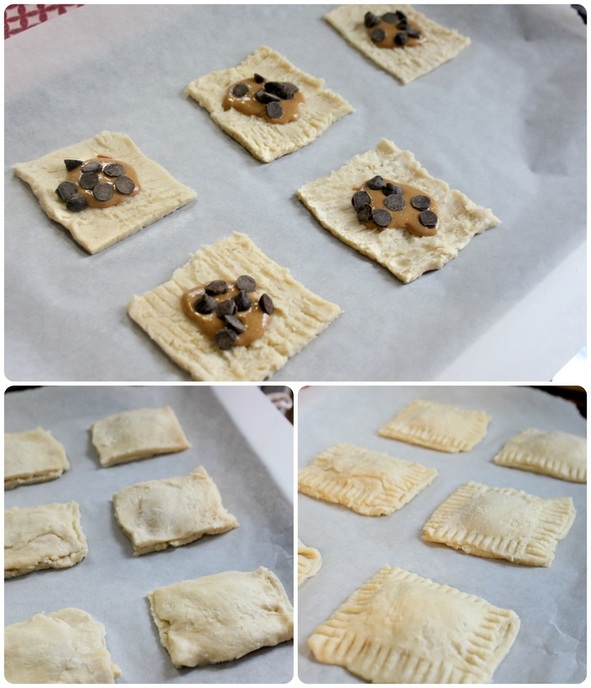
  6. I simply cut this rectangle into squares using a knife, but you can use a circle, or heart cookie cutter also. Whatever you choose, be sure to have an even number of shapes cut because you need bottoms and tops for each pie!
  7. Lay half of your cut-outs on the parchment lined baking sheet, and fill with whatever filling you decided on. Place filling in the middle of the crust, and resist the urge to cram them full! This will result in leaky, messy pies! : ) 
  8. Place the remaining cut-outs on top, and squish edges down gently with a folk to seal. You may sprinkle the top with some sugar if you wish.
  9. Bake for 12-15 minutes until tops are golden.
  10. Place on cooling rack for 10 minutes. Eat warm, or let cool completely, and eat cold 

 *I drizzled mine with some nutella, just because  :)  
Picture
 
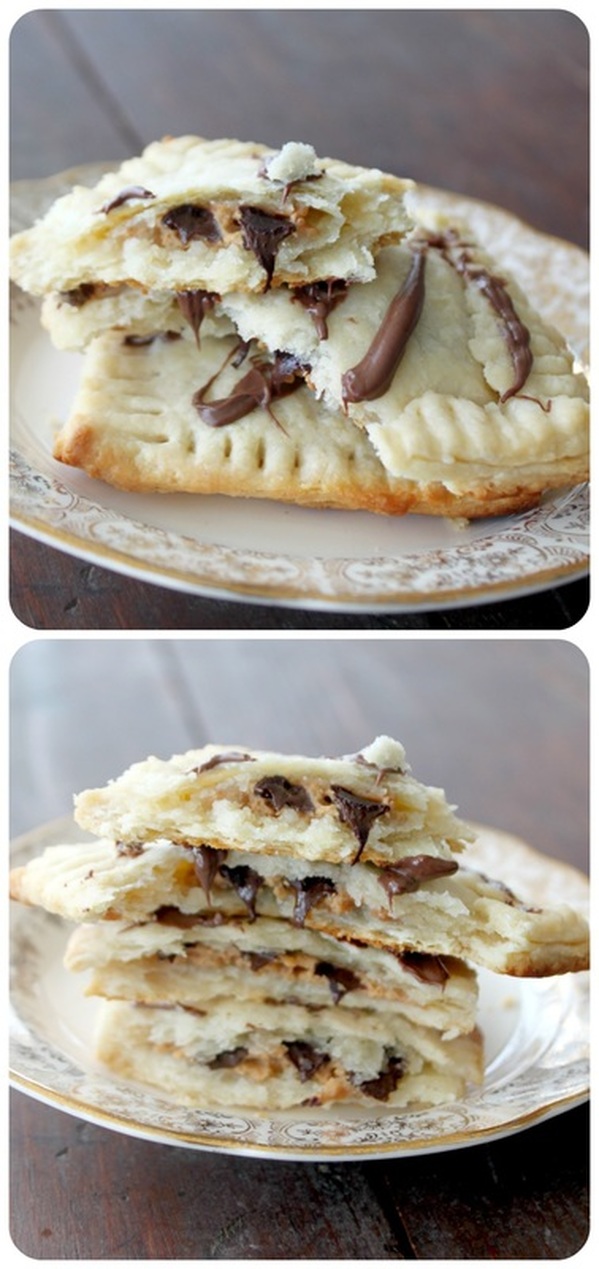
​   The pies turned out really nice, and the girls loved getting to just hold them and not needing a plate or fork. I liked having those few less dishes to do! 
Picture
   You could fill these with different jams, and make them for a breakfast or brunch with company, you could also make them like mini apple pies and bring them to a fall pot luck. I think these little beauties have lots of potential!
    Happy Monday!    
3 Comments
Sarah
2/23/2014 09:09:12 pm

MMM looks delicious!!!

Reply
Sharon Vanden Enden
2/24/2014 05:59:32 am

Despite the name (I think of fingers and cut up chunks of palm in a pie… like Brothers Grimm stuff) I am definitely trying this next weekend when the stove is on!

Reply
dina link
2/24/2014 10:02:18 am

they look delish!

Reply


Leave a Reply.


    Welcome To
     Bushel &
    A Peck!

    Hi, I'm Amy-Lyn!

    Picture
    I am the lady behind this here blog! I live in the sticks with my animals, my super handsome husband, and my
    ​ 3 amazing kids! 
    Here you'll find things from recipes (gluten-free, paleo, and strait up junk food!), DIY ideas, thoughts on raising a son with autism, and whatever else pops into my brain! : )  

    Read more about me by clicking here!

    Want to Stay Connected?

    RSS Feed


    Subscribe to my mailing list!

    * indicates required

    Find What
    ​You're Looking For on the Site!


    Vitacost.com

     Most Popular Posts

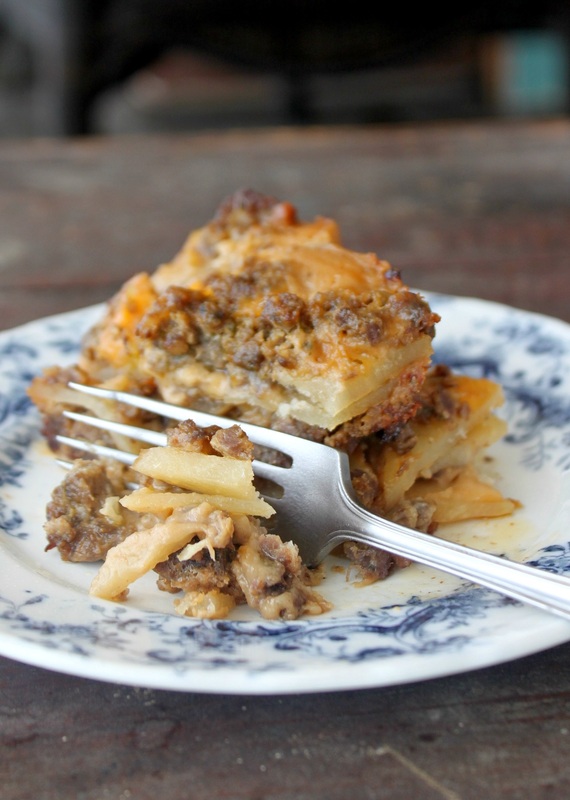
    Meat & Potato Casserole
    Gluten-Free Meat & Potato Casserole
    Picture
    D.I.Y Tea Cup Bird Feeder
    Picture
    Mini Caprese Kabobs

    Featured in The Huffington Post

    Picture
    Paleo Double Chocolate Avocado Cookies

    Featured in Woman's Day

    Picture
    Chicken Bundles


    Categories

    All
    Antiques
    Autism
    Birthday
    Breakfast
    Chocolate
    Dessert
    Diy
    Family
    Five Minute Friday
    Giveaway!
    Gluten Free
    Health-fitness
    Lunch/Dinner
    Miscarriage
    Motivational Monday!
    Muffins
    My Thoughts...
    Nifty Ideas
    Paleo
    Primal
    Recipes
    Sandwiches
    Soup
    Tea Party


    Some of my favourite products! 


    Archives

    September 2017
    August 2017
    June 2017
    May 2017
    April 2017
    March 2017
    February 2017
    January 2017
    December 2016
    November 2016
    August 2016
    July 2016
    June 2016
    May 2016
    April 2016
    March 2016
    February 2016
    January 2016
    December 2015
    November 2015
    October 2015
    September 2015
    August 2015
    July 2015
    June 2015
    May 2015
    April 2015
    March 2015
    February 2015
    January 2015
    December 2014
    November 2014
    October 2014
    September 2014
    August 2014
    July 2014
    June 2014
    May 2014
    April 2014
    March 2014
    February 2014
    January 2014
    December 2013
    November 2013
    October 2013

    my foodgawker gallery
  • Blog
  • Health & Fitness
  • Artist Biography
  • Paintings
  • Photography
  • Drawings, etc.
  • About Me
  • Contact Me