|
So, it's no secret by now that I have a thing for s'mores! Let's just get over it, and enjoy another s'more inspired recipe! It may be a secret though that I have always been leery of baked cheesecakes. Generally (not always) they are more dry than I want them to be....it's cream cheese for goodness sake, why is it dry?!? So, I just haven't really had a desire to make one....until now! I had a notion to make a s'more cheesecake, and Googled it--wow, there are a lot of people out there who are as nutty as I am (hazaa!)! So, I took bits and pieces from the things I saw and read, and made one of my own! 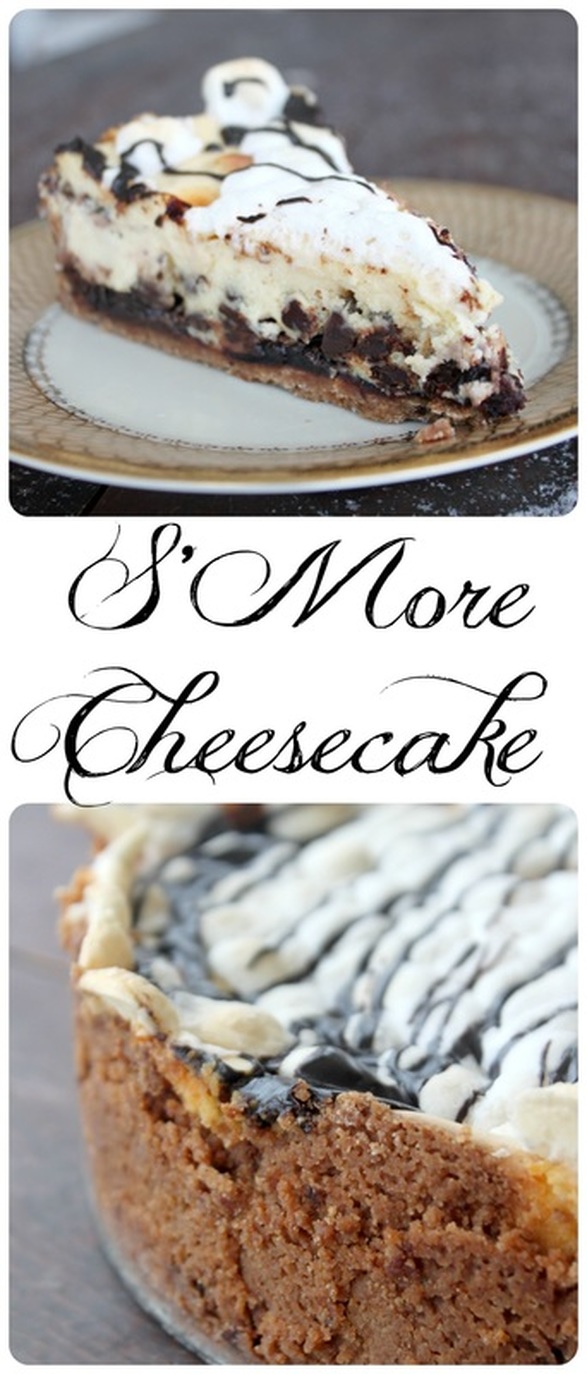 S'More Cheesecake Ingredients For the Crust:
For the Cheesecake
To Garnish:
Method:
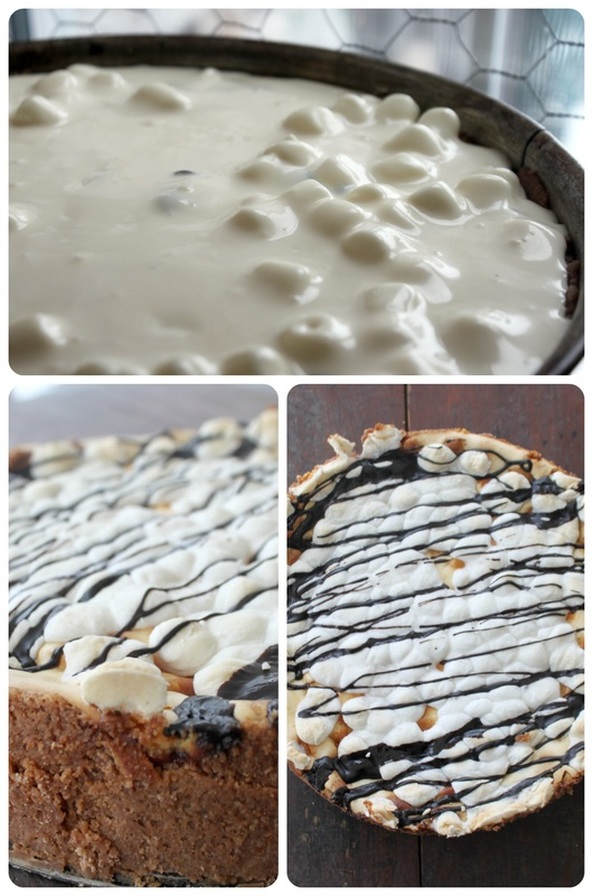 The cheesecake ready to go in the oven, then baked, cooled and ready to be cut & eaten! Well, this cheesecake is just too yummy to describe! The crust turned out so nice, and the cheesecake was moist (thank-you sweetened condensed milk), the chocolate was rich, and the mallows on top were a campfire dream (....I'm I the only one who dreams in campfire s'mores?). The mallows in the cheesecake mix just vanish (they sometimes do that), but they added a really nice lightness to the cheesecake. 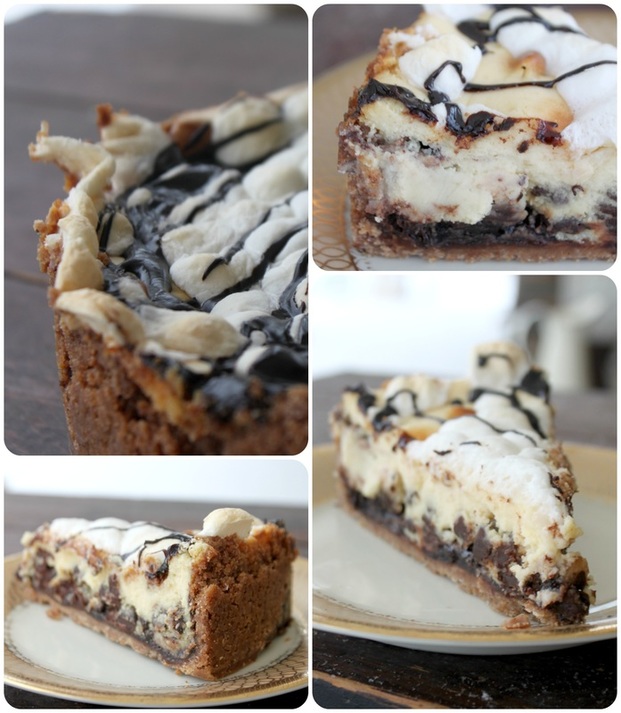 Yum, look at that crust! And the cheesecake itself is nice and creamy, with a perfect layer of chocolate in the bottom. Happy weekend!
3 Comments
Everyone everywhere is looking for something beyond themselves. Spirituality is something this current culture looks for in many things. It makes me wonder about my son though. Does his autism create a block where the entire idea of "spirituality" is too fuzzy and far off (people with autism tend to be very literal, and only grasp concepts that they can see, hold, touch, taste, smell, etc. {Caleb smells a lot of things!|)? 
I, as a Christian (one who loves, believes in, & tries to follow God) want to be able to teach my values and understanding of God to my son. But I honestly don't know how to go about it....he makes me pray with him every night (& if I forget he will shout, very mono-toned, "Mom to pray with Caleb!!!"), and if he is upset and crying he will sometimes say, "Jesus is very upset!" (he sometimes has a hard time saying how he feels sometimes, so he will often say someone else's name). But, these things don't necessarily seem "spiritual", but more routine or habit. The video below is of Caleb reading a prayer at a school assembly. It's actually a funny & cute video (not serious), but I liked it. Can Caleb understand that he has a creator who made him (perfectly imperfect), and loves him? Will he understand something so far beyond himself, and yet so close, that will give him hope in hard times, a peace and reassurance, and eternal perspective? I'm not sure.
How do you teach your special needs (or regular) children about things so abstract like a relationship with God, or even virtues like temperance, prudence, courage and justice? And how do I teach my beautiful, wonderful son that he was created by God for a special purpose, that he is not broken, but whole, because of a God who made it so? He (and his autism) are not just accidents of nature, but deliberate paint strokes by a creator who saw in my Caleb a work of art. I honestly pray that Caleb can know and understand these things someday. I've been on an "italian" kick lately. The flavours of tomato, basil, mozzarella, garlic... yumm! So good with so many things! I generally don't buy chicken breast because it is waaaaaay too expensive, but there was a great sale on, so I snacthed some up. You could use boneless thighs too if you wanted/had them. This dish is so simple, tastes really great, and it can even be prepped ahead of time, covered, stored in the fridge and cooked later.  Tomato, Artichoke, & Cheese Chicken (makes 4 dinner servings) Ingredients
Instructions
Garnishing with fresh, chopped basil looks and tastes great, but isn't necessary.  This is such a tasty dish, and so easy to put together, plus the leftovers are good too (if there are any left overs!)!
So, my closet wasn't the worst, but it had been a little ransacked during the holidays. It was the last on my list of things that needed some attention once life was back to "normal" (whatever that is...) after Christmas. It's not some amazing transformation (at all), but I do have a few tips to share (in case your closet could use some help too)! 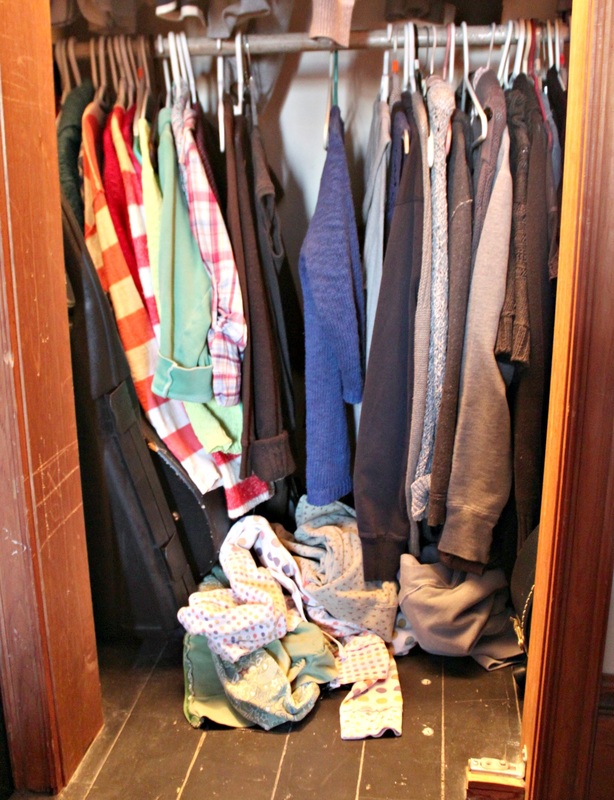 Post-Christmas Mess So, not too bad, but there was a lot of stuff that had been thrown in, pulled down/fallen down on the floor. Also, my closet makes a great hiding spot for children playing hide-and-seek, so I blame my kids for some of this mess. Sheesh. As for the clothes themselves, they were "out of order". Um, yes, that's what I said, "out of order". I like to have my clothes in their colour groups, and in those groups, I like them to be with their similars (not a real word, fyi). So, knitted with knitted, sweatshirts with sweatshirts, etc. 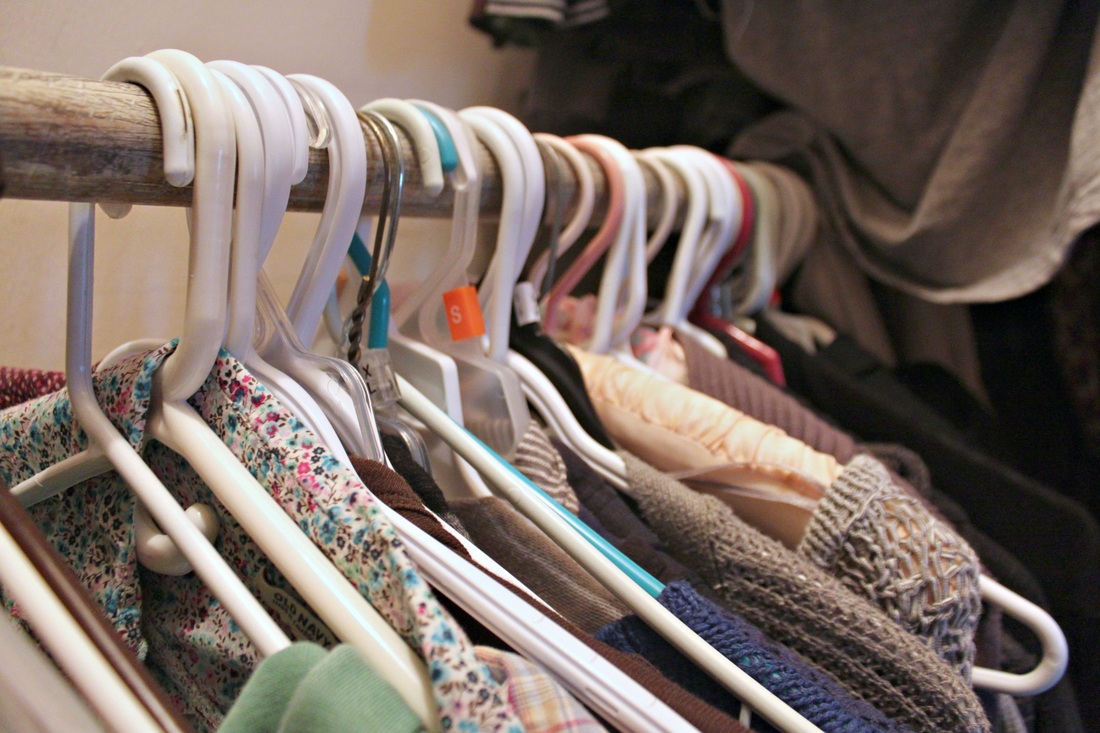 Year End Hangers. Time to get rid of some clothes! So, here you see the hangers are all facing different directions-that, my friend, is on purpose. Every new year, I turn my hangers the "wrong way". As I wear things, I put them back the "right way" (it doesn't count as wearing something if you just pull it out and try it on. You need to actually wear it!). At the beginning of the next year you have a clear, un-biased view of what you actually did and didn't wear by looking at the hangers and which ones are still the "wrong way". You would be surprised what sits in a closet for a whole year! 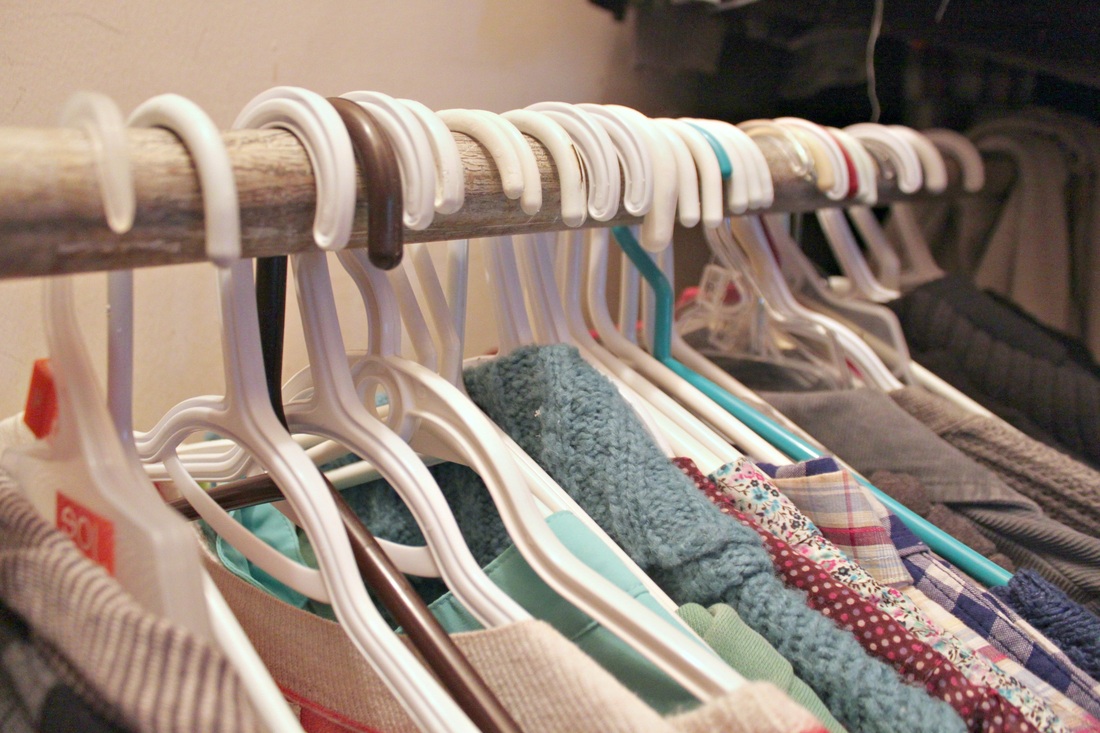 Here's the clothes now, ready for a new year (all hanging the "wrong way"). 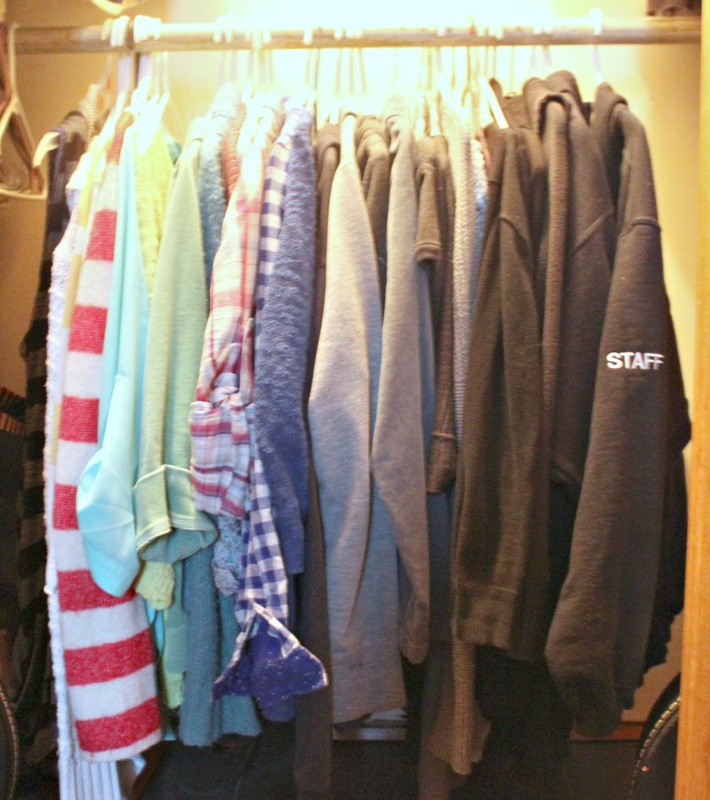 Like I said, nothing amazing, but it's been re-colour organized, "weeded", and the hangers are facing the "wrong way" ready for a new year! Well, back to "colour grouping" my clothes. I find this helps with 3 things:
1. You can see that you maybe own too much of one colour, and should lay off it for a bit (me and black....). 2: When you get dressed, you have a clearer picture of what you have to choose from. You don't have to rifle through your entire closet looking for that one blue sweater, you can just quickly go to "blue", and know it'll be there (....and if it's not, it's in the laundry, or a closet monster ate it). 3: It makes it easier to keep the closet tidy when you know where you are putting something away. I am good at putting things back in their proper place (as long as I am actually hanging it up, not throwing it in!), but when I ask my (hide-and-seek) kids to tidy up their mess, they have no respect for my colour code and just hang things willy-nilly. Sheesh. :) So, that's it! I got my 4 things done that I wanted to after all the hubbub of Christmas had settled! It feels good. As a (slightly crazy) stay-at-home Mom, checking things off my to-do lists helps me feel like I may actually still posses skills beyond endless dish washing and meal making (p.s., neither of those things are ever on my actual list of to-do's). I've expressed my love of those single serve micro-wave dessert type things (like this one), well, here's another one for those who share this love of mine! 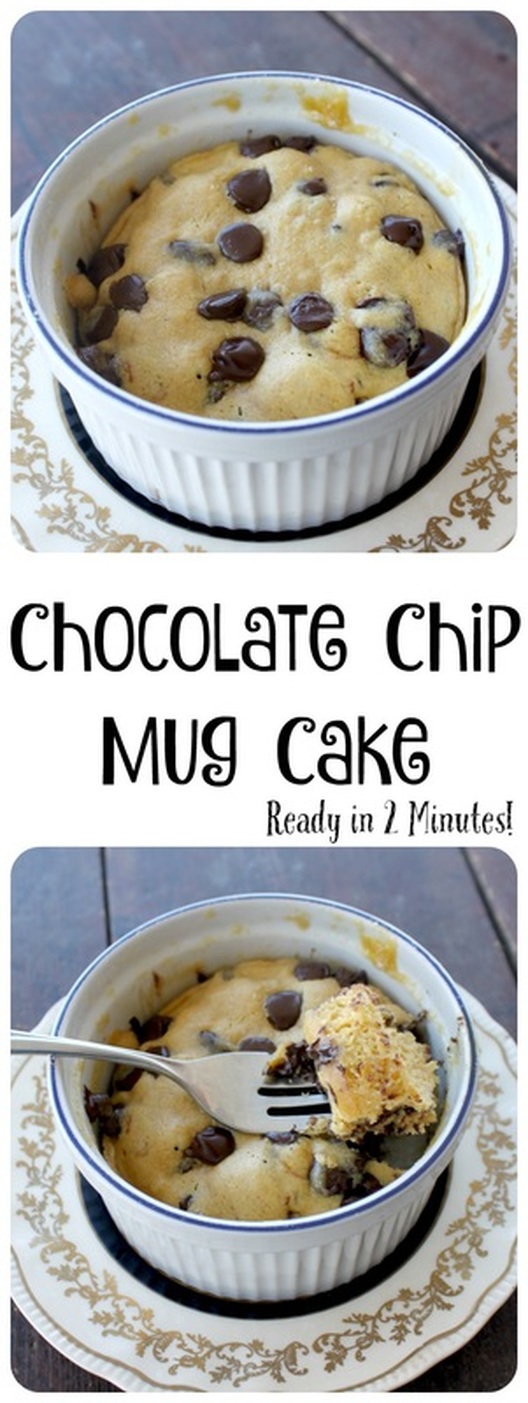 Chocolate Chip Cake in a Mug Ingredients
Method:
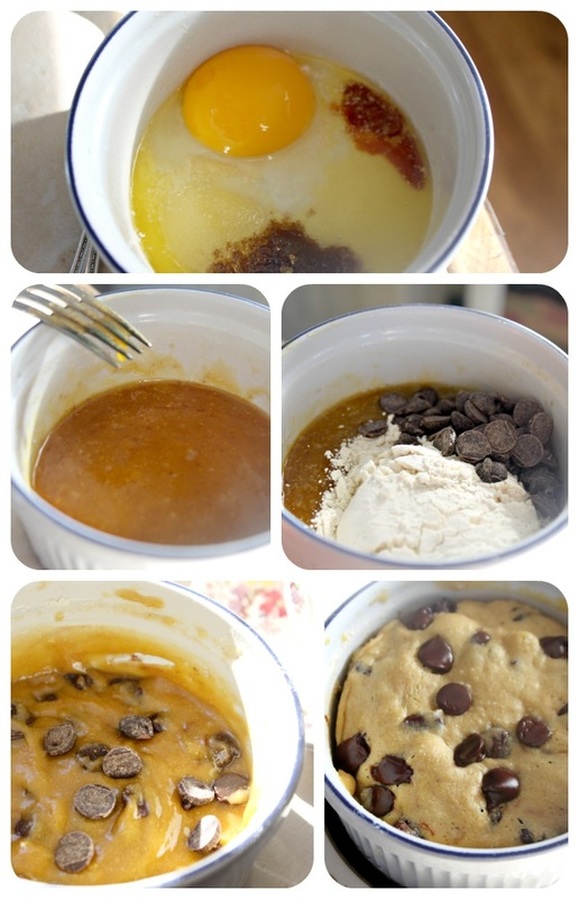 So very simple So, if you have no micro-wave, I am so very sorry. If you want some chocolate chip cookies, here is a great place to find a recipe for them! 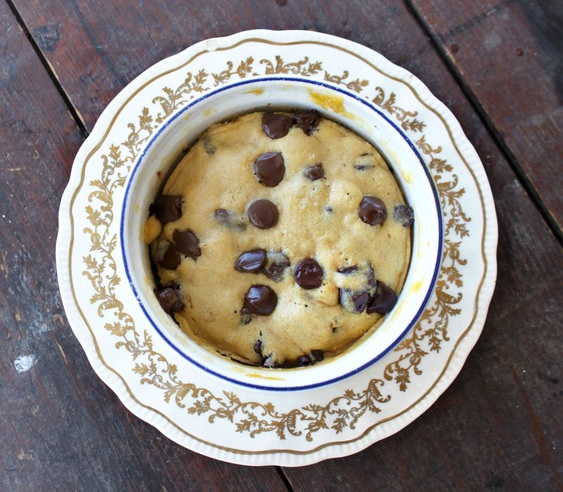 Anyone do anything great this past weekend? Do tell! I shovelled snow....and more snow, and more snow....and today is a snow day (I just checked)-and guess what, I'll be shovelling more snow. Oh, Canada...... So, I told you I would say what I was making my dulce de leche for, and this is it! A melt-in-your-mouth shortbread, covered with the caramelized sweetened condensed milk goodness (dulce de leche), and finished with chocolate. Lovely. 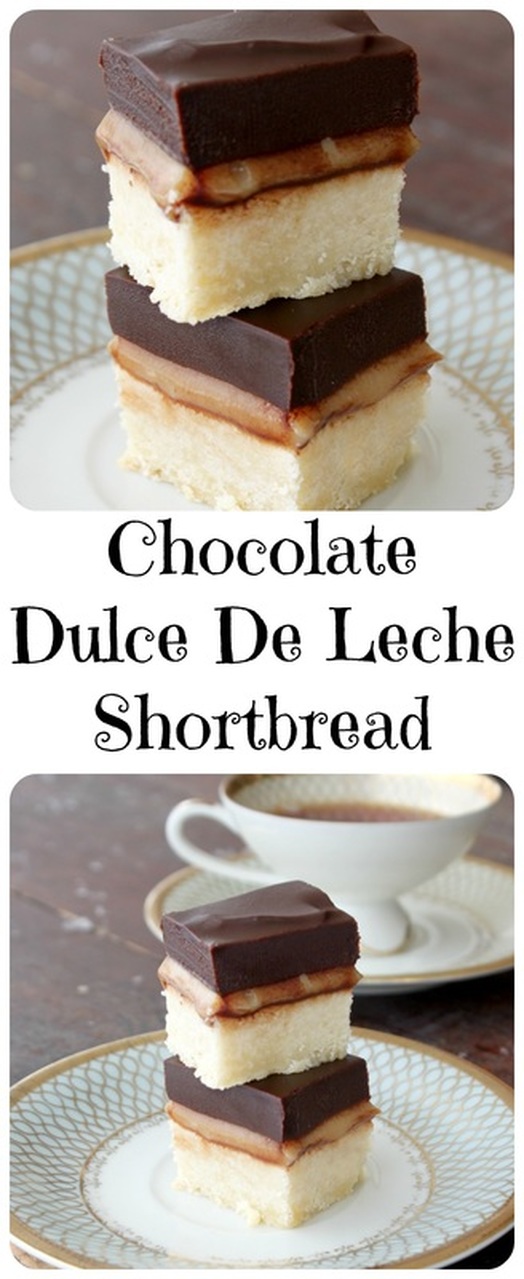 Chocolate Dulce De Leche Shortbread Ingredients Shortbread:
Dulce De leche:
Chocolate:
Directions
Once the chocolate has set, using your parchment handles, pull the uncut squares out of the pan, and you can put them in the refrigerator for up to 3 days (or in the freezer for up to 3 months-cut or uncut) in an airtight container. Or, if you are using them right away, place them on a cutting board and cut them into bars or squares. Then, eat them! :) 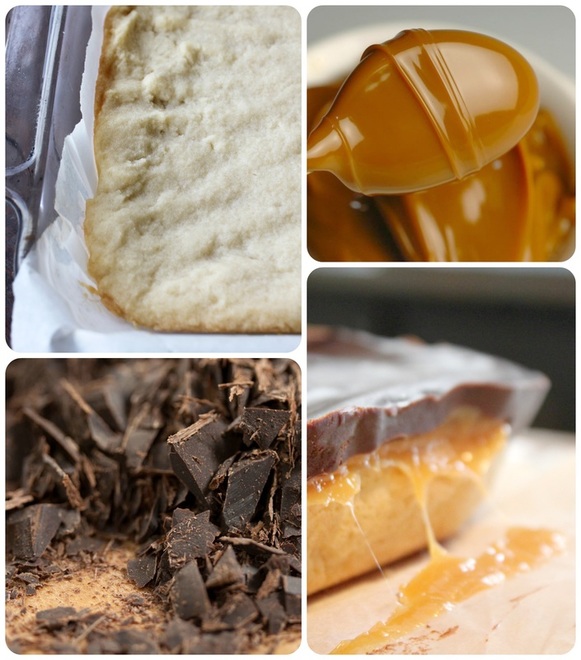 The gooey dulce de leche To plate these, the squares do well in their own little muffin cups so that that don't get sticky with each other (but it is not necessary, just my thoughts). Also, they are better to stay in the fridge until you are ready for them because the chocolate is soft-ish, and if it gets to room temperature, it gets softer (not that it makes them yucky or anything!). I hope you get a chance to bake something this weekend, maybe even this!
Have a great weekend! Caleb's first 4 years of life seemed to be a constant battle against failure for him. He wasn't potty trained, couldn't speak, had many (and huge) meltdowns everyday, ran away if you took your eyes off him for a second. The feeling of failure was constant, and unrelenting.  The summer Caleb turned 2. When Caleb was around 3 years old, I told my husband I thought we should send Caleb away somewhere....I didn't really know where, I just felt that he was too much for us to deal with, and that he would be better off somewhere else. Luckily, in my moment of feeling like a complete failure, my husband took over, and told me to be alone for a bit. I can't remember what I did, or where I went to clear my head, but I know that I realized God had given Caleb to us for a reason, and I wasn't going to quit. Even if I did feel like I was going to loose my mind....  Serious 3 year old Caleb Since then, we have had many high moments, and many low moments. Times of one step forward, ten steps back....but overall, the general feedback we are getting from people, and what we are seeing in Caleb, is improvement. A more steady, upward turn in his behaviour, speech, social interactions, emotional awareness, and independence (dressing himself, etc.). He has fewer meltdowns, talks more (even if it is still 90% echo from movies, etc.), is doing really well in school, and generally seems to be moving in the right direction. However, with these improvements come bigger disappointments because we are seeing that he is capable of more. By doing better, he is moving the scale by which we judge "doing better" on. Last weekend Caleb went to a hockey game with my husband. Caleb has been to hockey games in the past, and (although he is loud) he is always on good behaviour. However, at this game he turned back into 4 year old Caleb. He wasn't listening, was running away if my husband took his eyes off him for one second, was getting into peoples faces and yelling at them to give him skates, and just being a terror. Yes, we know he has autism, and we should be more understanding (and maybe not call him a terror...). Set backs hit us hard though, and send us reeling and wondering if we're about to travel down a road with trouble at every corner, and where we re-adjust our "doing better" scale to a lower mark.  Pure excitement at an Easter weekend fair (he is wearing bright green because he usually vanishes at some point on a day out like this, and this makes it easier to find him!) The failure I feel as a parent of a child with autism is like a presence in our house....one that follows me around, and reminds me of everything I should/could have done better. It points out regressions in Caleb that (I know) aren't my fault, but it convinces me they are.... It is a troubling feeling, one that keeps me up at night wondering if we're taking Caleb in the right direction, if we're teaching him everything he needs to know to become a decent human being who is kind and loving and can contribute to the world (in big or small ways).  Caleb and his sisters at a fall fair (Caleb in bright yellow so we can find him if he runs/wanders away) The thing about failure is that I am learning to look at it and see it for what it is. Either A: a temporary set-back, B: a battle that needs serious attention, or C: as something I have to walk away from. I still have days where I want to give up on Caleb (it's not nice, but it's true), but I am seeing more everyday that the failures of my son, of my own, of people in my life who I love or love me, are all moments that I can stop and evaluate myself, my motives, look at where I'm going, and let the failure become something to give me more strength and determination for what is ahead. Good or bad. This soup happened so last minute, it was a little crazy. I had a head of broccoli cut up to steam to have with dinner, but 10 minutes before dinner was to be ready, I decided I would rather have soup! I really just don't like steamed veggies....I know, it's childish, but I don't!  Cream of Broccoli Soup Ingredients:
Method:
If you don't want hunks of garlic and onion in your soup, just use a slotted spoon to get them out of the soup once they are tender. Puree them in the blender, and add them back into the soup. We had ours with some shredded cheese on top (since I had already shredded the cheese in anticipation of putting on our plain old steamed broccoli!) :)  I like to plan ahead my meals (ok, actually I am actually pretty particular and un-moveable about my meals being planned!), but it's also important to be able to adapt, and change in an instant-just incase your inner child comes out and tells you that you don't want broccoli for dinner! I think the worst hit from my holiday neglect was my baking cupboard....I actually didn't really neglect it, I completely abused it! I was baking a lot, and every time I would bake, I would leave the cupboard a little worse than I found it....the end result? A disaster! 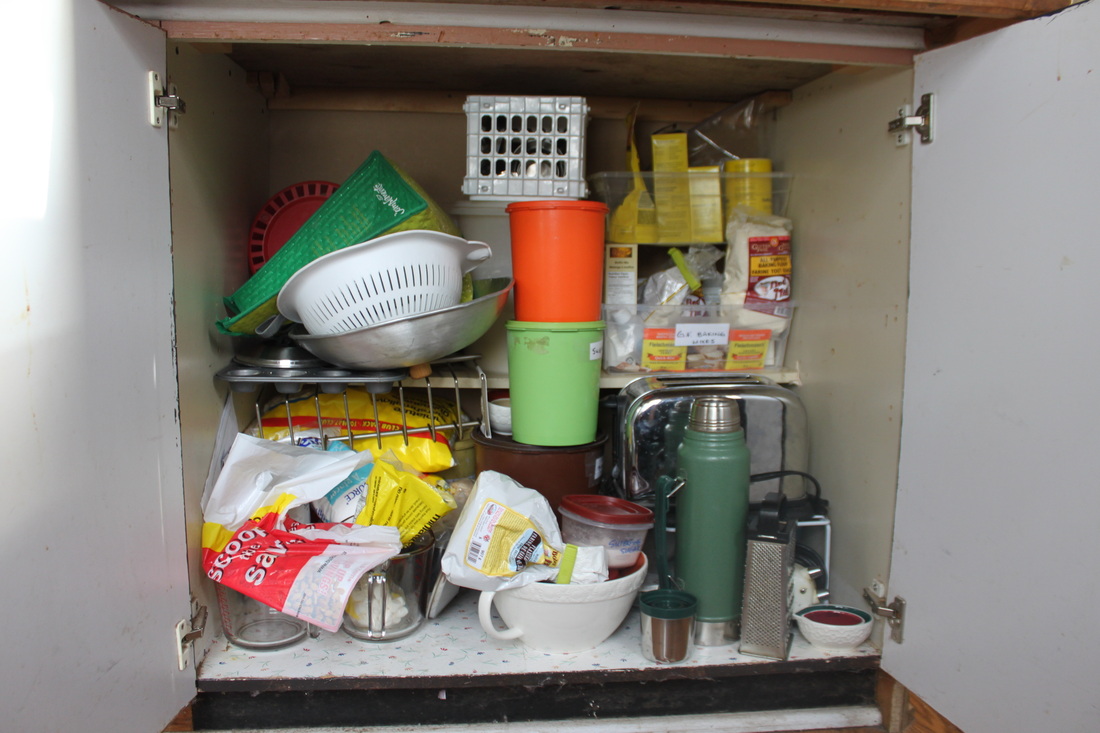 The cupboard in all it's glory! So, clearly it was a need-to-do job after life settled down from the holidays! 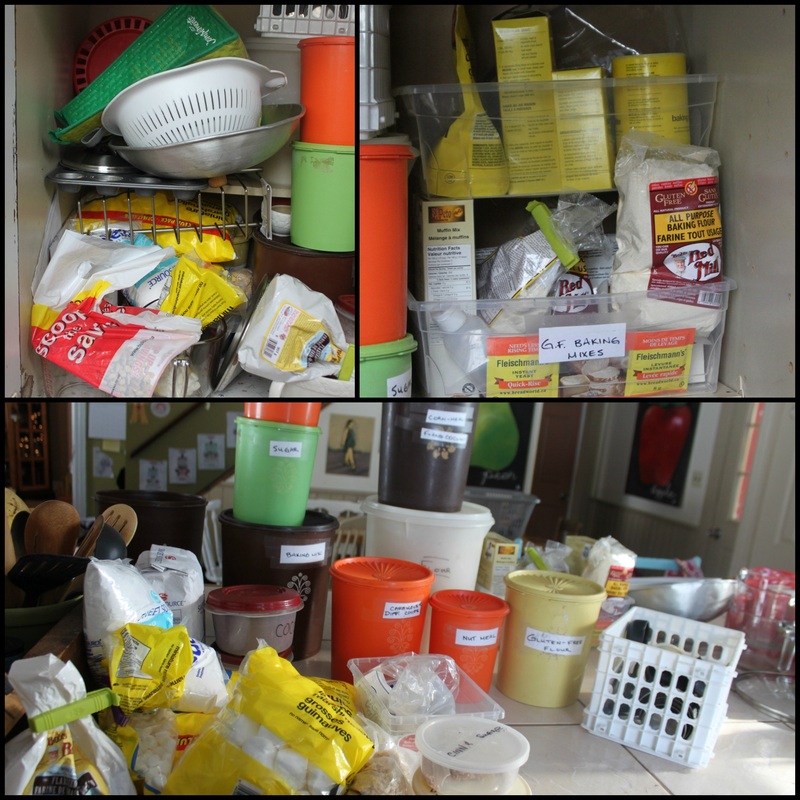 (top 2 pictures) Each section was crammed with stuff, and I couldn't believe how much space it took on the counter (bottom picture) when I pulled it all out! As usual, I began by pulling everything out to see what I had, what was hiding, what needed to be thrown away, etc. This time though, I did spend some money on the project because I knew I would need some baskets to help keep everything in it's place. 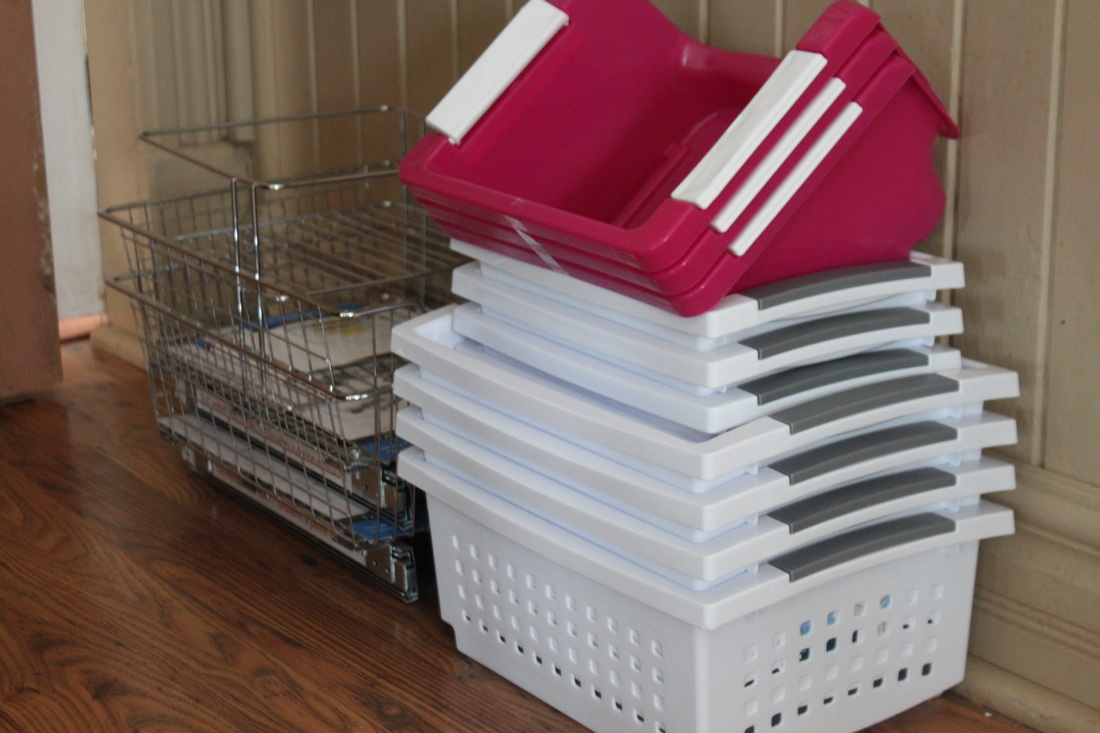 I bought more than I figured I would need because I didn't want to not have what would fit and work for the space. Plus I knew I could find uses for whatever remained, or just return it. Because this is a bottom cupboard, and very deep, I purchased 2 "drawers" to use. They required a little cordless drill work, but they were really very simple to install. Then I re-stocked/re-assigned some of my old school Tupperware, and started to see where they would fit.  Using the drill selfie. :) Some things were in there by default, and needed new homes, like the lids for my pots (my pots and pans used to be in this cupboard before I did the hanging pot rack, and the lids never left!). They are happy on top of the fridge, though you have to be at least my height to reach them. I also moved a (beautiful, from my sister) mixing bowl out to a new spot, and gave away a few other bowls I had because I no longer needed them. My toaster remains in the baking cupboard though because I don't want it on the counter, and there is literally no-where else to put it! 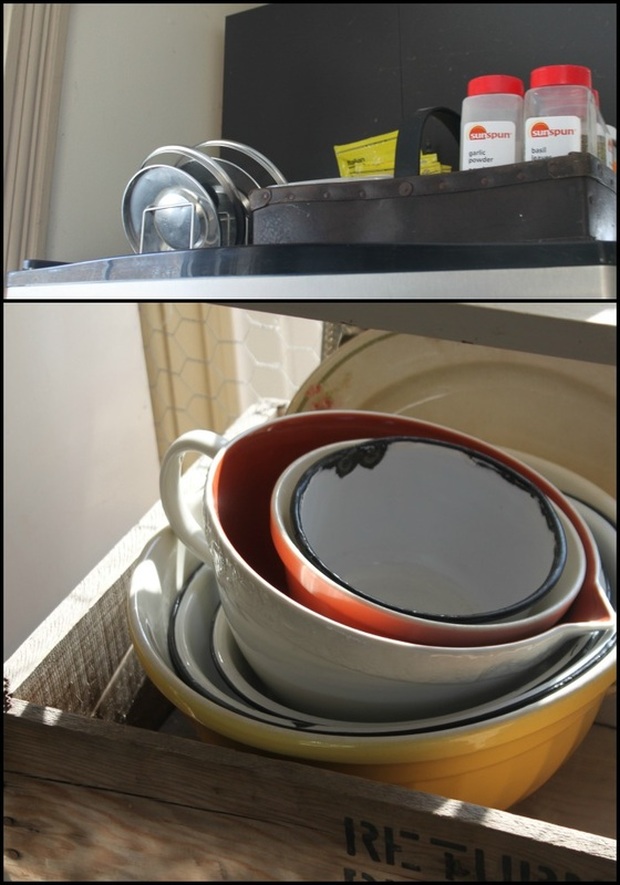 Re-Homed lids (top), and bowl (the cool one with the handle). Labelling things saves a lot of headache when it comes time to use the cupboard. I just wrote on regular paper, cut it out, and taped it on. I'm super happy with how it turned out, and am glad I tackled it instead of just throwing more and more things into it and shutting the door before everything fell out! :) 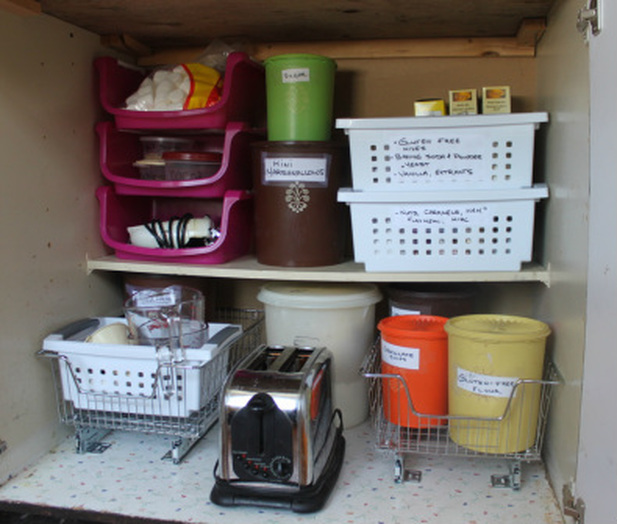 Ohh, lala! :) It took me about an hour to get everything how I wanted it, but I sure do like how I can find everything now. I keep opening the cupboard just to take a little peek at the organization....it's true, I'm that much of a tidy-ing geek.  Dulce de leche is literally translated to "candy of milk". It's basically like a caramel, but with a sweetened condensed milk flavour. It. Is. So. Good! This confection is made from slowly heating sweetened milk to change it's flavour and colour. You can buy it in a jar or can already made, and it tastes great with a lot of different desserts (um....or on it's own...)! But, did you know you can make it yourself. True story. All you need is a can of sweetened condensed milk, and a slow cooker. 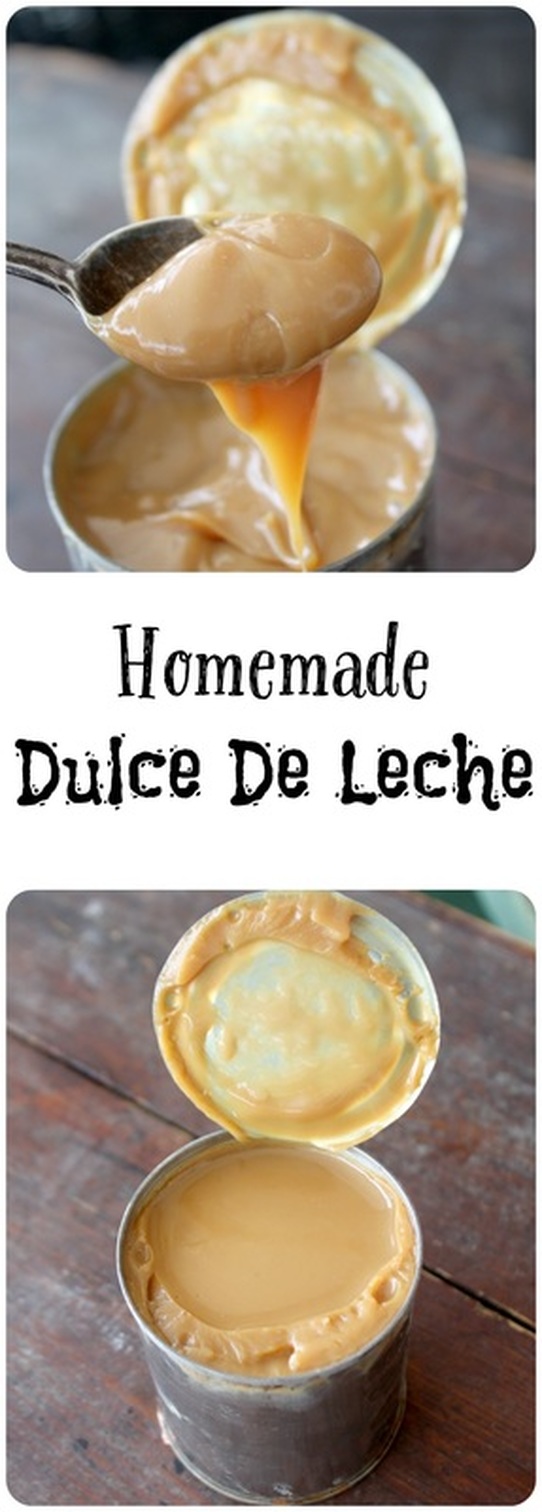 Homemade Dulce De Leche Ingredients:
Method:
This will last for up to a month in the fridge (apparently), but I usually make it to use it in something right away. 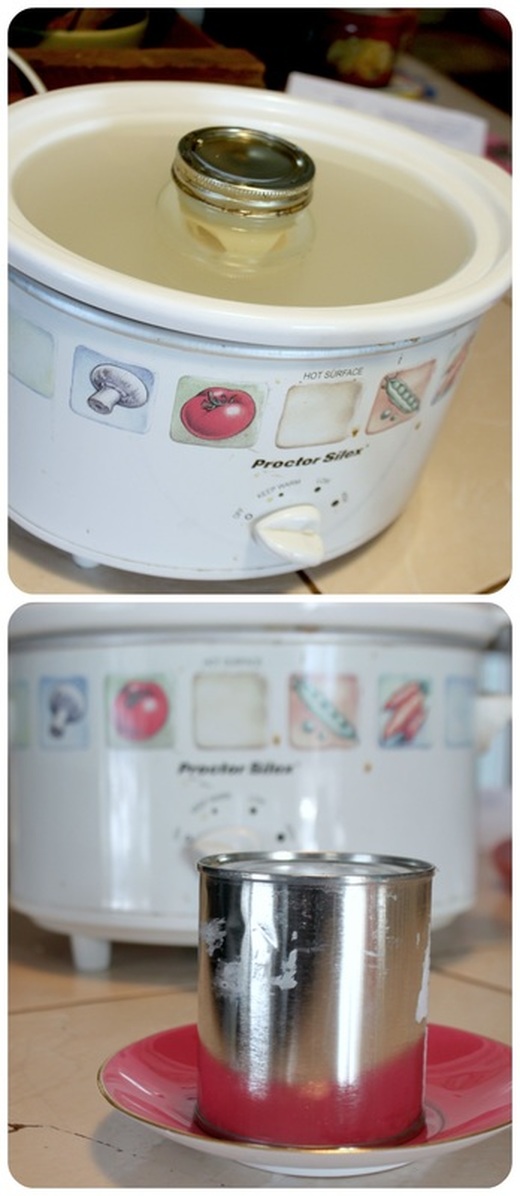 Empty into a mason jar, or make it right in it's own can I emptied my can into a jar only because my husband thought it would be bad to heat it in the can (chemicals, etc.). I didn't tell him I had done it that way plenty of times before, but I emptied it into a jar to appease him. He's probably right anyway.....I kinda hate when that happens... 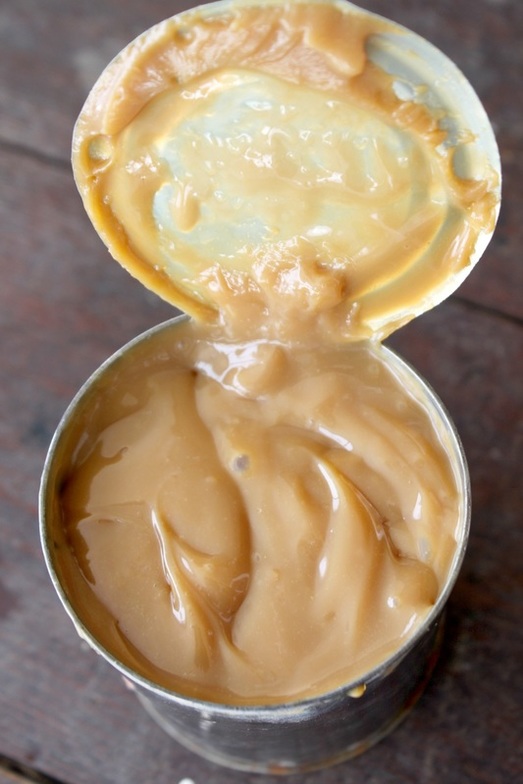 Well, now you know you can make this yourself! Generally I would set this up for the night, and wake up with the dulce de leche ready in the morning so I would have it ready for whatever I needed it for (and I'll share what I used it for soon)! In the meanwhile, you could make it just to see how easy it is, and maybe use it to drizzle on your ice-cream, or even have some on toast. Yummy! |
Hi, I'm Amy-Lyn! 
I am the lady behind this here blog! I live in the sticks with my animals, my super handsome husband, and my
3 amazing kids! Here you'll find things from recipes (gluten-free, paleo, and strait up junk food!), DIY ideas, thoughts on raising a son with autism, and whatever else pops into my brain! : ) Read more about me by clicking here! Want to Stay Connected?
Find What
|
 RSS Feed


