|
When most people think of creamed corn, they think of that strange, canned version. Slimy, kind of tasteless, fairly yucky.... This homemade creamed corn though....so good. And really easy to make. I would also like to give props to my sister for making this for a family shin-dig, and introducing me to it!  Homemade Creamed Corn (adapted from Allrecipes.ca) Ingredients:
Method:
At this point I will transfer the corn into a small casserole dish (with a lid), and put it into the oven on low to keep warm until it's needed. I've also made it a few days in advance, and put it into the fridge in an airtight container. When I needed it, I emptied it into a small casserole dish with a lid, and put it the oven to warm (give it at least 30-45 minutes at 350 degree F). It will be bubbly on the edges when it's ready.  Starting to thicken in the pan My husband hates (HATES!!!) "creamed corn" as he thought it was (from a can). But when I made this recently, I overheard him saying to someone, "I really hate creamed corn, but I love this!". Enough said.  So good. So, I hope you try this, and give creamed corn a better name!
Have a great weekend!
3 Comments
Ever since Caleb was young, and there was even a notion that he might have autism, I haven't stopped reading and trying to learn about it because every time I educate myself more, I not only understand autism better, but I connect with my son because I get a glimpse into his mind .  Caleb "driving" a tractor he got for his 2nd birthday. He honestly didn't understand how to steer it until he was about 4 years old. So it was with this same desire for knowledge that led me to read a book I was hearing so much about, "The Spark". "The Spark" was written by Kristine Barnett, a mother of a boy with autism. The sub-title of the book "a mother's story of nurturing genius" drew me in because I desire to make Caleb as great as he can be, whatever that may be.  "The Spark" from Random House Publishing (I obviously do not own this picture). The truth is, I couldn't put it down. But the other truth is, it made me feel jealous, and wish Caleb was smarter.....I know that sounds terrible to say, but it's how I felt. But, it also made me wish there was a more "normal" story about a kid with autism in the top 10 sellers list. Basically the story goes that her son Jacob (Jake) was diagnosed as a child, told he wouldn't amount to much, but she knew there was something more to him; that he was brighter than anyone gave him credit for.  Kristine and Jake. A photo from The Indianapolis Monthy.com In case anyone wants to read it, I won't share much from the book, but let me just say it is amazing. I can say it ends with Jake in the present day, being paid to research quantum physics at the age of 14. Kristine is a remarkable woman for seeing more to her son than what the experts saw, but I honestly feel like this book perpetuates the "Rain Man" image most people have of autism....  Caleb stuck in a box....and holding a pickle! He held pickles for years (thanks to Veggies Tales), and I found shrivelled pickles everywhere for years! There are no amazing, best sellers about kids with autism who just stop having freak-outs everyday, and then life is a little better. Or how a family tried for 15 years to potty train their autistic child, and it finally worked. I realize that would make for a very boring story, but it would be the more typical story of autism. I love my son, but sometimes a story like this makes me wish he were a genius, and that I could suddenly "find him" because we discovered his true calling. I can work, and work with him, and he isn't going to be in line for a Nobel Prize anytime soon! The truth is, I asked him last night what he might want to be when he grew up, and he said, ".......uhhhhh.....I dunno" (mono-toned, of course). I was just glad he actually answered my question! As parents of regular, or special needs kids, we are always doubting ourselves, and wondering if our kids could be more if we helped them be more. And secretly, we are always sizing our special needs child up with another child with a similar diagnosis.  Caleb, around 5 years old, so happy (I remember he was laughing at our dog Lucy who was running around like a lunatic!). My son does have his own spark, though, not one of genius.
If you've met him, you know what I mean. He can be really funny (on purpose and by accident!), can be very sensitive (if he sees me crying he will often say, "Mom is so wet eyes"-trust me, that's sweet!). He has learned to read, write, do math, speak some french, and use Google to search for Buzz Lightyear! We have hopes for Caleb, but it is hope weighed down by reality/not wanting to feel disappointed. On one hand, you want to push your child, and make sure they are learning and being everything they possibly can so that you can look back and not wonder, "what if I had tried harder". But, on the other hand, part of you wonders if it will be worth the effort, and if anything will come of all the hard work. In the end, the truth about Caleb is that he makes me raging mad (but only because I see my own faults), but he also makes me laugh until my face is hurting. He makes me see things I never would have noticed (like how in his words "owl is a funny robot!"-it's true, watch an owl move it's head!), and feel things I never would have without him. Caleb is a spark in my life, so, I think that counts for everything it needs to. One of my favourite soups is tomato (if I really had to pick from all my favs). As a kid, my Dad always seemed to make it the day after we would have macaroni & cheese, and he would add the leftovers to the soup (and some times cut-up hot dogs too). Mmmmm....tomato soup with mac&cheese and hot dog bits....Might sound weird, but it was good! Don't judge, I know some of you ate more bizarre things as children (hotdogs and yogurt....you know who you are...) :) As an adult (and one who doesn't regularly eat mac & cheese or hotdogs), my soup has a more modern taste of basil and cheddar cheese. Maybe my kids will grow up and think this is weird...ha, whatta they know?  Tomato, Basil & Cheddar Soup Ingredients:
Method:
Serve with grilled cheese sandwiches and veggie sticks, or have soup & salad, or just drink the soup right out of a big mug after a cold day out!  So, did you eat anything strange as a child that you didn't think was that strange until you became an adult and realized you were the only one to really ate it? Or you mentioned the strange food in passing to a friend who either A: couldn't stop laughing at how weird it was, or B: Had eyes bugging out and mouth a-gape? It's o.k., you can share, I won't make fun of you (...too much). :)
In my second week of post-holiday organizing, I tackled our over flowing toy box! I actually have 4 bins of toys in total. Each bin is specific, but only one is out at a time. I used to rotate every 2 months or so, but now I rotate as the interests of my kids change. Either way, after getting back from the holidays, I knew we needed to do some re-organizing and eliminating! Can I also say this really is a job for when the kids are in bed. It's good to teach kids about donating, and how to eliminate useless things from their lives, but not all age groups find this liberating-some just have meltdowns, and make this job impossible! I do warn my kids that stuff will be disappearing. So I ask them, "if you had a choice, what would you like to keep?" 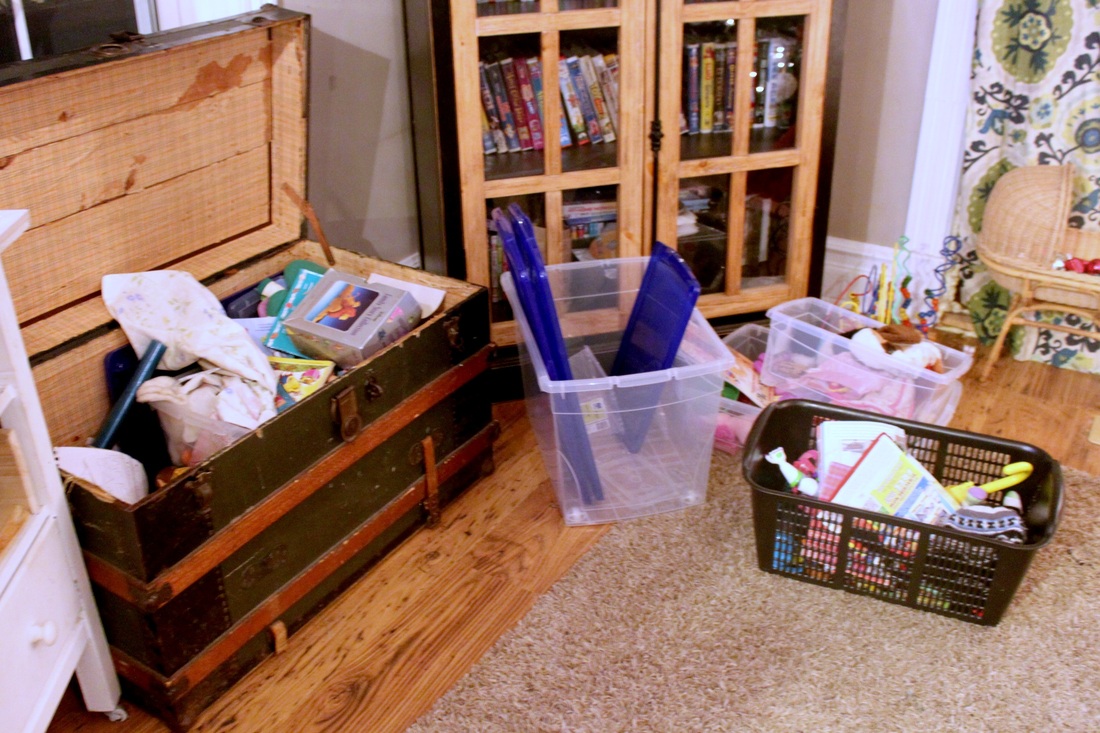 The toy box (the steamer trunk) literally looked like you see it here! A disaster! Not pictured is the couch that had 2 laundry baskets with all their new toys from Christmas, and others from around the house. The best way (in my opinion) to start a toy clean/organize is to grab a laundry basket (or a few!), and collect toys from every room in your house, and bring them all into one room. I tend to do this in my living room because then I can watch some t.v. (sort of) while working on it. Don't forget to look under beds, and under/behind the couch before you start! Next, you will want to have laundry baskets (or just designated spots in the room) for different "categories". Cars & trucks, softies, characters (from movies & t.v. shows), music, blocks, books, etc. Once you've got all your toys into their different baskets, you can see how much crap you have!!! Haha....no, but seriously....that's a lot of stuff! 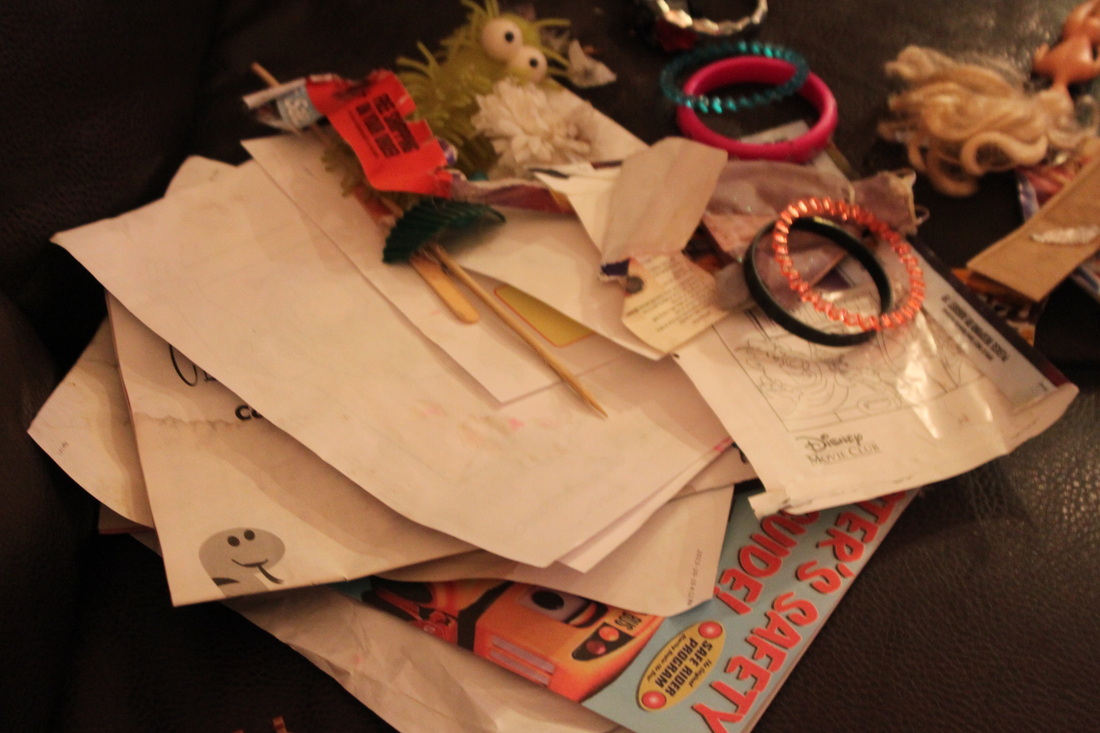 Some of the junk under the couch It's easier to look at eliminating something if you see it in a basket with 10 of the same thing! For instance, I have 2 little girls, does that mean we need to own 9 little baby dolls? Um...nope! But, that's how many we had a one point! Now, we have 2. They each have a baby, and they are good with that. Try your best to separate the emotion from the job. I realize it can be really difficult, but it's important. Look at what you have, and think about A: What's educational (usually worth keeping, but not always), B: What is broken or not (just get rid of broken things, you can do it!), C: What is age appropriate. Put aside or give away things that are too old or to young for your kids. They don't need to be out all the time making more clutter! And don't fogey to have a box or bag of the things you are giving to a second hand store. Please don't just throw stuff in the garbage! If it is still good (not broken, etc) another child may enjoy having it. So, I would recommend using a few different bins for toys and rotating them. Kids generally have waaaaaaay more toys than they can possibly play with at one time, and so they just take every toy out, and leave them everywhere, and drive you bonkers! I had a friend who had four bins that were all in the living/play room, and she would do one bin each day. I keep my extra bins in my basement....out of sight! Do what works for you and your space, but trust me, you will not regret dividing up your toys! When I do a toy clean, it includes bringing out all the bins from the basement to evaluate what we still have, what the kids have outgrown (in age & maturity), and to re-stock! 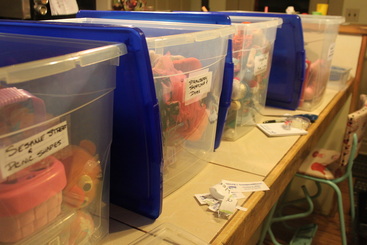 Re-organizing and re-stocking the rotating bins. I generally re-label them each time to make sure I know what is in them (even though they are clear). Once you've separated, & eliminated, you can either put the toys back where they belong (in different children's rooms, a play room, whatever, or in bins if you are doing bins). To do my bins, I just have one type of toy (or toys) that my son will like, and a type of toys the girls will like. They often play with each others things, and that's o.k. too. This time around, I did change things a little because the kids are getting older. So my son has his train track and trains in his room, and my girls get to keep (much to their absolute delight, and slightly to my horror...I must have been having a soft moment!) their My Little Ponies and Littlest Pet Shop animals in bins under their beds. They also have their dolls house things in a drawer in their room (for the doll house that stays in there all the time). 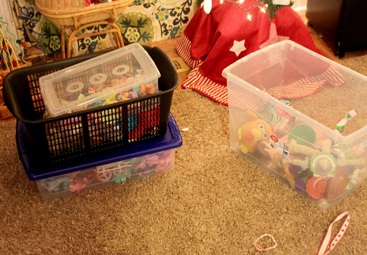 The bin on the right is all that remains in our living room toy box, and the bins on the left are going under the girls beds. The laundry basket has a few toys that belong upstairs (trains, stray dolls house things, etc.). So, in total, it took about 2 hours to do! Gosh, that does sound like a lot of time, but man, it's so worth it!
I know some people are strange (like me) and find relief in tidiness, and others don't. That's o.k! My brain, my emotions and feelings, all feel a little less cluttered when my house is, so that's why I keep organizing. The End. :) I have a confession.....I love those micro-wave cake/muffin/cookie recipes that are going around these days. Yes, I know micro-waves are bad for you, and I seriously don't use it very often at all. But every now and again you want a warm, baked-good type treat, but just enough for one, and you don't want to turn the oven on for it. In this case though, what I really wanted was maple syrup, and needed something to eat it on! Enter the Pancake in a Mug (o.k., well, actually, I like to use a ramekin, but "pancake in a ramekin" doesn't sound as nice)....also, it's something like a muffin, but you wouldn't usually eat syrup with a muffin!. It's name is all a big lie, but it's yummy, so, who cares!? Also, let me warn you, it's actually a healthy little morsel, so it's easy to forgive!  Pancake in a Mug (or whatever) Ingredients:
* This could be a low carb treat if you used a sugar free maple syrup, and a low-carb fruit (blueberries, raspberries, or strawberries are low) Method:
Use an oven mitt to get this out of the micro, as it will be hot! I like to knock mine out of the dish to eat with some maple syrup, or sometimes I will just leave it in the dish. Depends on if I want to wash an extra plate! :)  You will be surprised at how light and fluffy this turns out! And it's just the right size, tastes not too sweet, and gets a slight nutty flavour from the flax. I honestly make this particular recipe at any time of day-for breakfast, lunch, a mid-day snack, a dessert, or a watching t.v. at night snack. The kids ask for them too.
I hope to share some more micro-wave mug recipes in the future (sorry peeps with no micro-waves!), but in the meanwhile, do you have a favourite, or have you tried a micro-wave mug recipe at all before? Some friends were coming over, and I was serving the roast for dinner, and thought a homey pie would be a great dessert. However, I'm not the biggest fan of traditional pies (apple, cherry, etc.). I basically really like things with chocolate! So, I got inventive. I made a gluten free crust I hoped would work, and pulled out from my baking cupboard things I thought might be nice in a pie. To tie it all together, I used my regular butter tart filling recipe, but added some gluten free flour to make sure it would really set. The result? Perfection.....for realz.....  Butter Tart Pie Ingredients: For the crust:
For the filling:
 It's a fairly simple pie to get together This pie had the most fantastic, complex flavours from all of it's elements. The crust was not overwhelming, and held up well. The buttertart-ness of it was so good and not too sweet. We enjoyed it with a cup o' decaf coffee, and I enjoyed it again the next morning for breakfast with regular coffee!  Hot out of the oven So often my gluten free experiments don't always work (I just threw out a big batch of quiche with gluten free pastry crust last week!), but when they do work out, gosh, it makes my day! :) I will be making this pie again (and again!).  Have a great weekend!
Although our Caleb looks "normal", he is often treated like he is not "all there". People assume that because he doesn't seem as engaged as others, he is not listening, or is incapable of listening and answering a question. The video below of him at school shows how he looks a little distracted, maybe even distant, but he is listening, and he is capable. Children with autism are often trying so hard to learn about people, and to understand them; to see things from another's point of view-because they know they don't do it naturally, but realize (or are told, and coached) that they should be doing it. I'm afraid the "rest of us" don't try enough to learn things we don't do naturally, because it will help us be better people in the world. And we're calling the people with Autism mentally retarded....yikes. 
Caleb out exploring
Ignorance is the lack of knowledge or information. I feel like in today's world, ignorance in more unacceptable than it used to be. We have access to libraries full of information, and if the library we're at doesn't have something we need, they can get it in for you! We have the internet which, although can have mis-information, can also be a never ending resource for subjects you want to know about. We once had a neighbour....he was a strange man, and would come over often for sugar, flour, butter, to steal our newspaper, etc. One day, while standing in our entryway, he was telling about how another neighbour had let her cats "run around" (huh?). Well, his dogs saw the cats, and chased after them. So, she came to ask if his dogs could not chase her cats. And (in his words), "I was so friggin' mad, she should just keep her cats inside, and I was thinking, 'what are you, retarded?'-oh, no offence, I think Caleb is great and everything, but...." (and he continued on in his story). Yup, he actually said that! He A: referred to our neighbour as handicapped, then B: apologized because he thought Caleb was great.....because he's handicapped? I guess they say ignorance is bliss..... 
Why is it that people can still be so ignorant in a time such as this, where information is so readily available? I think part of it is because every person can't possibly know about everything to keep from being ignorant. But I believe (not to sound too much like a free spirit) ignorance is also a state of mind.
You don't have to know everything about everything, but you can try to see a situation, and become less ignorant as you observe/get involved. If you hear of something, whether it be autism, diabetes, depression, epilepsy, cerebral palsy, whatever, and you think, "I don't really know much about that", go ahead an find out about it! I'm not talking about hours of research, but just getting acquainted with something, simply for the sake of being less ignorant. The less ignorant we are, the more it brings us together, and also keeps us from saying ridiculous things like my neighbour did..... We were making a split second decision to head to Kingston for the day, but I knew we would be back by dinner time (and would want to eat!). I already had a venison roast thawed and ready for a supper in the fridge (from cleaning out the freezer, and realizing we needed to eat some meat), but with no time to spare, I quickly put this together, and headed out the door. It turned out sooooo good!  Slow Cooker Italian Pot Roast (Using Venison) Ingredients:
Method: 1. Heat 2 tbsp of oil, and 1 tbsp of butter in a large skillet on medium-high heat. 2. While the oil is heating, add to your slow cooker the onion, carrots, cloves of garlic, and potatoes . Sprinkle seasoning over the veggies. 3. Sprinkle one side of the roast with salt and pepper. Once oil/butter is hot, carefully place the roast (salt and pepper side down) into the pan. This process is called searing, and helps the roast stay moist by sealing in the juices. The point here is not to cook the roast right through, but to give the outside a beautiful brown colour. 4. Sprinkle salt and pepper on each side of the roast as you turn the roast to all sides to get each side browned. 5. Using tongs, or 2 spoons, lift the roast from the pan, and set into the prepped slow cooker. 6. Pour tomato sauce over roast and veggies, turn slow cooker to low, and go about your day! 7. A venison roast will require (to be really tender, and not too gamey) about 7 hours on low. It will be 'done' sooner than that, but it gets more tender the longer it slow cooks. A regular beef roast will only take about 5 hours on low, but again, the longer it slow cooks, the more tender it will be. Mine got to cook for 9 hours because we were gone a looooong time! 8. Once the roast is ready, remove from the slow cooker to a cutting board, and let it sit for at least 5 minutes. While it's sitting, get the carrots & potatoes out of the slow cooker using a slotted spoon. Place into a bowl, and put foil on top to keep them warm. Then, slice the roast across the grain, and place back into the crock pot so the juices keep it moist. 9. To serve, simply put some meat on your plate, and spoon on the 'gravy' (the tomato sauce from the crock pot) over it! Don't forget your carrots and potatoes!  I am using deer meat not really because I like it that much, but because my freezer is full of it! My husband and his friends hunt, and "meat share". So, if any of the guys get anything, they share the meat with everyone in the hunt camp. If prepared correctly, it can be a very nice meat. This roast did not have a lot of gaminess to it at all because of being slow roasted with the tomato sauce. It was tender, flavourful, and all around yummy!  How do you feel about deer meat, have you ever had it? Do you know of any great venison recipes I might like to try? Do share! Hate venison? Try this with a regular roast, you won't be sorry! :)
I know organizing isn't something everyone likes to do. But here's the thing; I also know that a lot of people who don't 'like' to tidy, often say they wish they could/would. What's stopping them then? Usually, the fact that the mess seems overwhelming! Whether it's your fridge, the garage, a closet or just your junk drawer, the trick to trying to get organized is to just do it. I know, so cliche, but honestly, the longer the mess stares at you, the worse it'll feel. If you know you can't tackle it alone, then call a friend who you know enjoys organizing, and ask if they could come over to help. Before Christmas I was working on 6 new paintings, and some spots in my house really felt the lack of time I had! My deep freeze, the kid's toys, my baking cupboard, and my closet really felt the chaos the most. So today, and for 3 more Tuesdays, I will take you organizing with me in these different parts of my house. And hopefully you'll feel inspired to do whatever it was you've you been putting off in your house. And if you really don't care about being organized, then just ignore me! :) Anyway, for today, the deep freeze! 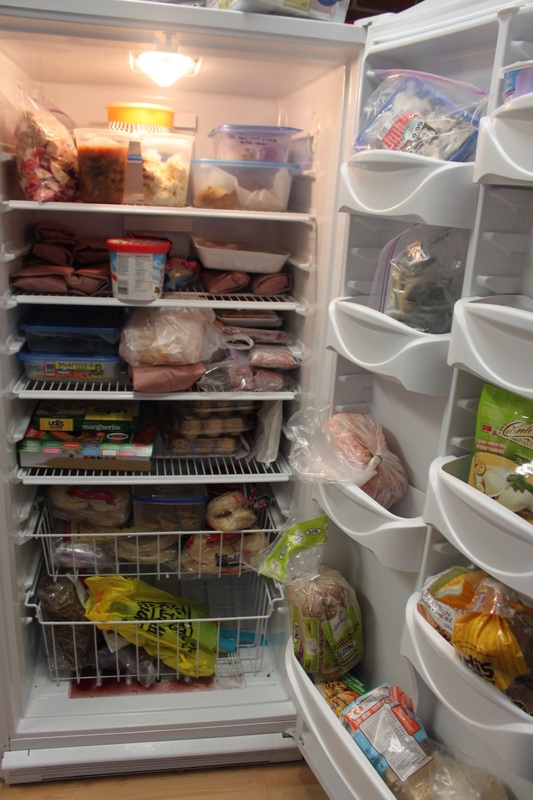 It was organized chaos....I could find most of what I needed...but there was stuff hiding in each section, and things I thought I had I couldn't seem to find. We (thank the Lord) have an upright deep freeze. Most people I know have the chest freezers, and I heard them all complain enough to know that when I ever got a deepfreeze, it would be an upright. It was staying fairly organized for a while, but then Christmas baking, random sales, getting our deer meat share from the fall hunt. It was a disaster! 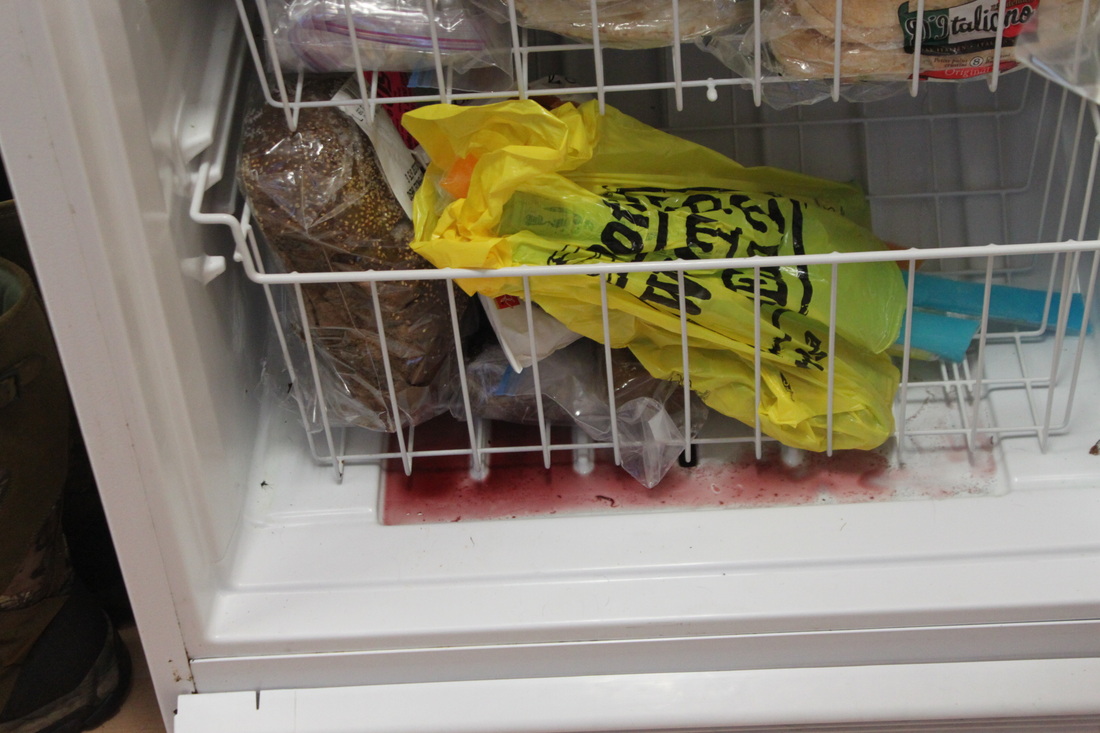 Nasty, sticky freezie mess, also a loaf of pumpernickel which I forgot was there.... To start in any organizing project, you need to get everything out and actually organize it! So, I just started pulling things out of the freezer, and setting them down in groups: meat, breads, gluten free, leftover/soup stocks, baked goods, and things that drip. And in this case, you need to work fast so your food doesn't thaw out! 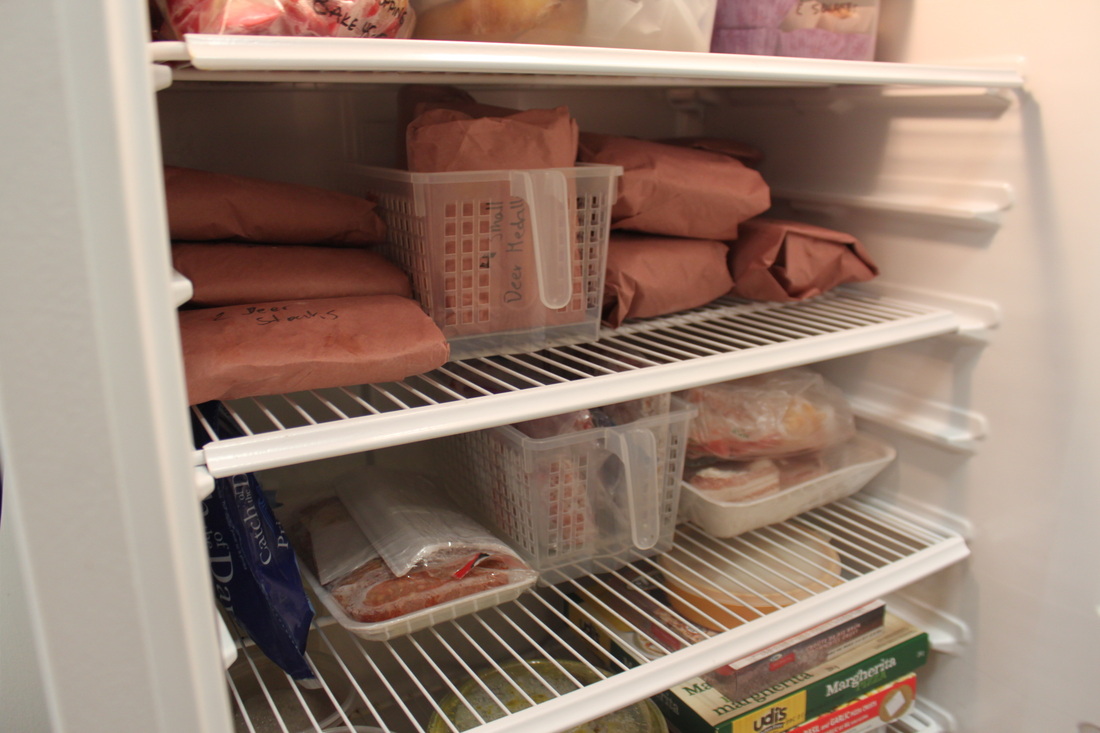 The breathable containers I used some breathable plastic containers to help get some things together. I find this useful because it keeps things separate and in specific groups. 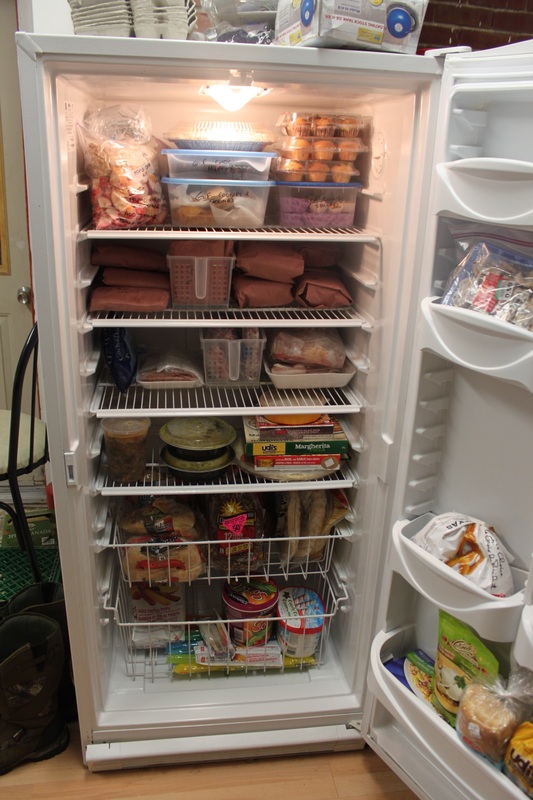 Looking good. Cleaning out the freezer reminded me we had that leftover indian curry from take-out, so we ate it the next night with rice. Easy meal. Forgot I had it. I grouped things together on shelves or in the door because then (for instance) if I grab a loaf of bread, I know what is still there and if we need more. One key is to make everything as visible as possible, and where it's not totally possible, things grouped together are easier to keep track of. If you're looking for meat, it'll be with the meat, not randomly stashed with the bread, etc. And, as for the "dripping" things I mentioned? In an upright freezer, put them in the bottom, that way if something happens (like not having Hydro), they won't melt and drip on everything. Put them near the front of a fridge/freezer for easy clean-up, and into a shallow container with no holes in it at the top of a chest freezer for easy access, and to just have a small thing to clean (instead of an entire, sticky chest freezer). It's all about containing potential messes! 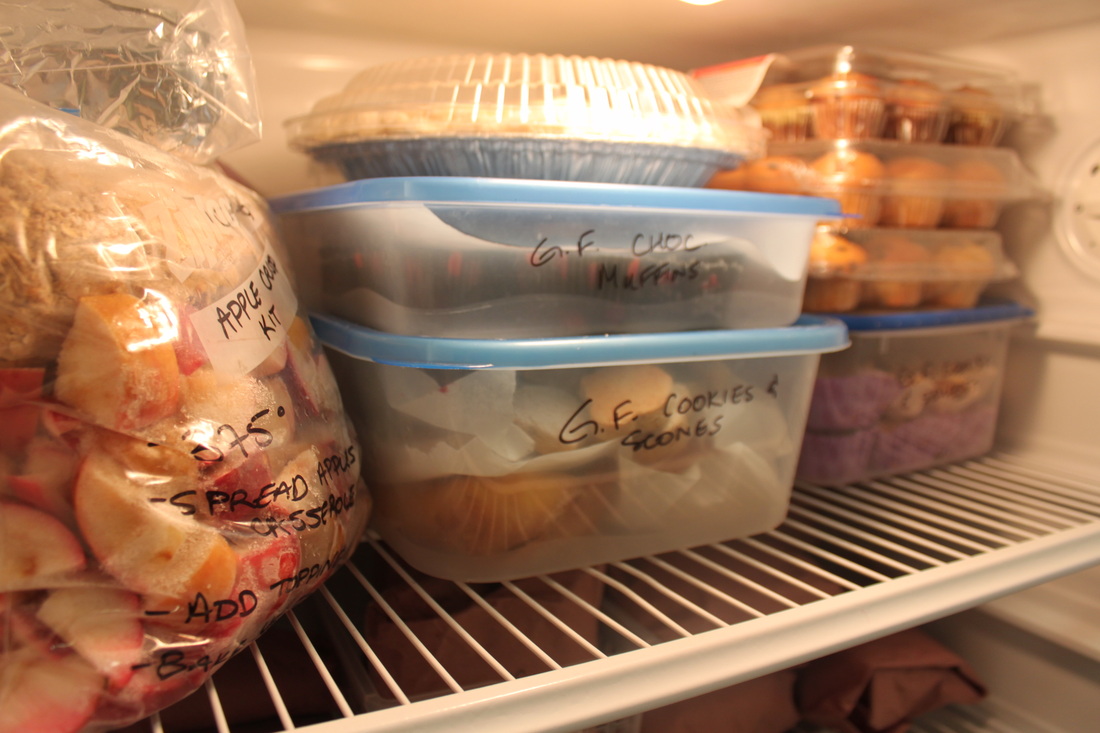 I also re-contained some baked goods (a huge container half full with this, another huge one half full with that, ya know). I made sure to re-write on things so I knew what I had still. 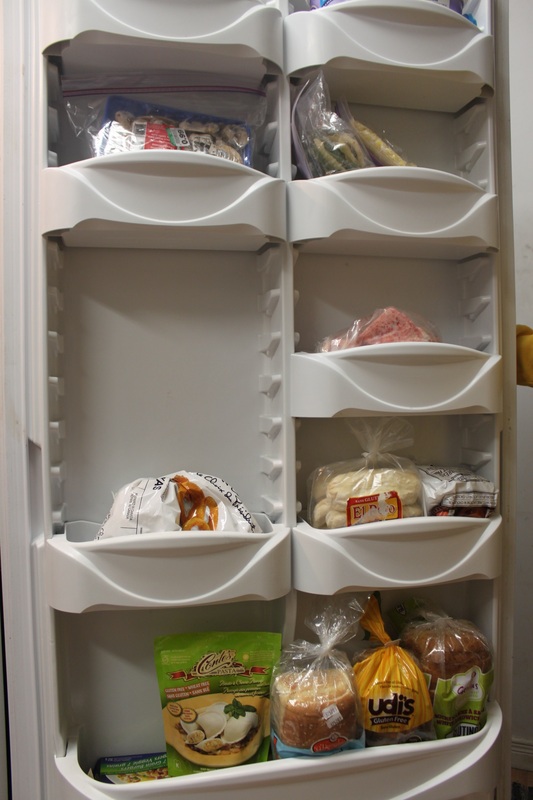 Some gluten free stuff in the door. So, whether it's a freezer above a fridge, a chest deep freeze, or an upright, it's important to do a tidy up every now and then to see if something got forgotten, do a mental inventory (or if you have a chest deep freeze, you could actually write out what was hiding in there like a real inventory, and tape it to the side of the freezer for easy referral), see if anything is so frost burnt it should't even be there at all, and give some sticky spots a wipe down.
This took me about 20 minutes, and it felt great to get done. Other jobs take longer, some shorter, but usually just starting with one thing helps to get the ball rolling! First, I love bacon and pancakes on my plate, with syrup on them both. Yum. Second, when I was growing up my Dad would make pancakes (there was 10 or more kids at any given time, and he'd make his pancakes from scratch, so it was a labour of love!) every Sunday, but he would also make fritters. A fritter is a small piece of food that is covered in batter and fried. He would usually make apple and banana fritters. I make pancakes for my kids on Saturday mornings, and decided to combine my love of bacon and pancakes, and my fond childhood memories of pancakes and fritters, and make me a bacon fritter. Double yum.  Bacon Fritters Ingredients:
Method:
If you run out of bacon, but still have batter, don't worry! Just make some regular pancakes, silly! I served mine with warm syrup from the St. Jacob's Market.  Ready, and dip! :) Be sure to give your hands a good washing before you start-you can see some batter on my fingers! I've seen these done where you pour out batter into the pan in an oval shape, then you put your bacon piece on top, then dazzle more batter on it. I'm not a fan of this idea because A: it would be a very pancake-y thing, and I want more bacon-iness. B: It would be a lot more work. So, my Dad's fritter method works for me!  Unless you are like my husband who hates (HATES!!!) his bacon getting syrup on it, you will love this! Love! : ) |
Hi, I'm Amy-Lyn! 
I am the lady behind this here blog! I live in the sticks with my animals, my super handsome husband, and my
3 amazing kids! Here you'll find things from recipes (gluten-free, paleo, and strait up junk food!), DIY ideas, thoughts on raising a son with autism, and whatever else pops into my brain! : ) Read more about me by clicking here! Want to Stay Connected?
Find What
|
 RSS Feed