|
All kids get hooked on things, whether it's a show, a certain food, particular clothes, or toys. However, kids with autism get fixated, or obsessed and cannot move on without a nudge (or serious push!). I talk about autism & the need for sameness here, and this thing with obsessions comes from the same part of their brain that wants to find order and control in a world that seems topsy-turvy to them. My son Caleb's latest obsession is Buzz Lightyear. 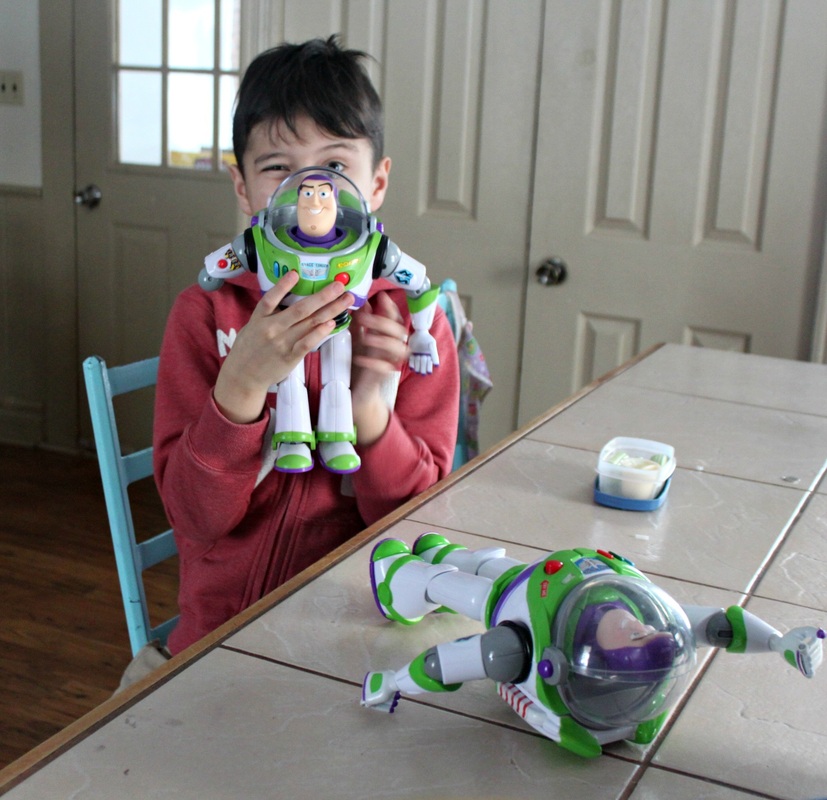
Caleb eating a snack with a few Buzz Lightyears
Caleb has been cycling through the same obsessions his whole life: Baby Einstein, Veggie Tales (& Larry Boy), Spider Man, SpongeBob SquarePants, Toy Story, Thomas the tank engine, and Sesame Street. We managed to get rid of Baby Einstein when it seemed age appropriate (my thoughts on Baby Einstein), and Spiderman is only now involved in t-shirt choice, and we don't have to watch the old-school original episodes anymore (thank goodness!). So, we're no strangers to Buzz Lightyear, he's been in and out of Caleb's life for years and years! 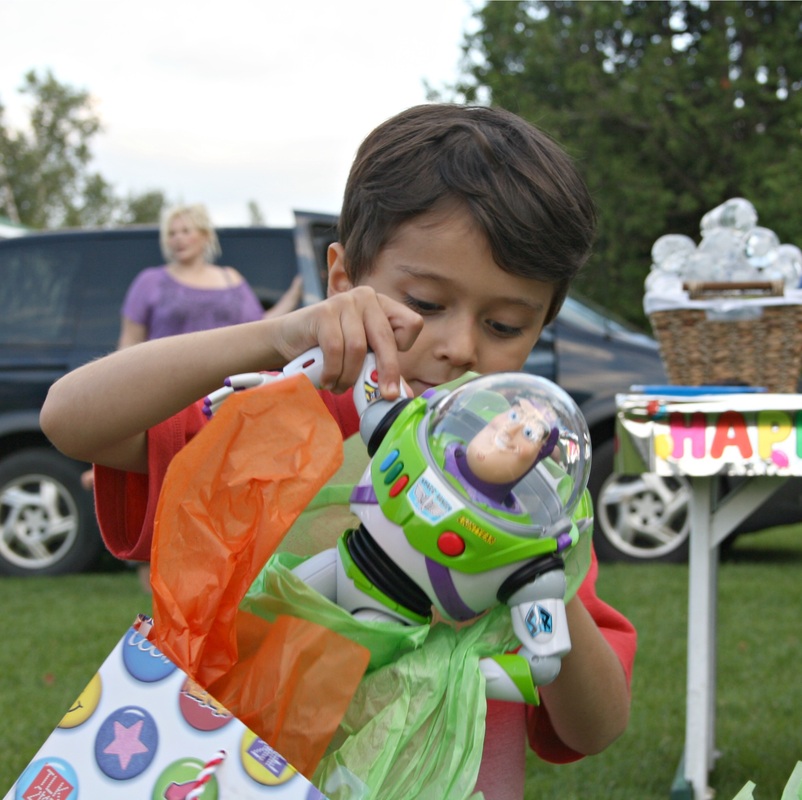
Caleb getting a Buzz Lightyear a few years ago at his birthday
When Caleb is obsessing about something, you literally won't hear the end of it! Sometimes, if I'm having a conversation with someone, Caleb will come to interrupt and say, "Did you say Buzz Lightyear?", as a way to be involved in the conversation, but with his topic choice. That gets old fast! How about, "Mom, what do you think about Buzz Lightyear?!?" (which I quietly answer under my breath, "I don't care about him at all!"), or "Mom, Buzz Lightyear's Blue utility belt and save the galaxy, and the evil emperor Zerg, and..." he could just rattle on like this for a while! 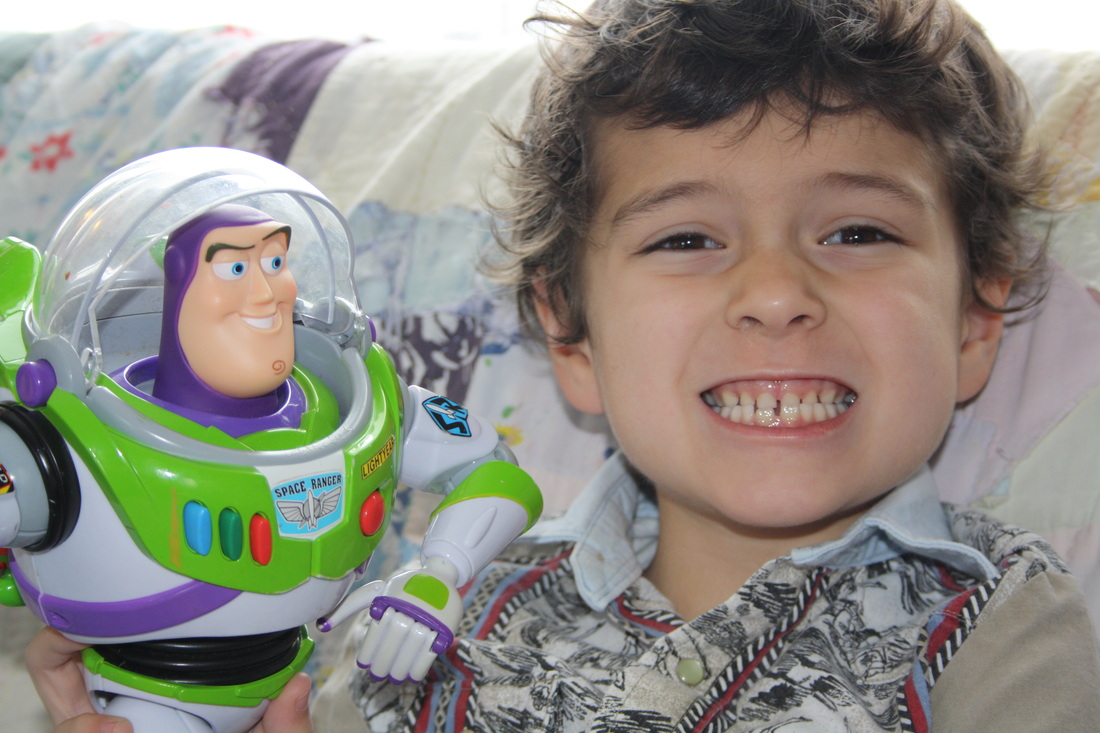
Buzz and Caleb hanging out
When the child with the obsession is like the child Sid from the first Toy Story (this Sid child is a toy destroyer!!!), it makes keeping up with the obsession more difficult. Because Caleb is looking for sameness, when he rips off his Buzz Lightyears' arm and he realizes it can't be fixed, he is very hard to console. Caleb's concept of cause and effect is immature, so, we're working with him to understand that if you are too rough with a toy, and it breaks, that's the end of that toy as he knew it (he usually breaks toys in such as away as they cannot be fixed!). We used to (as quickly as possible) buy him a replacement, but he's getting older now and needs to learn that if something breaks, it actually stays broken. 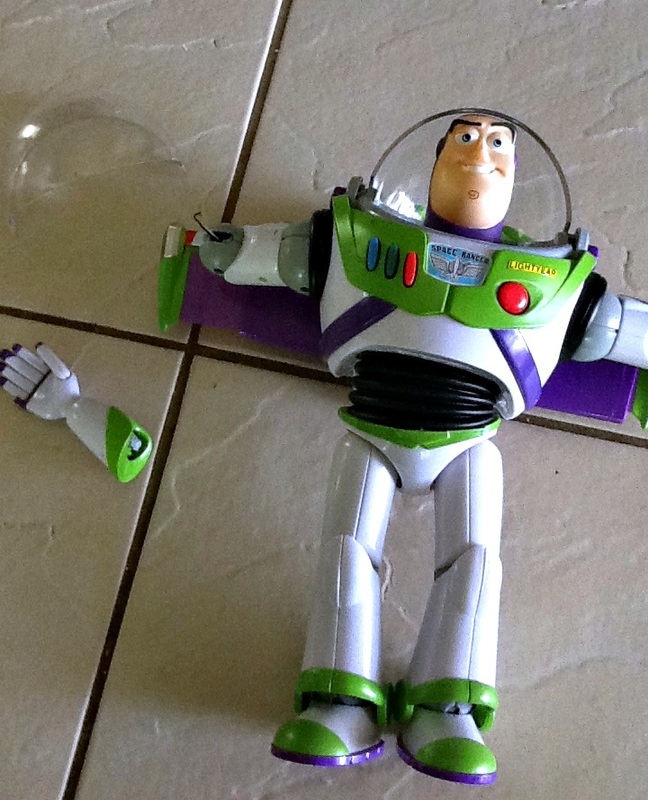
Caleb had this Buzz Lightyear broken within 2 days of getting it!
The upside to obsessions? Focus!
Caleb's fabulous former E.A. used Buzz Lightyear as an example for motivation here, when she said, "He loves Buzz Lightyear, so when it is time for writing – you guessed it – a story about Buzz Lightyear! (Hey, it works!)" If you can use a child's obsession to drive their education, social skills, even computer skills, I think the obsession becomes an important part of the child's life for the better. There is nothing inherently wrong with Buzz Lightyear or the Toy Story movies. They teach about trust, friendship, working through difficult situations, and being honest with yourself and others. I see no need to squash this obsession because of those reasons, so it seems logical that I would use it as a tool to make Caleb's life brighter. Buzz motivates Caleb to read and write, helps him with his typing skills (searching for videos on YouTube about Buzz!), and even helps him get ready in the morning (by telling him he can sit and play with Buzz before school once he is completely ready). Am I sick of hearing about Buzz? Yup. But, if you ask me, obsession or not, that Buzz guy seems to be helping my son accomplish a lot, and sounds like a real super hero. :)
2 Comments
Leftover soup is not soup that you ate in a different meal, but rather soup that is made from leftovers from another meal! Sometimes (in our house, at least), if there is more than one days worth of leftovers in the fridge, they get passed by because we're bored with it!. I mean, eating something once is great, twice is o.k., but a third time? Boooor-ing! Today's recipe is less of a recipe really, and more of an idea that I will trace for you in black, and you get to colour in yourself! It may seem like making soup from left-overs is a no-brainer, but as a teenager I once had soup that someone had made from basically every left-over they had!!! This soup had eggs and breakfast sausage, cut-up hamburger, left-over chicken noodle soup, & those frozen peas & carrots vegetables that had already been (over) cooked! This is a for real thing someone made! This experience was from more than 15 years ago and I still remember to this day all that was in the horrific meal! So, see? There is an art to this! 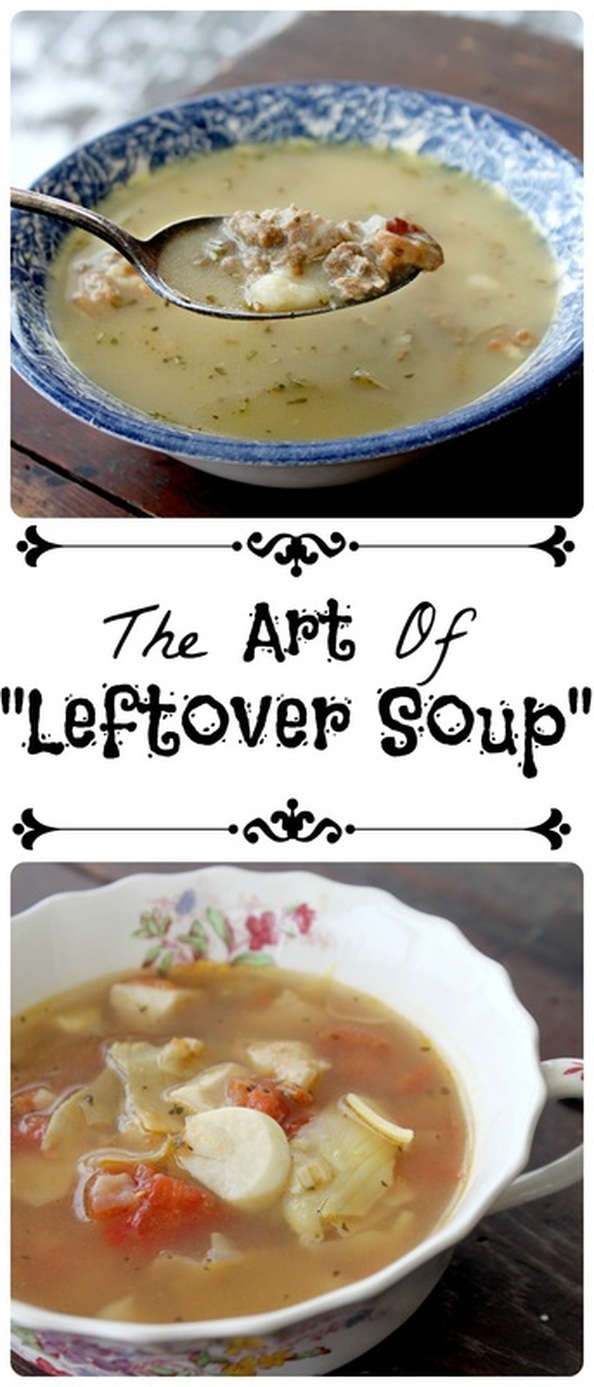 Left-Over Soup Ingredients:
Method:
**Some Tips for Flavour/Leftover Combining**
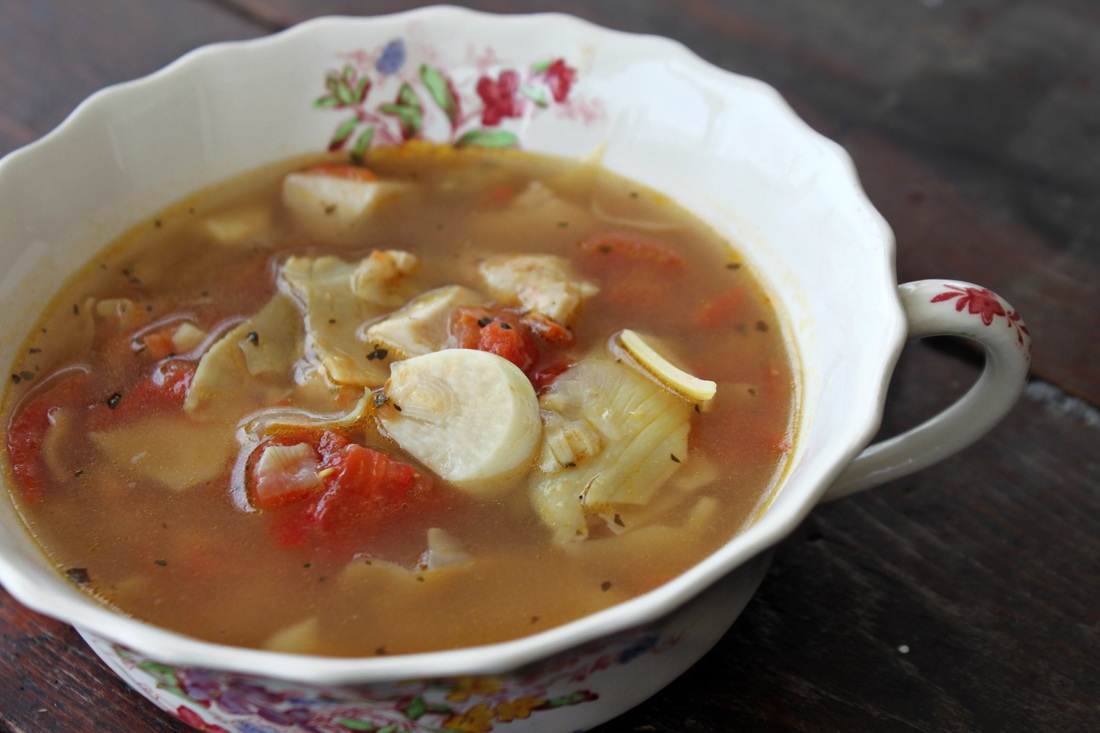 Italian Chicken Soup This soup was made from my "Tomato, Artichoke, & Cheese Chicken". I added 4 cups of chicken stock, a pinch more basil, chopped up the leftovers a bit, & warmed it all up! It made a really good soup!  Meatloaf and Mashed Potatoes Soup This soup is made from leftover mashed potatoes, and also the little bit of meat that remained from our Italian meatloaf. I added 8 cups of stock (I had lots of potatoes!) to a large pot, some garlic powder, and rosemary. For the meat, I just crumbled it into the pot, and let the potatoes warm in the stock until I could stir them to a nice consistency. This soup was also very yummy! I hope you can use some leftovers in your fridge to whip up a batch of hot soup on this cold winter day! I'm not 100% sure if this "qualifies" as a life hack, but I find it super helpful, so I wanted to share it! When I was a child, my Dad built a slatted bottom box that sat over the heating vent in our "shoe room". So, when we would come in on a winter day, we would toss our mitts, hats, scarves and sometimes our boot liners into this "hot box", and when the heat would turn on, our stuff would get nice and dry! What a smarty pants!  My version I use today is a simple milk crate sitting over the heating vent near our shoe shelf at the front door. Sure, it's unattractive, but function wins in this fight! To keep life simple and a little less cluttered, my kids only have one hat, one scarf, and one pair of mitts each, so, throwing their stuff in the box means that when they go out again their stuff is dry (and sometimes nice and warm!) for them to use, and they don't need a second set for "just in case the others are wet".
I hope someone finds this little tip from my childhood helpful! So, I really love rice krispie squares! I'm not 100% sure why, but just the combo of mallows, butter and rice cereal do it for me! For years though, I honestly could not make a batch of rice krispie squares properly! They always turned out too hard! Fail! So, I basically gave up, and resorted to (secretly) eating too many of them at any child's party we were invited to. Then, one night, I just really wanted/needed me a rice krispie square! I had been experimenting with all sorts of one portioned micro-wave cakes and cookies, and just figured I would try a rice krispie treat for myself! The best part (besides it working!)? was that I just ate 'er right out of the bowl....warm. Yummm..... 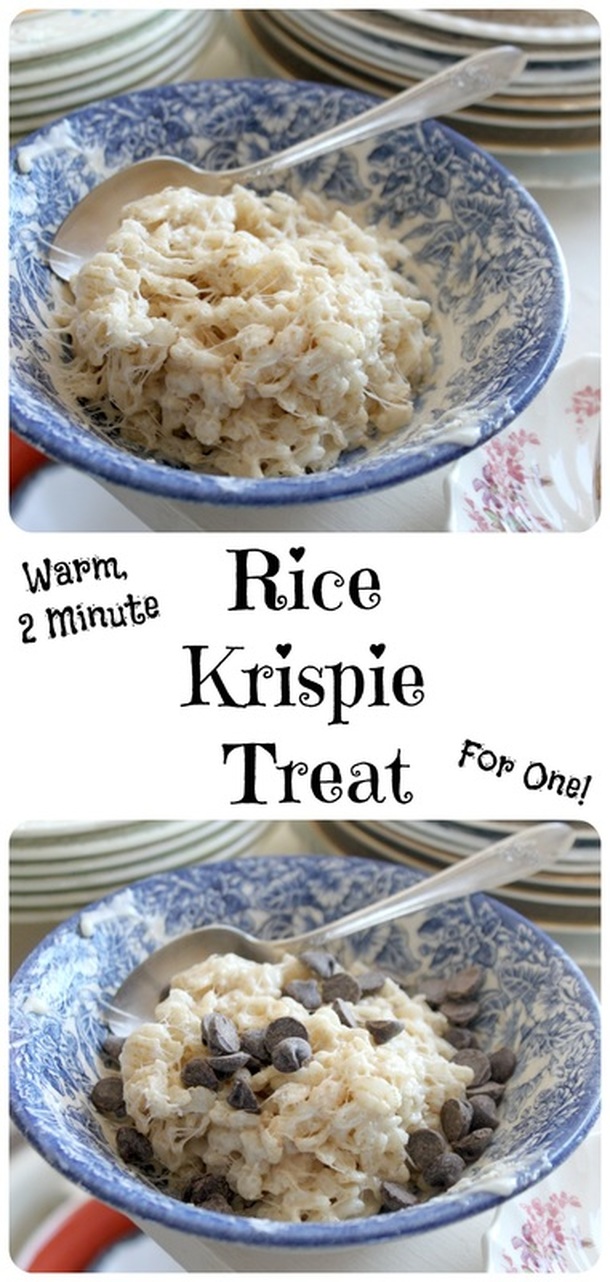 Rice Krispie Treat for One Ingredients:
*The amounts really are pretty flexible, and this can be made to suit if you'd prefer it more buttery, more mallowy, or more cereal-y : ) Method:
For real, why would you now go through the trouble of pressing this into some other dish, and waiting for it to cool before you can eat it. That's nonsense! :) I like to add chocolate chips to mine because I like to add chocolate to most things! 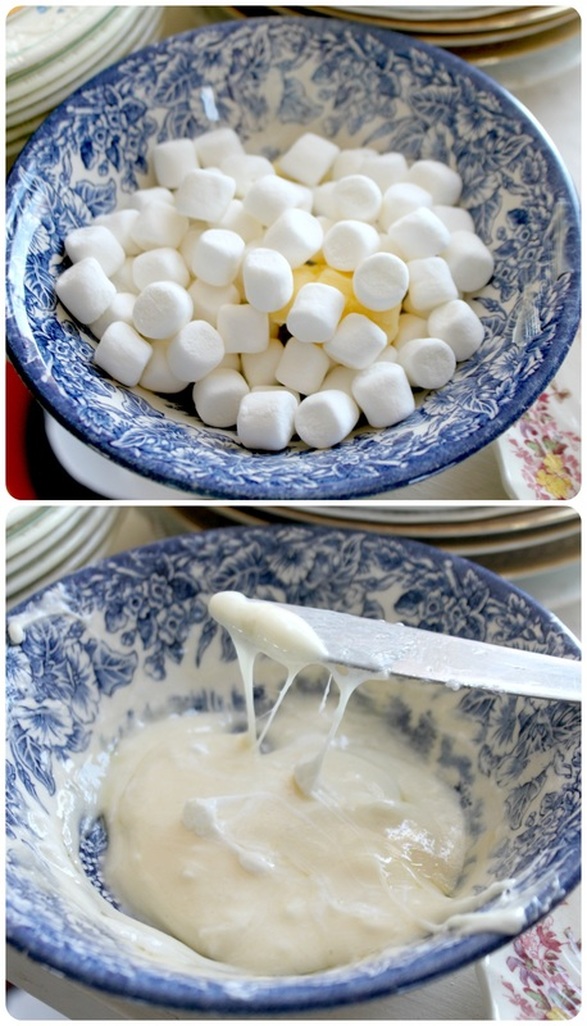 Someday, when my kids are old enough, I will teach them how to make this as an easy treat they can make on their own. And I'll just tell myself I'm practicing for that moment from now until then if I feel guilty about making this for myself! P.S. the key to the best rice krispie treats? Butter! If you use too little, the squares will be dry, dry dry! Thumbs down! To see my many rice krispie inspired treats, look here! I've only posted sweets so far this week, so I thought a hearty winter meal may be in order! 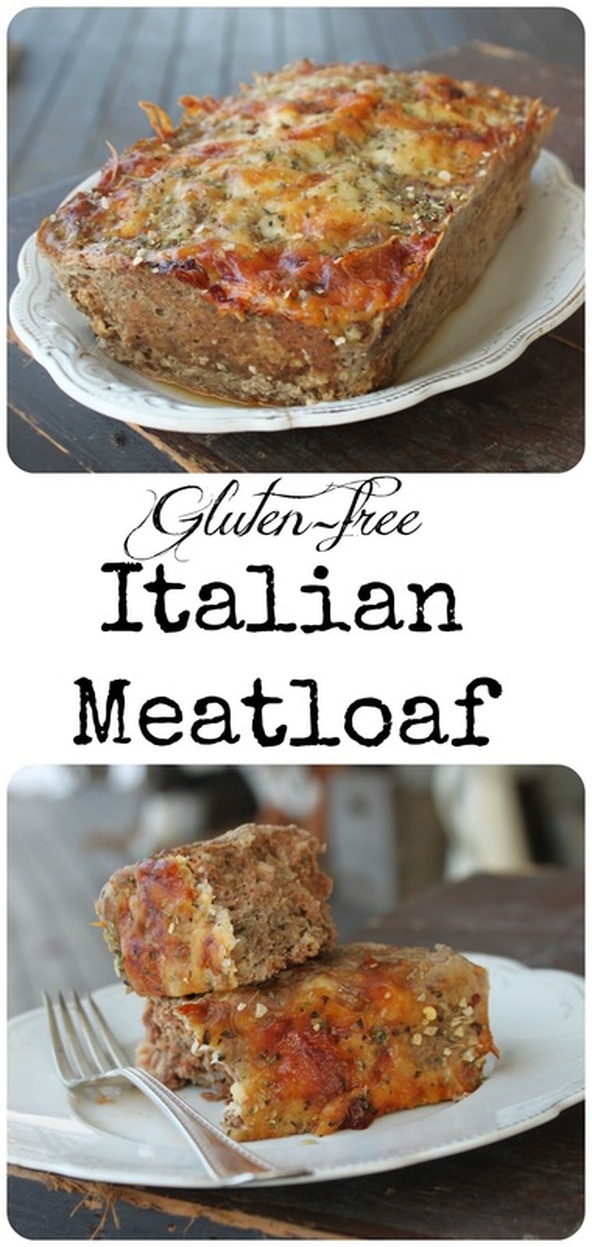 Italian Meatloaf Ingredients:
Method:
If it seems too greasy (which can happen depending on the meat you use), just pour off some of the grease while it's still in the pan (gently holding the loaf, so it doesn't fall out!).  I ate mine with a big ol' salad, and called it a meal. I made some g.f. pasta for the kids to have with it, then gave away some of the leftovers to some of my favourite kids (that are not biologically mine) to use for making sandwiches for their lunches the next day. :) 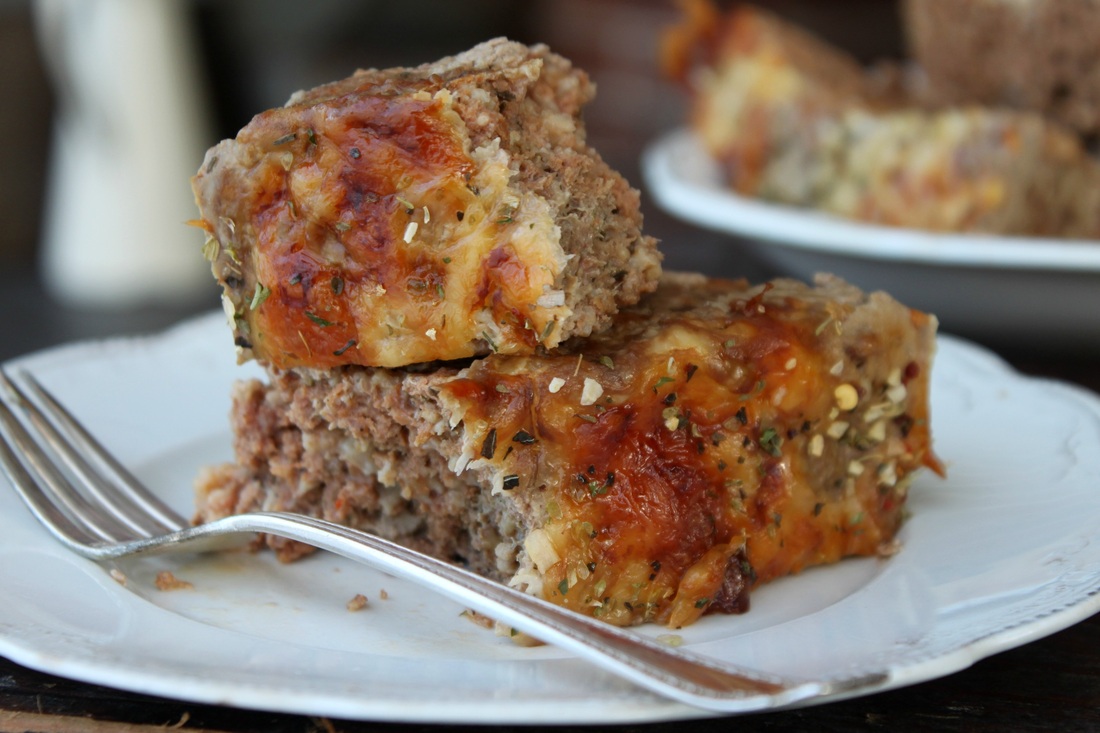 I hope you get a chance to try out this moist, full of Italian flavour meatloaf! Have a great weekend! My autistic son Caleb is in grade 4, he's 9 years old. He got invited to his first ever school friend birthday party in December. One of my daughters is in Kindergarten, she's 5 years old. She been invited to 3 birthday parties already. Growing up, kids get invited to cousins parties, and parties of the kids who their parents are friends with. Then school starts, and there is a shift, and usually, kids start getting invited to friends at school parties. 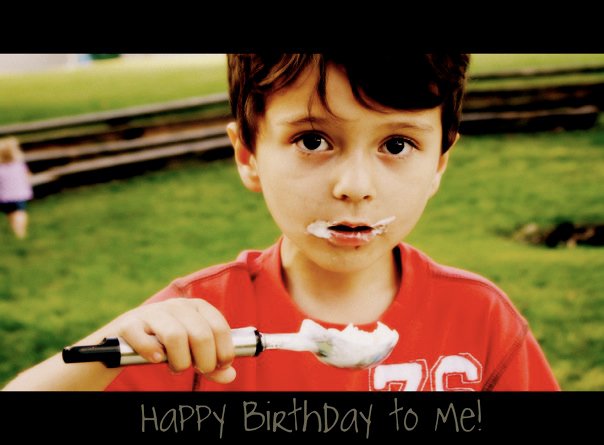 We knew that things wouldn't be normal for Caleb regarding school and friends, but somehow, seeing his sister getting so many invites red-flagged us to the fact that probably every other kid in his class was being invited to something, except him. I completely understand why a parent might have reservations about inviting a special needs child to their home for a party. Who would want to willingly have someone over for a birthday party who doesn't communicate that well all the time, who might get overly excited, who can be unpredictable? When the invitation showed up in his backpack in December, I literally starting crying. I called Caleb over and told him what I was reading, and asked him if he wanted to go to this birthday (for a boy who he has really loved since he started at that school in grade 1), he jumped strait up in the air and shouted, "yippee!". Not exactly a "yes", but I think his answer was better. 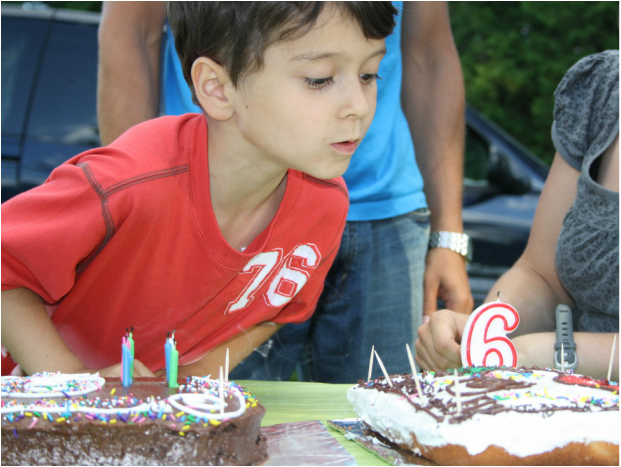 I have no pictures of the party because Caleb walked there after school with the other boys going to the party, and my friend picked him up and brought him home for me. He did it all on his own (basically), and the only worrisome thing told to me was that he started getting really worked up by the end. Let's see: boys+sugar+party=worked up. I think that's pretty normal? 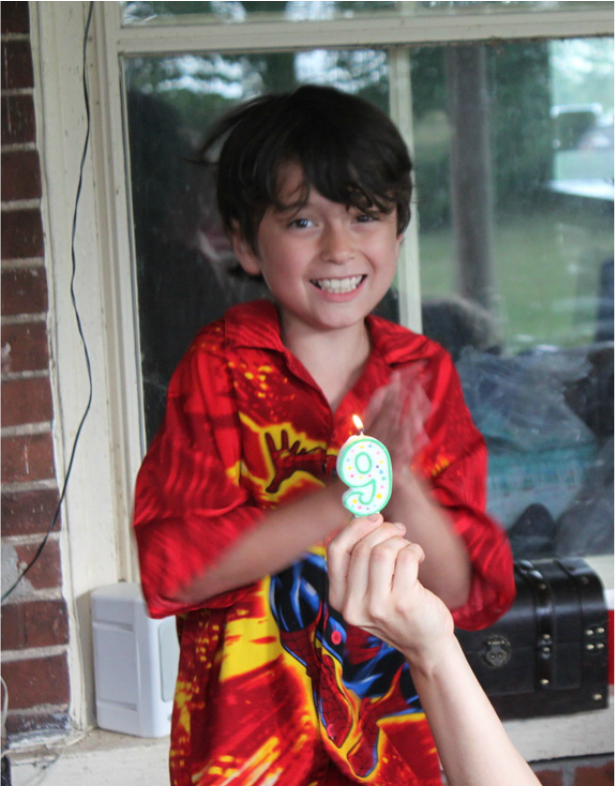 Do I think my Caleb is amazing for making his first birthday party invite a success (and not having a meltdown!)-yes I do! But who I really think is amazing is the boy who invited him. It was a brave, and truly unselfish move to invite Caleb to his party. If that was Caleb's only party he ever gets invited to, you can be sure he will remember it, and remember who invited him, and how wonderful that young man is. Caleb wants to be included, he wants to fit in. He wants to play with his friends, and go to birthday parties. I wish people weren't so afraid of him, and the unknown aspects of him. He is a sweet & funny guy, who loves animals, watching movies, colouring and drawing, eating junk food, and salad with an insane amount of italian dressing! Singing, dancing, dill popcorn seasoning added to many things (potatoes, fries, corn on the cob, even chicken drumsticks!), sitting on the heat vent in the kitchen to make his feet warm, clicking his reading lamp off and on twice before going to sleep for the night, and getting "squishes" (a seriously great hug!), and he loves singing, especially "happy birthday". I wish more people could really get to know him, not be so afraid of him, and include him more often. My daughter was having an animal themed birthday party. We encouraged the kids to dress like any animal, but my main focus for food, decorations, goody-bags, etc. was domestic animals like dogs, cats, and fish. I decided for her cake that I would make a cat because, of all the animals she loves, she really, really loves cats! 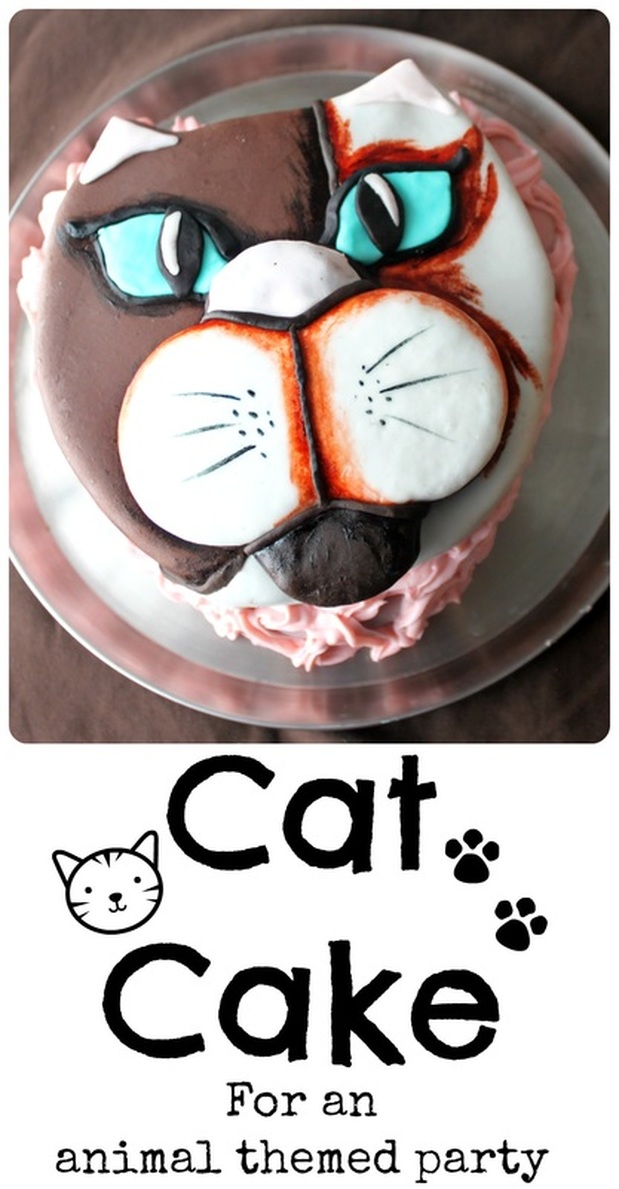 I started with a chocolate cake from Martha Stewart (here-I doubled it), and baked one batch in 2 heart shaped cake pans, and the other batch in a large springform pan (to have as extra cake for the muzzle, and any other random thing I might think of!). I made these 6 days in advance, wrapped tightly in plastic wrap, and stuck them in the freezer. When I started working on it, I didn't even really let it thaw out much. I just carefully cut one of the hearts into a cat head by forming sharp ears, and rounding the bottom. If you don't have a heart shaped cake pan, just start with a regular round cake, and cut cake ears to add. To get a perfectly symmetrical muzzle, I used my circle cookie cutter, and overlapped them, just scoring the cake. Then I used a knife and carefully cut it out. For the bottom lip, I just used the piece I had cut off the bottom of the heart. Making the pieces for the muzzle, nose, & lip is mostly just a matter of seeing what cake scraps you have, and turning them into the new pieces you want. 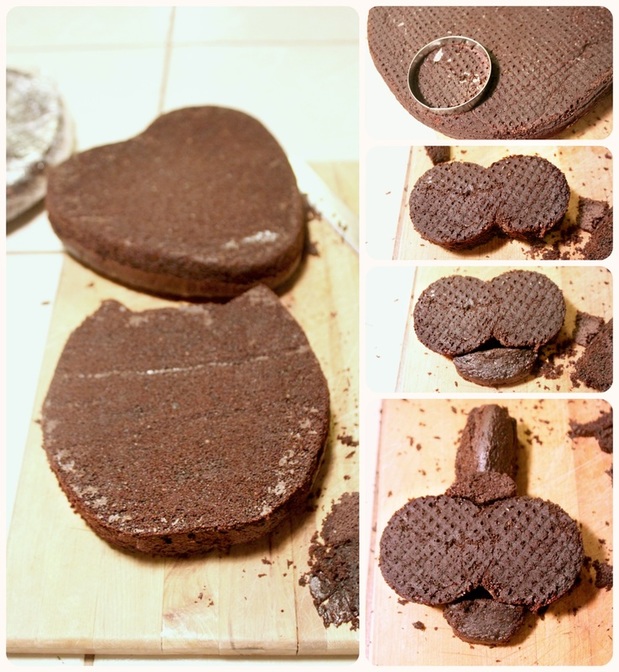 For my icing, I used a marshmallow fondant recipe that I have pinned on Pinterest, and have used many times. It's simple to make, and easy to use. I left some of the fondant white, made a few shades of brown, a little blue, a little pink, and a little black. I started by covering the cake in brown & white fondant, then covering the muzzle white fondant, then the nose in pink, & the bottom lip in black. I used a regular buttercream frosting to stick 'em together, and added some fondant "trim" to clean up the look of the seams. 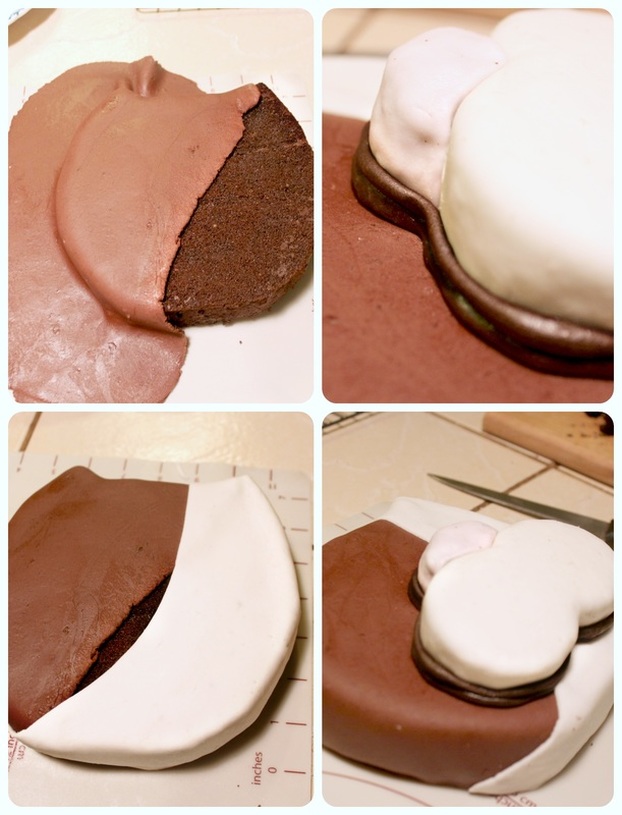 The eyes took some wiggling to make the exact same shape and size, but they turned out well. I added trim around them for definition, then added some more trim detail to the nose and muzzle. The bottom layer is simply the second heart (or a second round cake, if that's what you used), with a "melted fondant" (you take a store bought icing, micro wave it until it's pourable, then pour it over your cake, and let it harden). I turned it pink first with a little icing flavour packet. I carefully set the cat face on top of the fondant covered heart, then piped some coloured butter cream icing around it (I suck at piping icing....) The final stage in making this cake was to paint depth and detail using my Wilton Gel Colouring. I used a new, small paint brush to get the look I wanted. 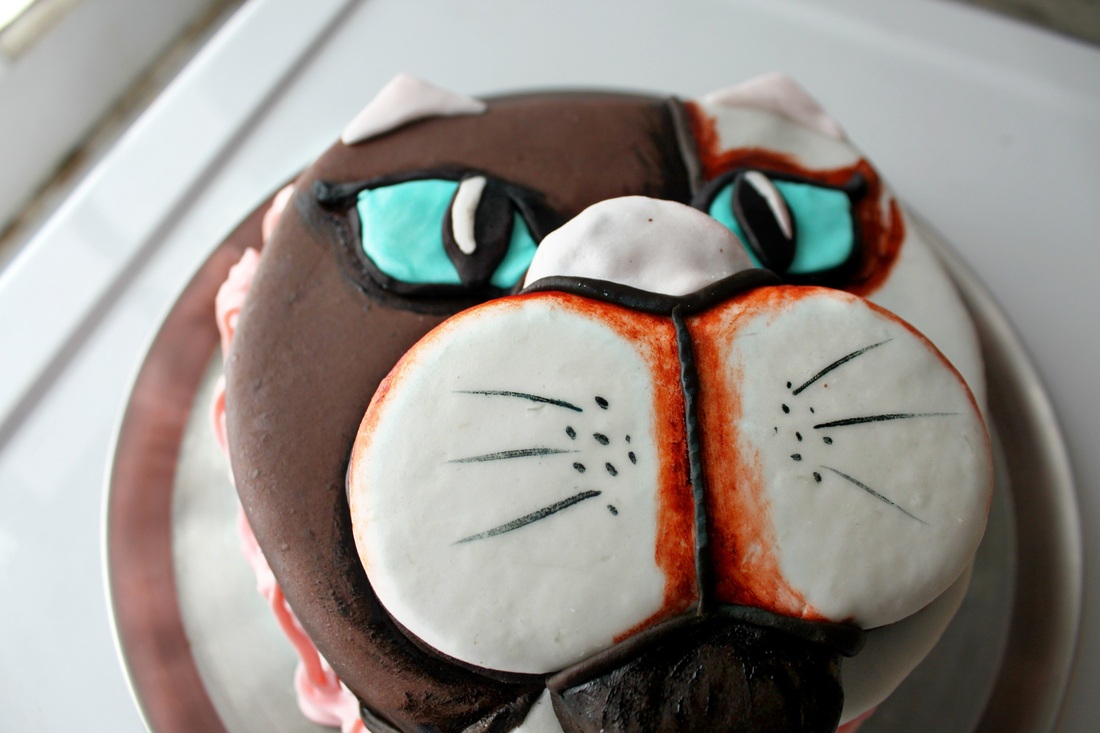 So, it took some time (as cake making/decorating can do), but I liked how it turned out, and my sweet daughter was so very pleased, which is the point! And this concludes my multi-day blogging about my daughters birthday! :) My youngest daughter turned 4, and wanted an animal birthday party (she originally wanted Littlest Pet Shop, but we generalized it because she just really loves animals in general....and because all Littlest Pet Shop paper plates, cups, napkins, etc. have been discontinued for some reason?). Anywho, here it is, with lots of pictures! 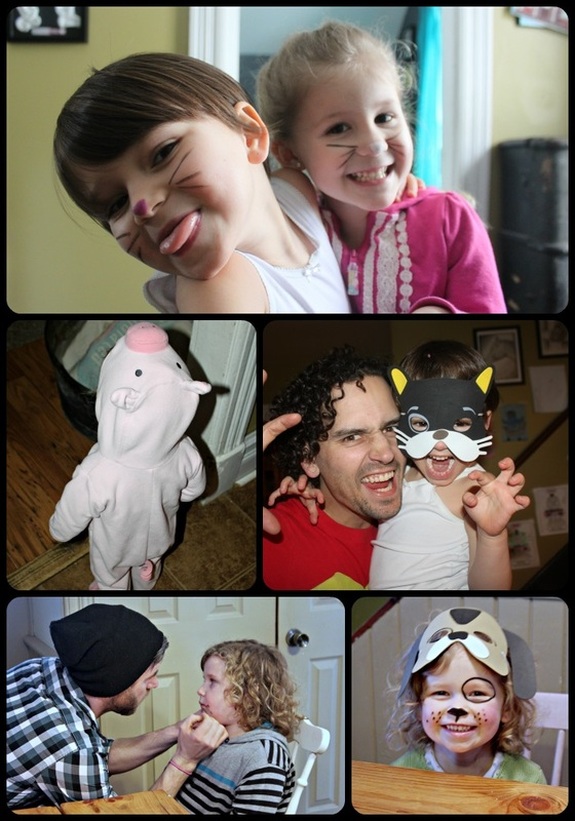 We asked the guests to dress like animals, we also painted faces, and had a few animal masks for the kids to wear. 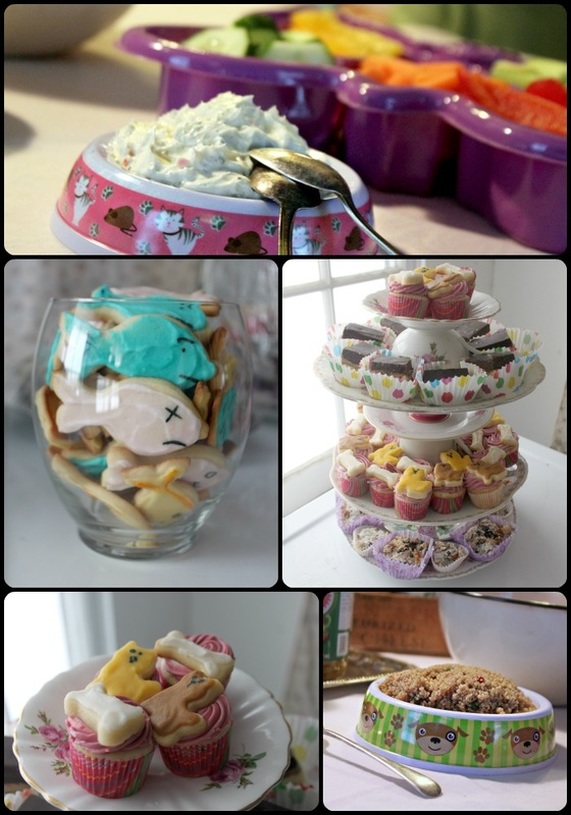 We fed the kiddies mini hot dogs (little cocktail wieners on small dinner rolls), veggies and "cat food" dip, our friends brought some delicious "dog food" quinoa salad, and there was a jumbo dog bowl of party mix. For dessert, we had a fish bowl of fishy cut-out sugar cookies (including one dead one, I know, I'm sick), kitty cat and dog bone cupcakes, a cat cake, rice crispy squares (just because I love them!), and a few extras for adults (Chocolate Dulce du Leche Shortbread squares, and Hello Dolly's). Oh, and ice cream too! 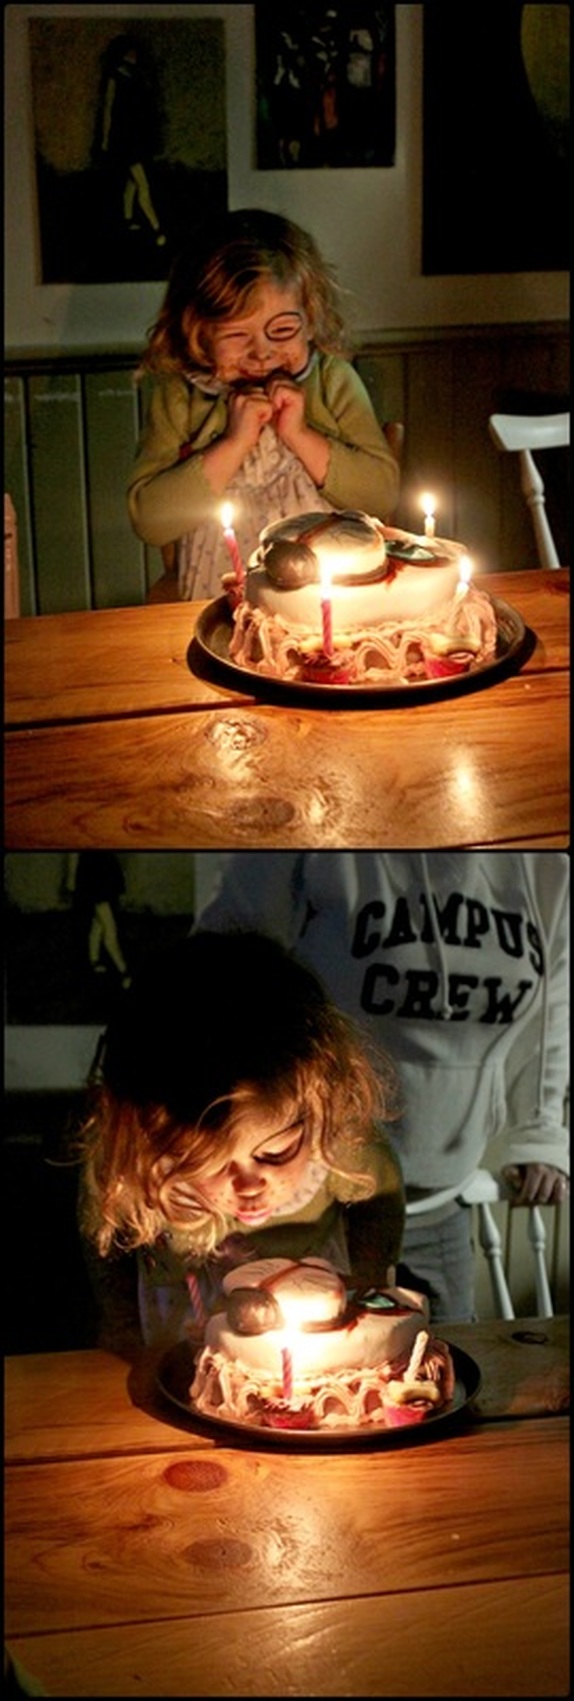 Seriously, check out that darling girl, and tell me she wasn't so excited! Gosh, I love her! I will share about how I made her cat cake tomorrow. 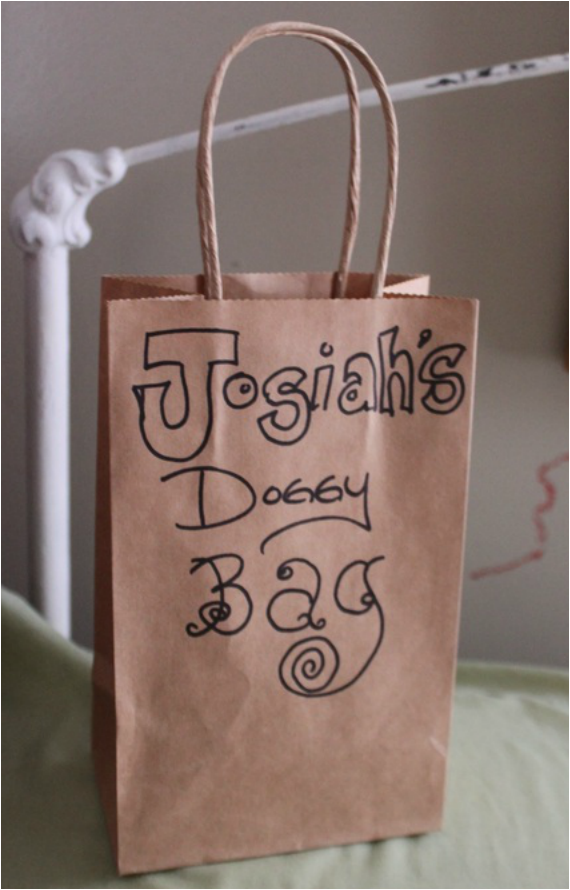 The kids took home "doggy bags" with goldfish crackers, gummie bears, a teeny Littlest Pet Shop animal, and some animal stickers. My daughter had a great party (and I think the other kids enjoyed themselves too!), everything turned out great, and I'm glad it's over! Haha, but seriously.... :) Sugar cookies are generally thought of and made at Christmas time, but I'm pretty sure they're not exclusive (I didn't officially check the legal rights of cut-out sugar cookies, but....) So, when it comes to wanting to make a cookie for a party or event that has a theme, cut-out sugar cookies should be seriously considered! Looking at the Bulk Barn, or a local place you know of, or even looking online, you'll find the cookie cutter you want, and you are on your way to having a themed cookie! 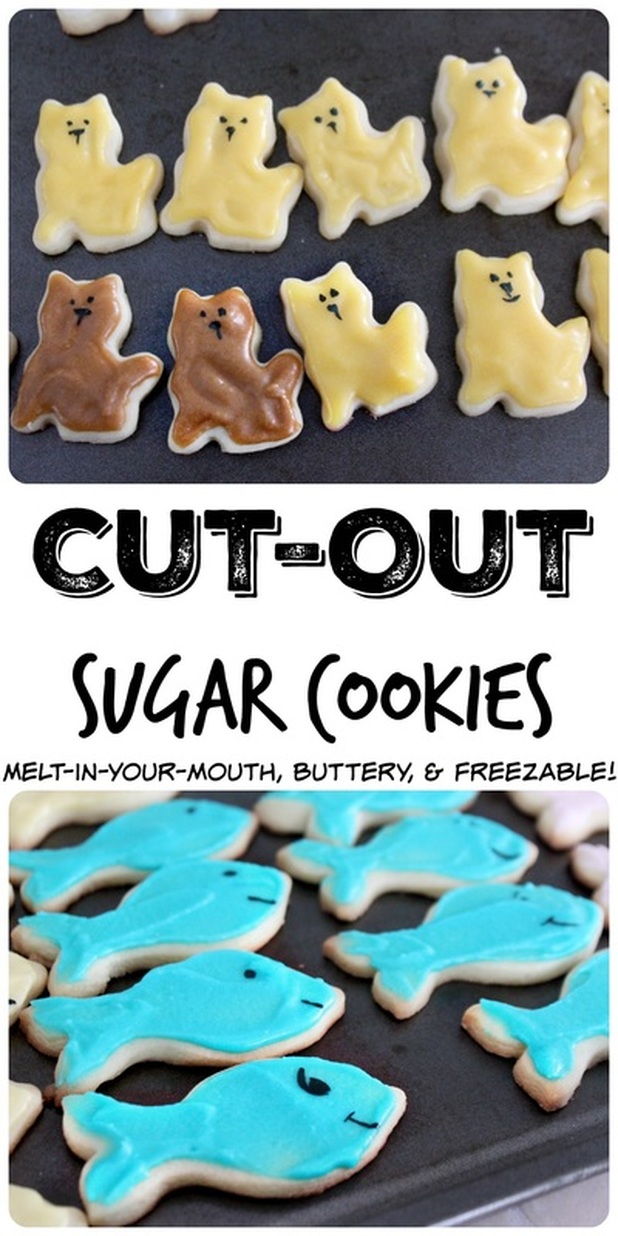 Cut-Out Sugar Cookies (these cookies need 1 hour of chilling before baking! Fair square warning) :) Ingredients:
For Icing:
Method:
....after the dough has chilled....
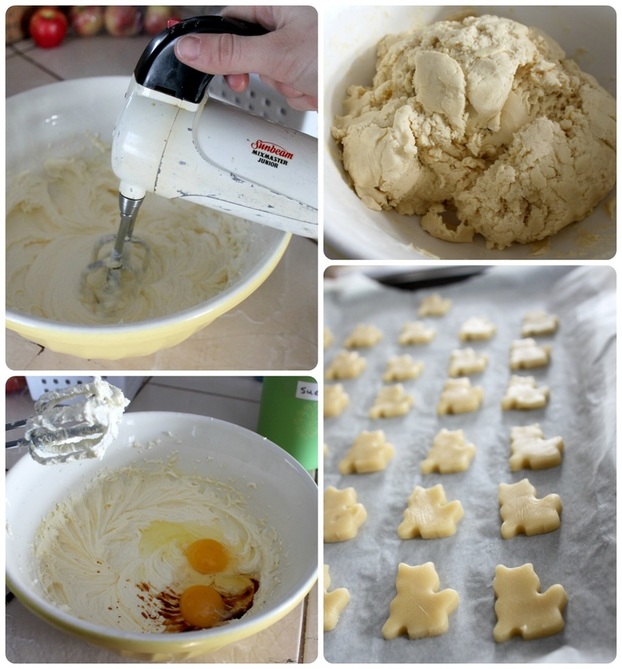 This particular batch of cookies was for cats, dog bones, & fish for an animal themed party my daughter had. 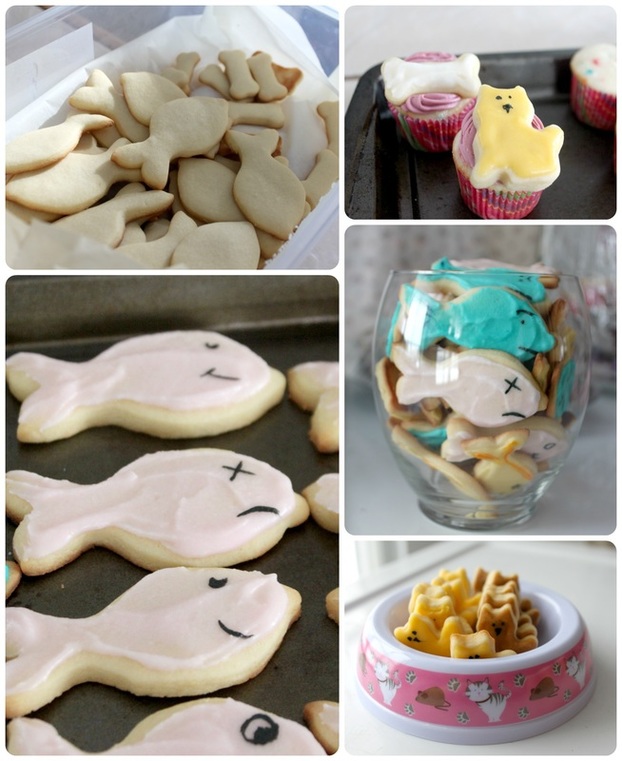 These cookies turn out buttery, and delightful. They freeze well (just take them out and let them sit in a single layer to thaw before icing), and are really a super simple way to add some theme and colour to any event! |
Hi, I'm Amy-Lyn! 
I am the lady behind this here blog! I live in the sticks with my animals, my super handsome husband, and my
3 amazing kids! Here you'll find things from recipes (gluten-free, paleo, and strait up junk food!), DIY ideas, thoughts on raising a son with autism, and whatever else pops into my brain! : ) Read more about me by clicking here! Want to Stay Connected?
Find What
|
 RSS Feed


