|
My daughter turned 5, and asked for a Princess Celestia (from My Little Pony) cake. She actually wanted a huge cake that was an actual standing horse! I thanked her for her obvious faith in my abilities, then gently told her I wasn't that good! Gotta love a 5 year old! I did have a plan though, and I wanted to see what I could manage. It's fun to push yourself a little and see what you get! 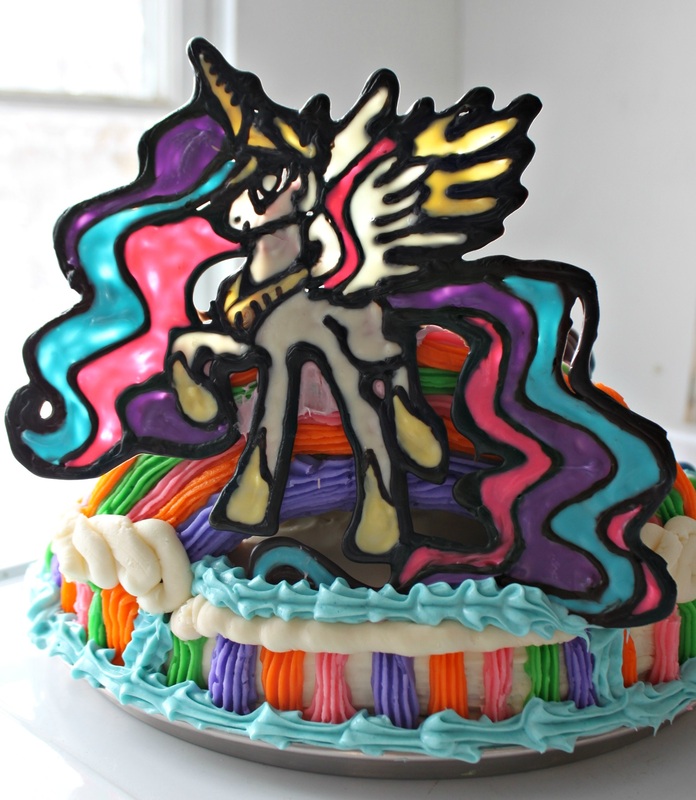 The finished product Princess Celestia Cake: Ingredients:
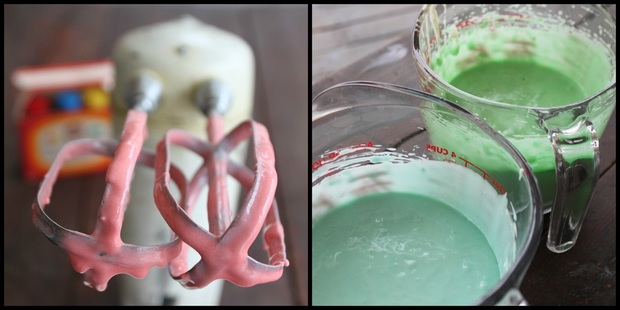 3 of the 4 coloured cake batters Method: So, to start with the cake! I had always wanted to do a multi-layered, multi-coloured cake (and had one huge failed attempt for this same daughters 3rd birthday)-but I was ready to try again! I made the 2 mixes, divided them into four bowls, and added a little food colouring to each and mixed 'em up. 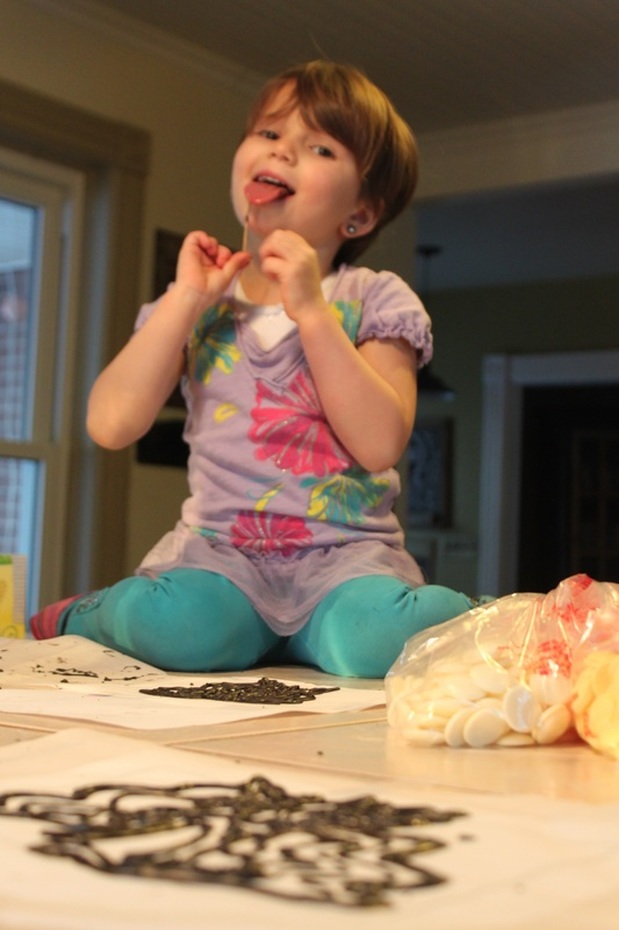 Getting some "help", and encouragement, from the birthday girl. I baked them 2 at a time in round spring form pans. Once they were completely cooled, I put wax paper between each layer, wrapped it up tight in plastic wrap, and put them in the freezer! It was 6 days before her birthday! I like to get stuff done ahead of time, so freezing is a good option that keeps the cakes moist and fresh. 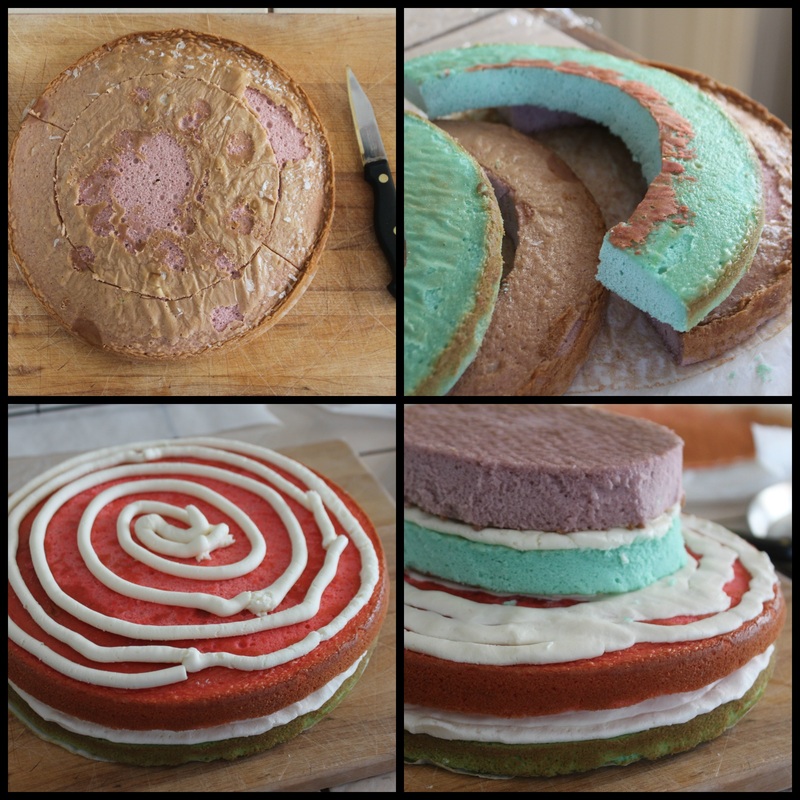 Cutting some of the cakes into smaller circles, the cut-off pieces, a spiral of icing between layers, and the layers iced and stacked! Two days before the party, I got the cake out of the freezer, and started phase 2: cutting the cakes to the right size. I left 2 cakes as they were, and placed a bowl on the other 2, and cut out around the bowl to have smaller circles. I didn't scoop and spread the icing on the cake because when you have this many layers you don't really need a lot of icing in between each. I just piped a spiral of icing on, and gently squished it down to cover. 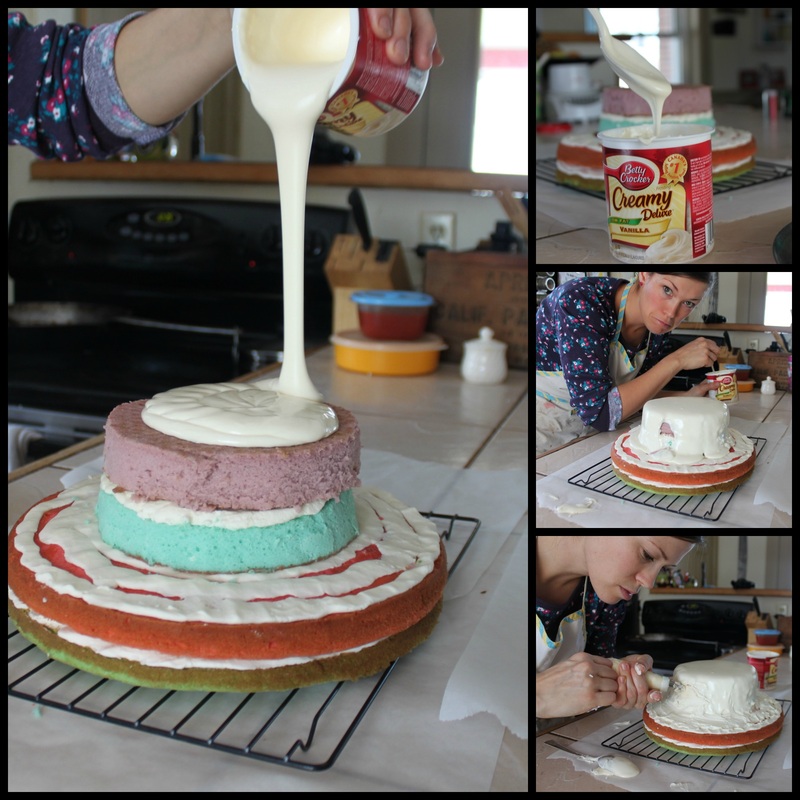 Pouring the warmed icing on the cake, and fixing the bad spots. I use (and love using) fondant for the final icing on cakes. It gives them a really clean, professional looking finish. But recently (on Pinterest) I saw a cake decorator who would warm canned icing and pour it over the cake. She said it dries and sets like a fondant, and would be easier to use. However, it didn't work out 100% for me, so I had some lumpy spots, and a few spots where the icing skipped over, leaving holes! So, I had to fill them in using the icing I had in my piping bag. I was a smidge annoyed, but not too worried because I knew I was going to pipe more icing with colour on the cake, and could hide the bad spots! 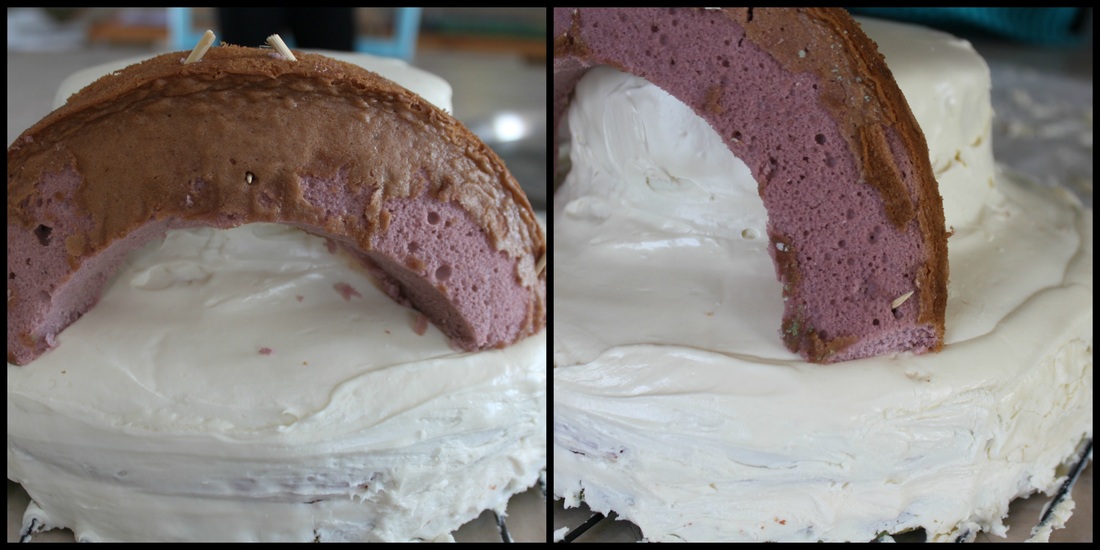 I used one of the pieces I had cut to make a rainbow on the cake. I secured it with toothpicks and halved skewers. 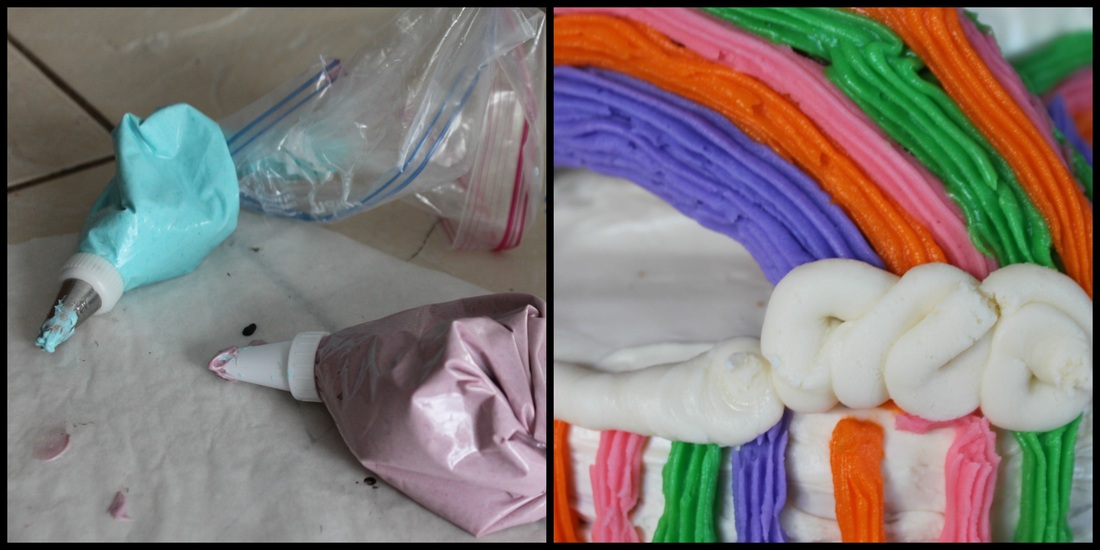 Ziplock bags of icing, and the cake almost finished. Next I divided my white buttercream into different bowls and coloured them. My only thought was rainbows, so, I went with that, and tried to cover the lumpy "fondant" spots, and make everything look good. P.S., by "look good", you can clearly see that I mean "looks ok!". My piping skills are poor!!! Hahaha 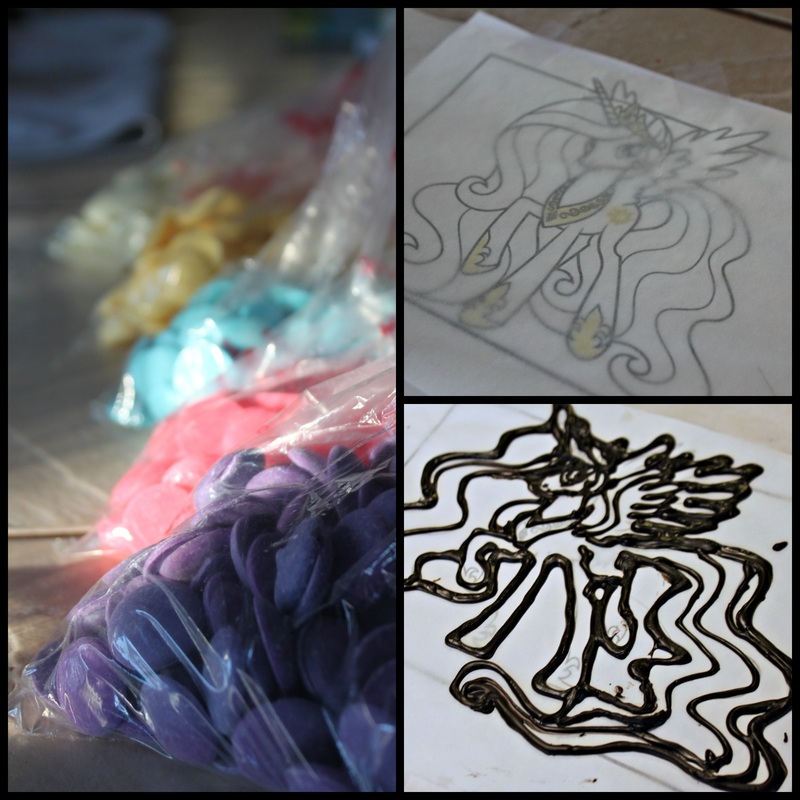 My Mercens Chocolate Melts, and the images I used to "trace". So....now I just needed Princess Celestia...oh boy! I am not really a good character artist, so I decided to print a picture of the pony, and tape it under a sheet of parchment paper. Then I just needed to trace it! I melted the Merken chocolate as needed-starting with the black. I let them cool a smidge after melting, and piped the outline of the Princess. I actually did a different picture first (you can see it in the photo above with Abby), but her face was too smooshy. So, I printed a different picture and started again! (the bottom right picture {above|, and below). 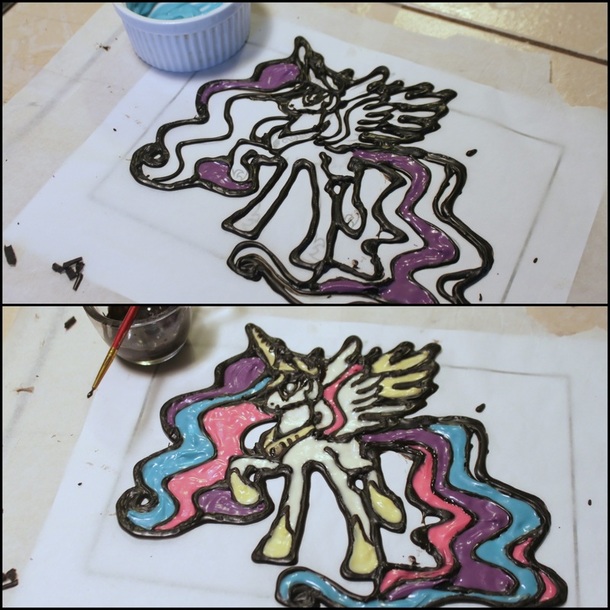 Painting with chocolate Then I used (clean, brand new) paint brushes to paint the colours into the outline. Once I finished with the colour, I did the black chocolate again to clean up the lines. Now I just carefully put the wax paper into our back room which is cold, and let it really cool and set. I had originally intended to find a way to make her stand on top of the cake, but it seemed pretty risky. So, I decided to just stick her in front of the rainbow. Yes, it would hide the rainbow, but the most important part (to my daughter) was Princess Celestia, so I went for it. I was glad I did, it made her very secure to the cake. I did the finishing touches, like adding Skittles candy, and piping blue around the cake edge, and was done (finally!). 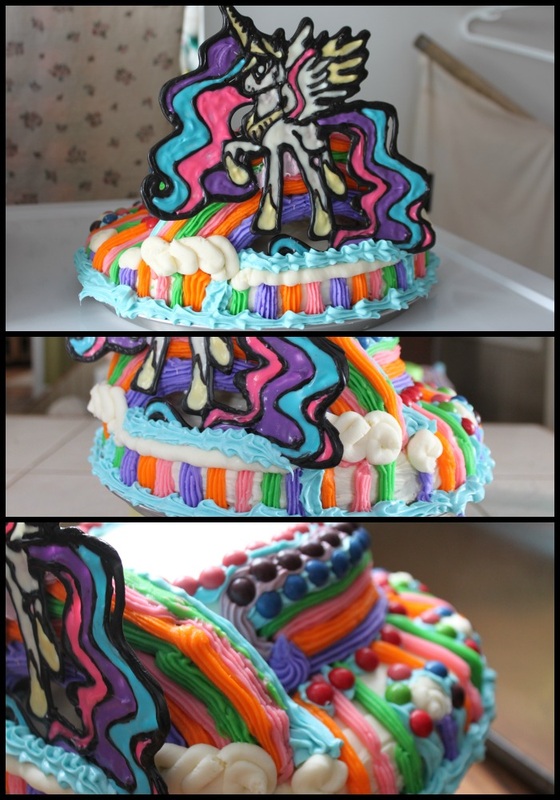 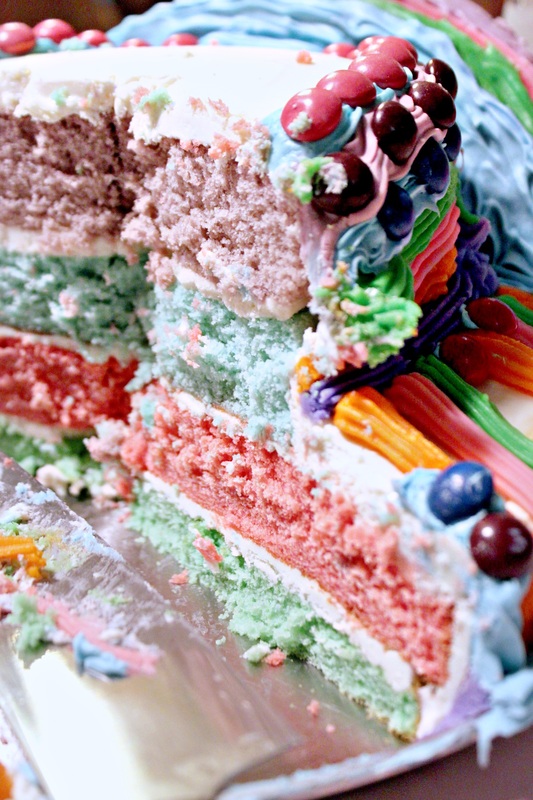 I was despairing at one point about the chocolate and making the princess. I told my daughter that I wasn't happy with how it was turning out, and she looked at what I had painted so far and told me it was "prefect!". That was the point after all, wasn't it? To make it perfect? Haha, gosh no! But to make my daughter happy? You bet! 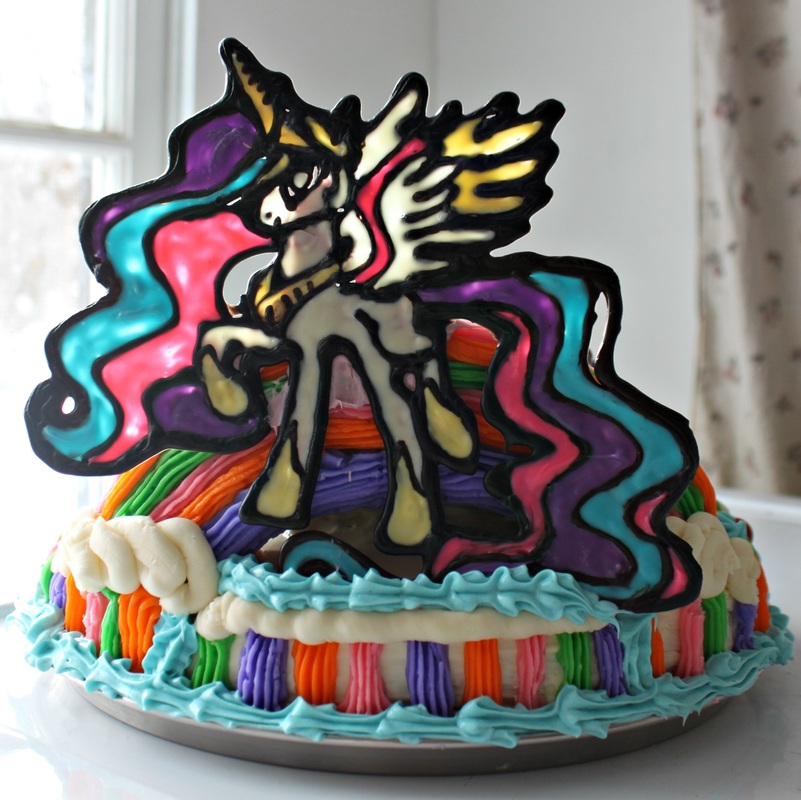 I'll talk more about the rest of the party, and my thoughts on birthday's, tomorrow. See you then!
4 Comments
Sharon Vanden Enden
12/8/2013 09:53:29 pm
Oh my goodness! You are cray-cray. This cake is a 5 yr old girl's DREAM! Such a nice Mommy to make her a "perfect" cake. I also love that you used shortcuts (cake mix, canned icing) - it makes the rest of us seem less inept.
Amy-Lyn
12/9/2013 06:32:58 am
Yes, cray-cray indeed! The shortcuts are for keeping the crazy down to a functional level! :)
Sarah
12/9/2013 06:09:15 am
Holy Moly that is one awesome looking cake!!! Great Job!!! Definetly a big success!!
Amy-Lyn
12/9/2013 06:33:36 am
Why, thank you very much! :) Leave a Reply. |
Hi, I'm Amy-Lyn! 
I am the lady behind this here blog! I live in the sticks with my animals, my super handsome husband, and my
3 amazing kids! Here you'll find things from recipes (gluten-free, paleo, and strait up junk food!), DIY ideas, thoughts on raising a son with autism, and whatever else pops into my brain! : ) Read more about me by clicking here! Want to Stay Connected?
Find What
|
 RSS Feed


