|
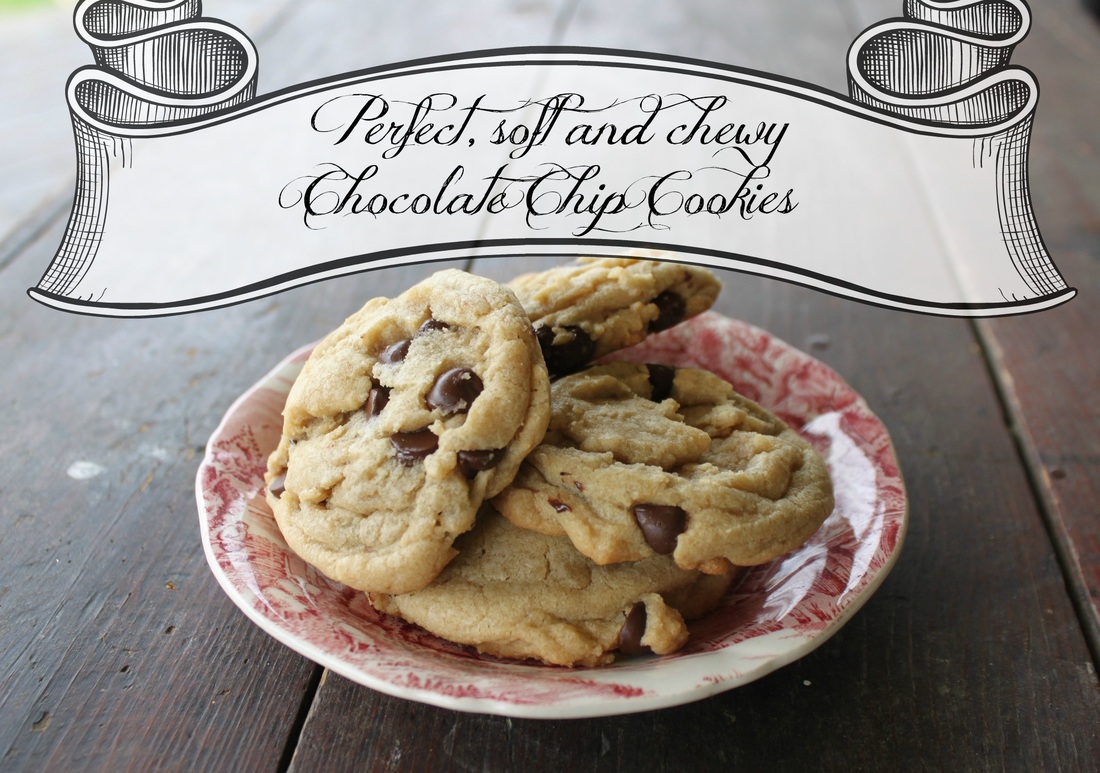
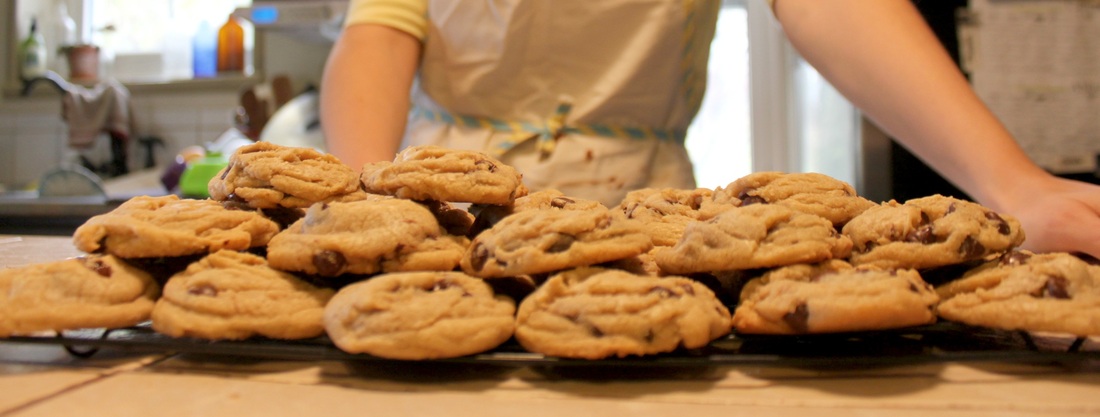
So, what do chocolate chip cookies and theatre have in common? Well, ask a bunch of people down at the Belleville Theatre Guild, and they'll tell you!
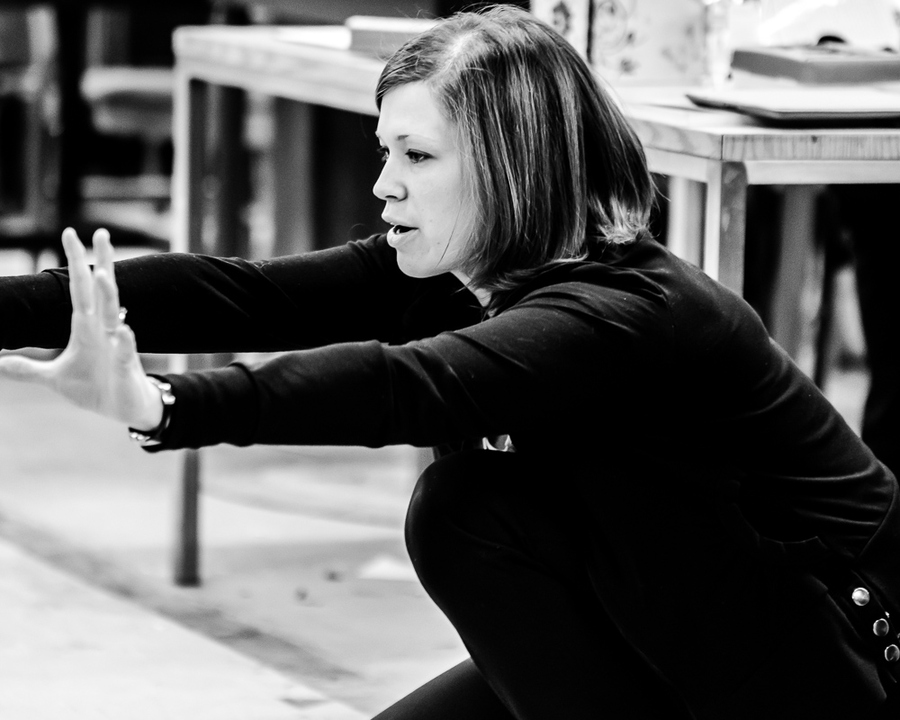
Me working on choreography for The King & I with the Belleville Theatre Guild. Photo courtesy of: Sean Scally Photography
In my first show at the Guild, I starting bringing cookies to the Friday rehearsals, just for fun. Well, my kind of fun. Making 5 dozen cookies apparently isn't everyones idea of a good time! Weirdos.
Some people at the Guild like me for real, and some people only like me for my cookies....I'm o.k. with that.
At this point you may scroll down a bit to find the recipe. But then you would miss out on the many (many!) pictures I took, and my helpful tips/explanations that make this recipe the bees knees! 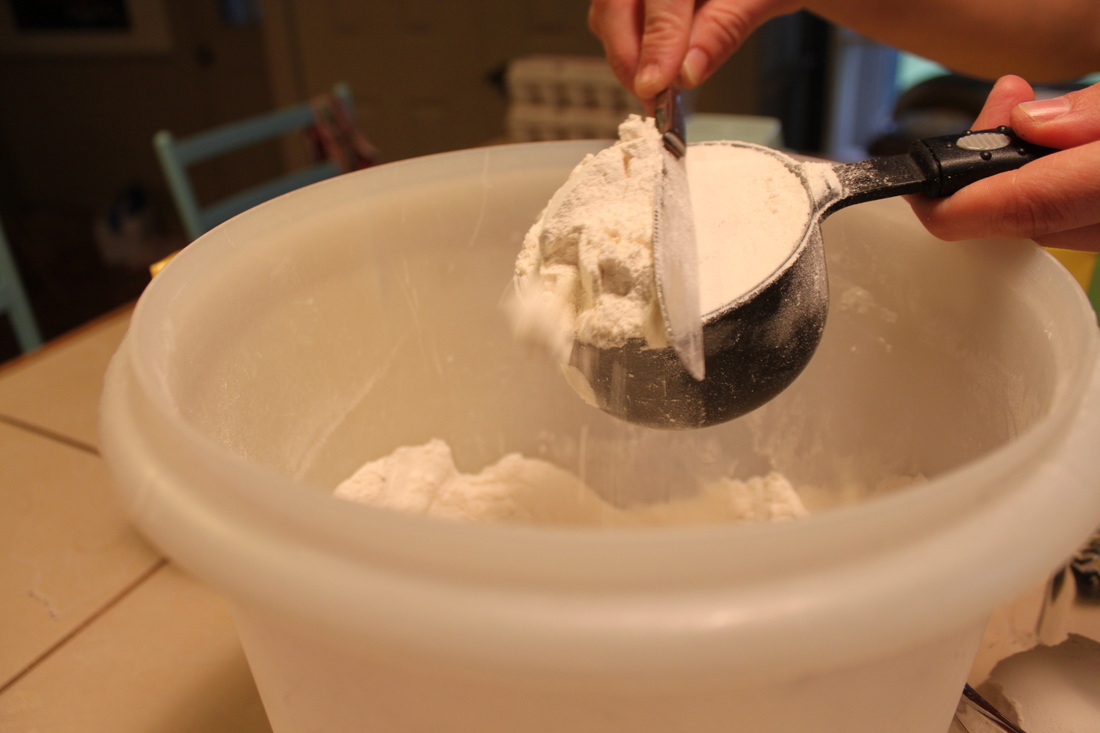
Measure your flour correctly
Make sure you scoop, and level your flour properly. Basically, scoop it into your measuring cup with a spoon, then level off with a knife. It's important to have the exact amount. Too much flour=dry cookies. Too little flour=super spreading cookies.
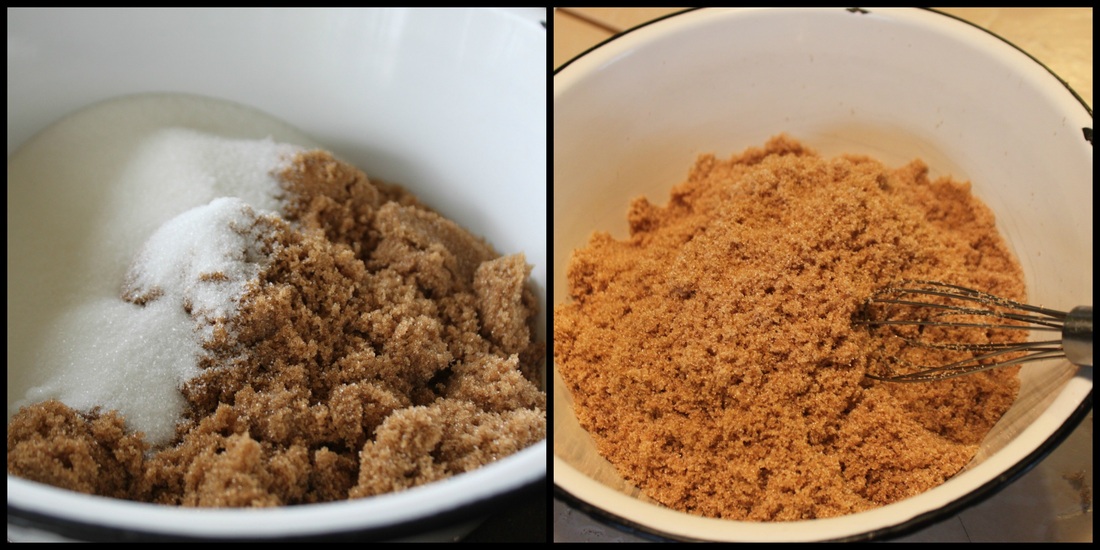
The sugars should be mixed together before adding the melted butter.
The extra brown sugar helps with the tenderness of the cookie. The white sugar makes the cookies spread a bit-you do need some spreading or else you'll have balls of baked cookies! You do want to mix these together before adding the melted butter because it makes it easier to get rid of the brown sugar lumps.
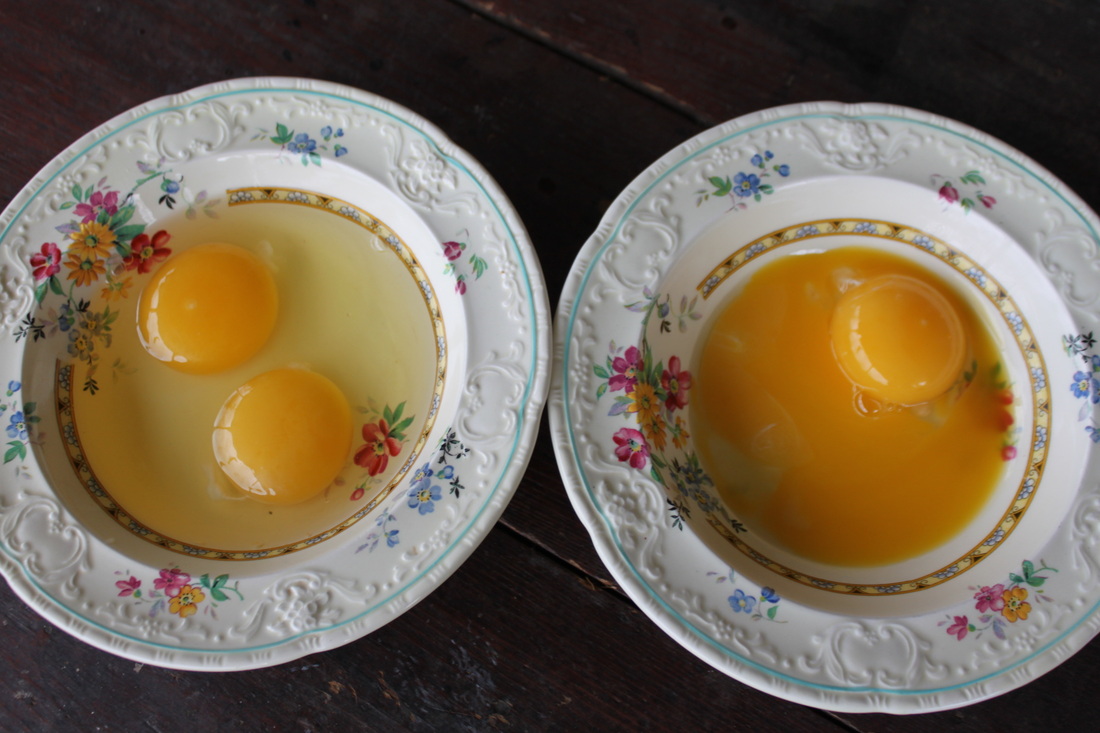
The eggs ready to go-shells bits removed! I doubled the recipe, that's why there is an extra egg and yolk.
The extra egg yolk ups the chewiness on these lovelies. I pre-crack into smaller bowls because A: I always have shell bits, and they are easier to dig out of a little bowl, and B: I can give 'em a whisk before adding them to the batter, which makes incorporating them easier.
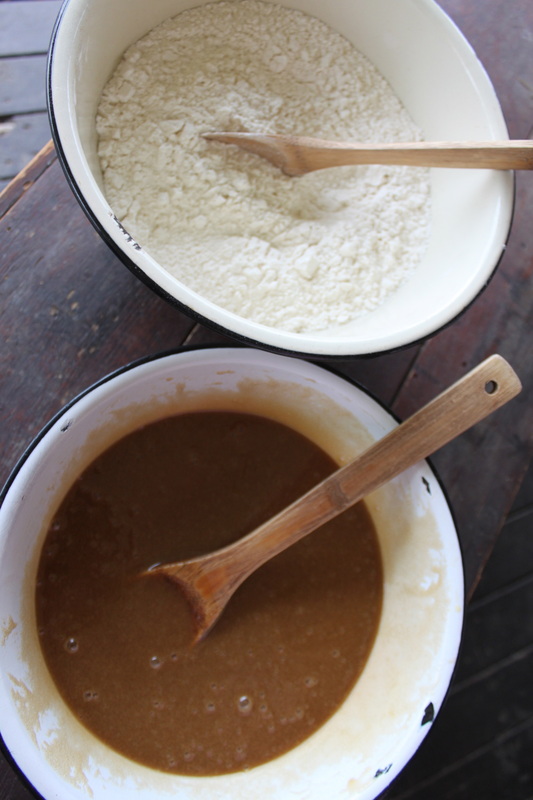
The dry and wet ingredients ready for their meeting.
I learned years ago to always measure out things like baking soda (or powder) separately incase you accidentally measure out the wrong amount, or if you use the wrong thing. Instead of measuring it directly into your flour (and potentially wasting it because you added the wrong thing/amount), just measure it into a small bowl, then add it to the flour.
Also, the cornstarch is important-it gives the cookies their staying power, so that they are "soft-baked", and thick. 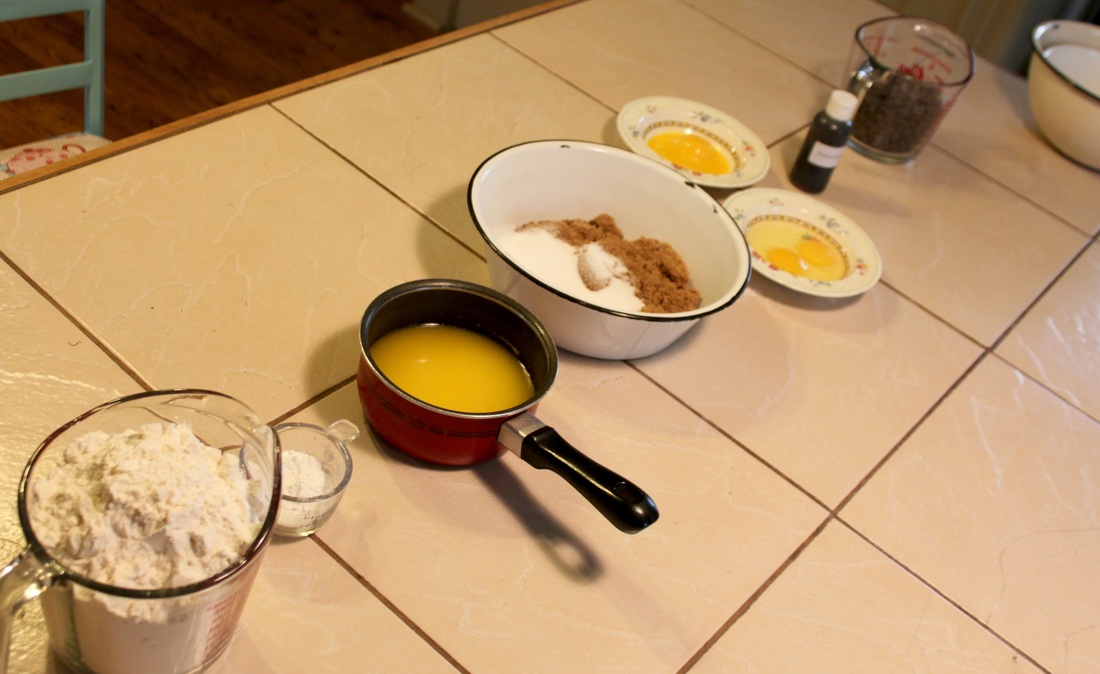
All the ingredients measured and ready to go
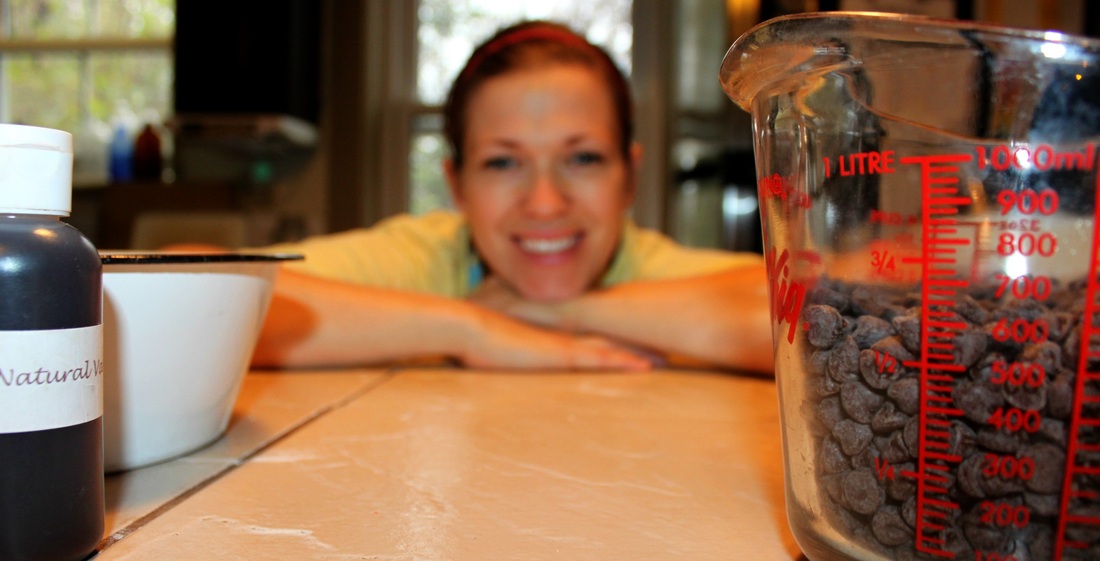
I'm ready too!
I also learned years ago to measure and set everything out before really starting a recipe. That way it's all ready, and you know you have all the ingredients. Nothing is more annoying than starting a recipe thinking you have all the components, only to realize once you've mixed up most of the ingredients, that you are missing something-important! No thanks, I will gladly measure it all out first. The added bonus is that your work area is relatively tidy for the task at hand.
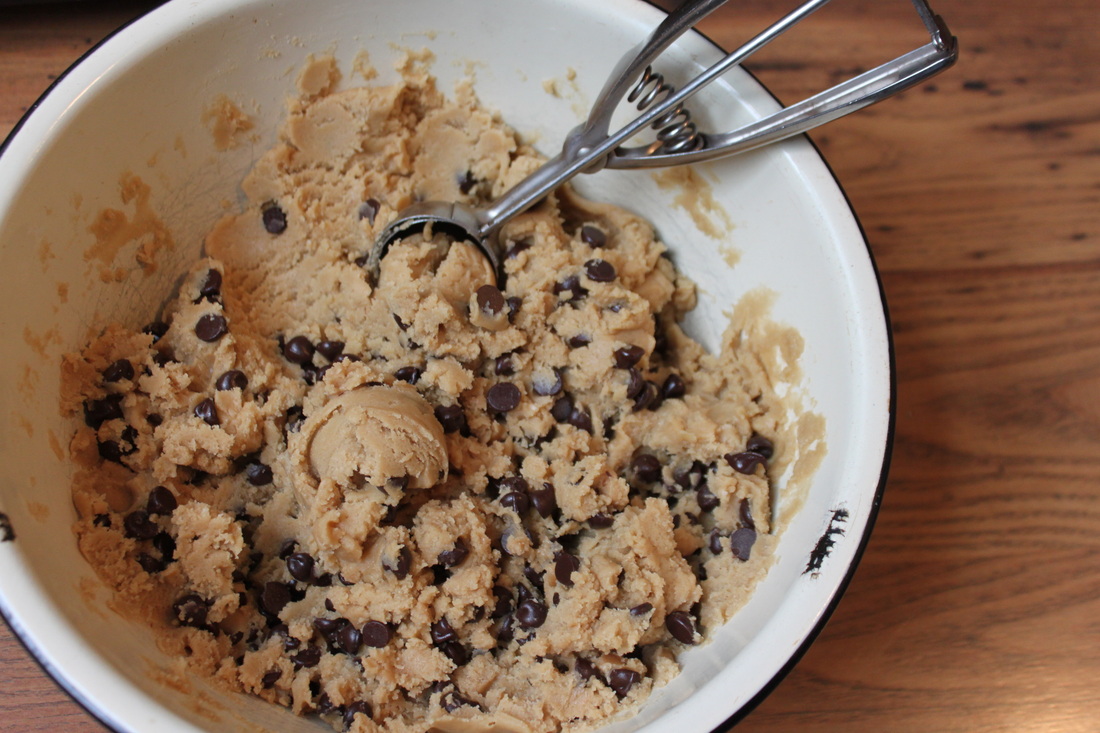
The dough...gosh, it's hard to not eat it raw...and my favourite kitchen tool-my Pampered Chef Medium Sized Scoop.
The dough will be soft, but thick. It also has a bit of a sheen (aka-looks a little greasy). It's all good.
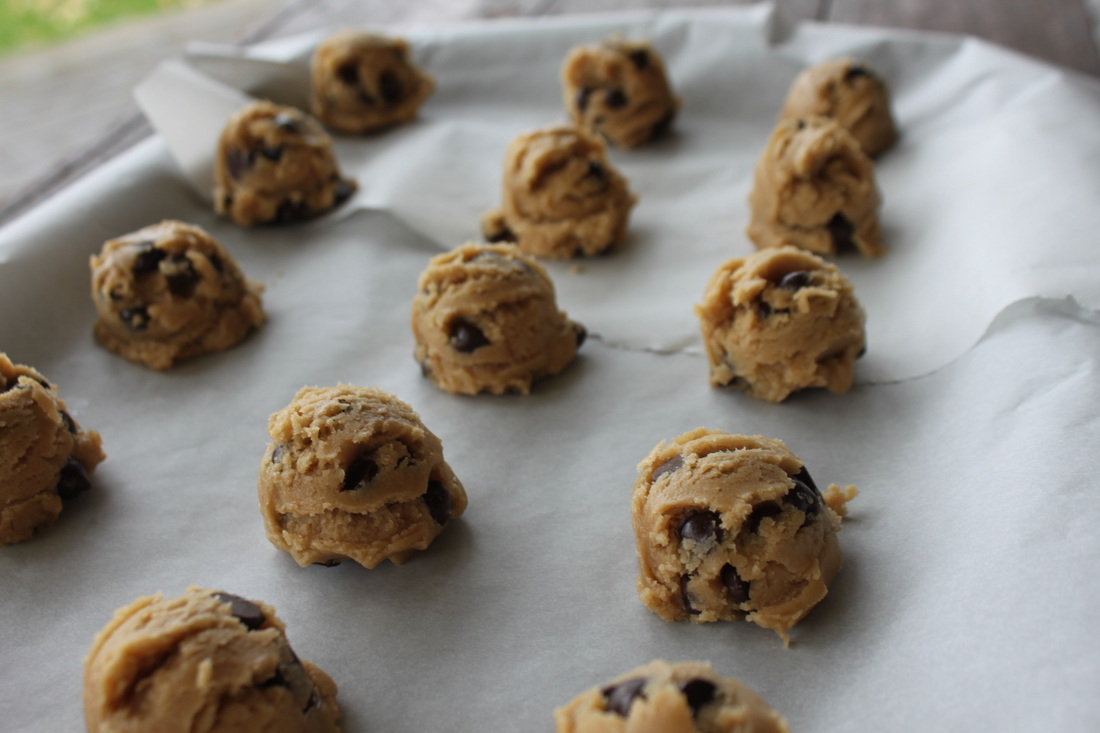
Ready for the oven!....I feel like I should cackle here like the witch from Hansel and Gretel....
Give the cookies at least 1 inch of space so they don't get into each others business...unless you're into square cookies....
Without further ado:
The Best Chocolate Chip Cookies Ever!!! (and easy too-no mixer required!) Makes approx.25 cookies Ingredients:
Directions: 1. Preheat the oven to 325 degrees F. Line your baking sheets with parchment. If you don't have any parchment, and your cookie sheets are still in good shape, then don't worry about it. 2. In a large bowl, mix together the flour, baking soda, cornstarch and salt. Set aside. 3. In a medium size bowl, whisk the brown and white sugar until they are looking happy together. 4. Mix in the melted butter 5. Whisk the egg in a small bowl, and add to mixture. Then whisk the egg yolk, and add it. 6. Finally, whisk in the vanilla. 7. Pour the wet ingredients into the dry ingredients and mix together with a large spoon or spatula. The dough will be very soft, yet thick. 8. Fold in the chocolate chips. Because of the melted butter, the chocolate chips won't stick to the dough that well. That's o.k, just make sure they are evenly dispersed. **Now, I need to say that chilling dough is all the rage, and can be very important, but I literally don't need to chill this dough. Maybe my house is too cold, I don't know. But, if you make a cookie sheet of them, and they spread too much for your liking, cover them and stick them in the fridge for at least 30 minutes, or up to 3 days (if you can wait that long....). When you take them out the dough will be stiff, but just work it a little with your hands to warm it a bit.** 8. Scoop or roll out the dough. I use a medium scoop from The Pampered Chef to do all my scooping. It is my favourite thing for baking! If you don't have one, just scoop about 2 tablespoons (or 1 huge tablespoon) of dough for each cookie. I can fit 15 cookies on each of my sheets. You want at least an inch of space between each cookie. 9. Bake the cookies for 11-12 minutes. Set your timer, you don't want to forget about these! The cookies will look very soft and under-baked. That's how they need to look! Fear not!!! They cook/set a little more as they cool. If you wait until they are golden in the oven, then they will overcook and be dry once cooled. That is a sad thing for a cookie.... Cookies stay soft and fresh for about 7 days at room temperature in a sealed container. But seriously, who has homemade cookies in their house for that long? Geepers.... I've never had to freeze these for long because I was always bringing them somewhere, but they can be frozen for up to 3 months. Which leads me to my next point- You can scoop or roll out the dough onto cookies sheets, cover lightly, and freeze them. Once frozen, take them off the cookie sheet, and put into freezer Ziploc bags for use as needed. Bake them from frozen for 12 minutes. Something I found on Pinterest from Mel's Kitchen Cafe about frozen cookies and gift giving. I think it's a great idea! 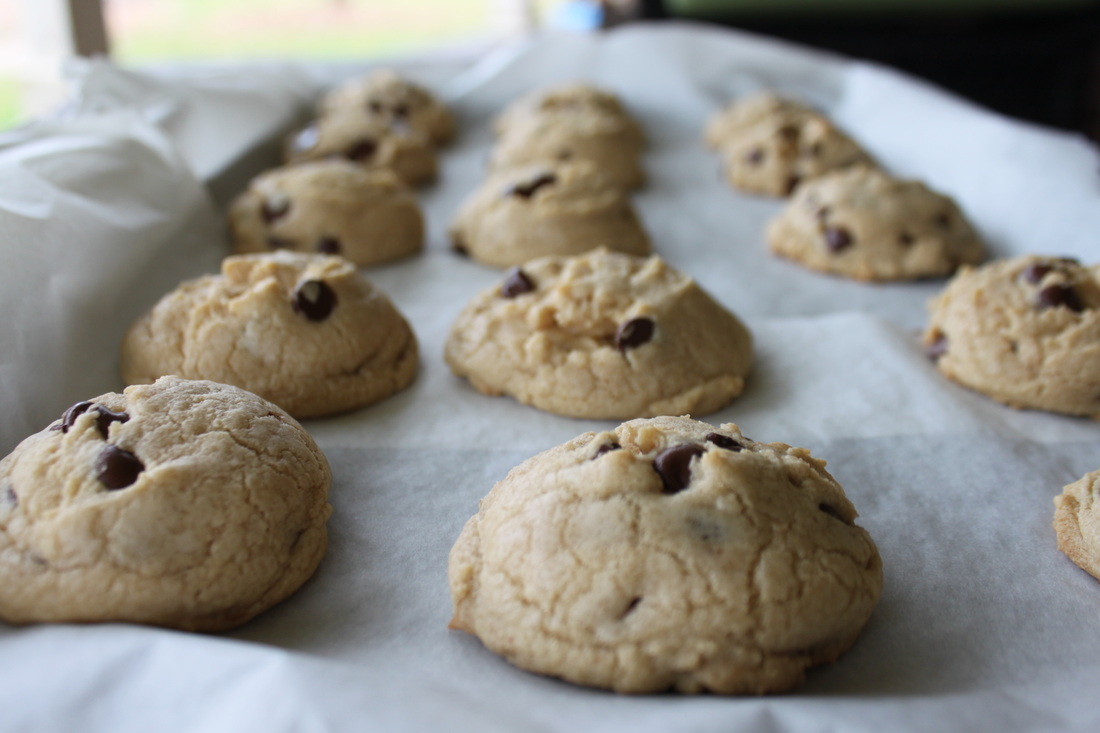
Fresh out of the oven. Don't let them get brown in there or you'll dry 'em out! They should look under baked.
While cooling, they cook a bit more, and become the most perfect cookies ever!!! P.S. I take most of my photos outside for the good lighting....you can see our chicken there in the left hand corner checking out the cookies! P.P.S. I don't share these cookies with chickens!
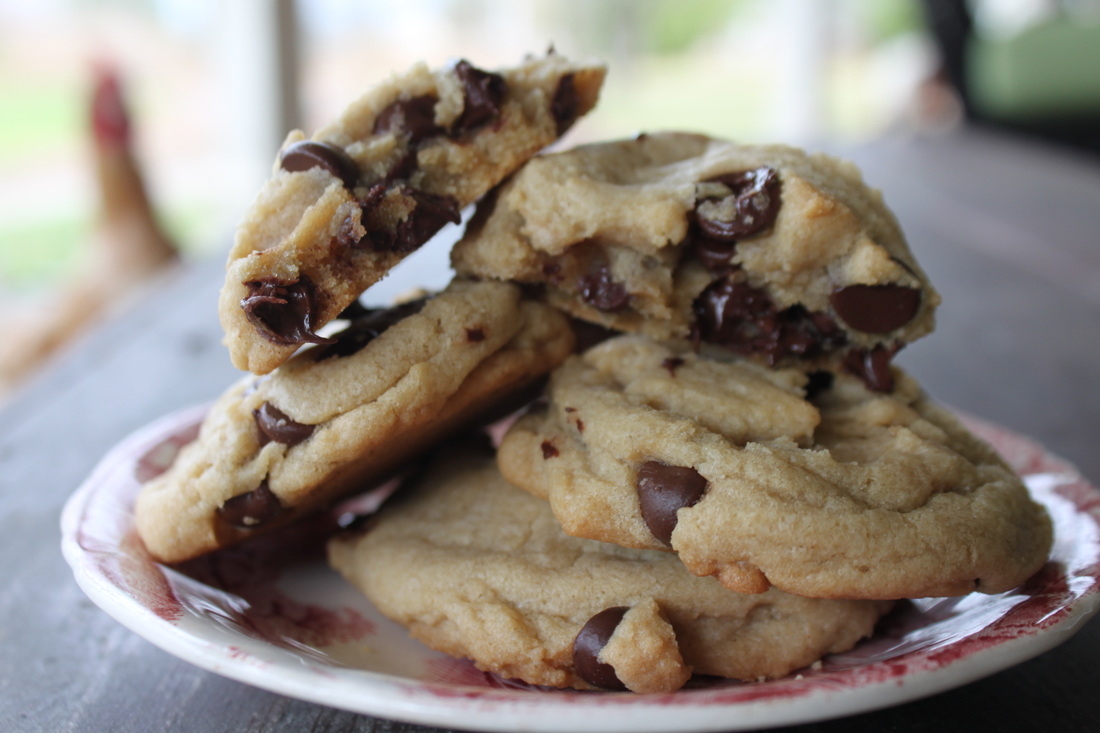
A pile of yummy cookies ready to be eaten!
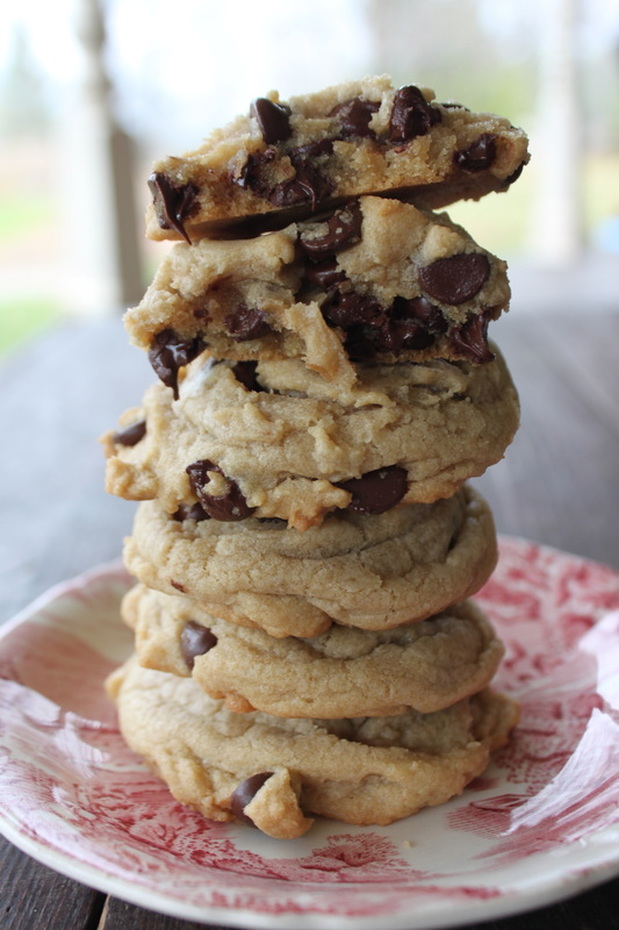
Seriously yummy....
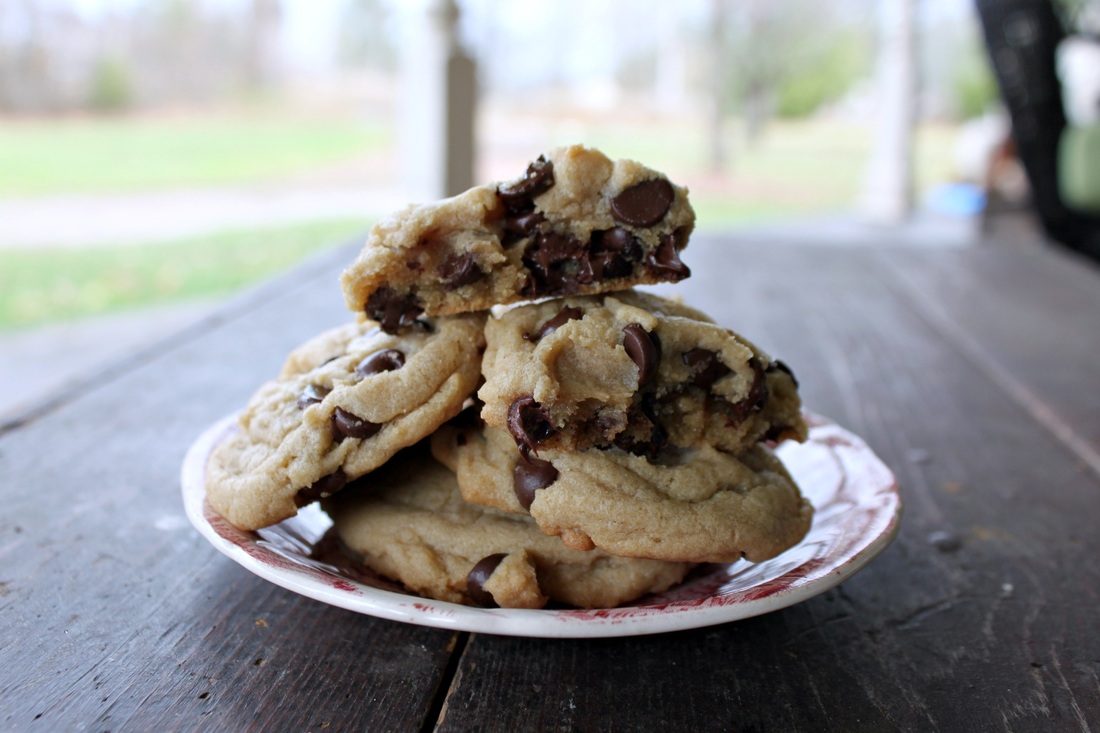
I just wanted to take pictures of these all day, and then eat them all day.
I made this batch of cookies for my rehearsal yesterday with the newest members of the Guild, the Young Pinnacle Players who are working on the play "The Velveteen Rabbit" adapted from the book by the same name. Here's the blog for the show, fyi.
Make these cookies and let me know what you think of them! Also, let me know how many new friends you get because of them.
10 Comments
Sharon Vanden Enden
11/3/2013 11:28:27 pm
Good thing I had banana cream pie for breakfast or I'd be in the kitchen making these! I will definitely try this recipe next time the oven is on. Beautiful pictures by the way!
JoAnne Prout
11/5/2013 06:44:46 am
Sharon, that is hilarious
Amy-Lyn
11/4/2013 12:51:38 am
Ya know, taking a million pictures while making something is fun, but it sure does add to how long it takes to get a recipe together! Also, I am very interested in this banana cream pie you speak of....
Amy-Lyn
1/4/2014 11:48:04 am
I am so happy you made these, and that everyone loved them! :)
I love the way you add your cute tid bits throughout the recipe. Nice personal touch. Example:Geepers!
9/30/2014 12:37:01 am
Amy-Lyn
5/19/2015 10:59:28 pm
I'm glad you found me here in my corner of the www! :) 6/7/2015 11:13:52 pm
I'll try these. Since I moved to the U.K., I've learned to measure flour (and sugar) by weight, which saves the hassle of wondering whether I've compressed it too much in the measuring cup. Initially it seemed like more trouble, but now that I'm used to it, it's less.
Amy-Lyn
6/8/2015 09:58:25 am
I've never measured flour (or sugar), but I do know (well. just from hearing about it) that's it is more accurate. I hope you get a chance to make these! Leave a Reply. |
Hi, I'm Amy-Lyn! 
I am the lady behind this here blog! I live in the sticks with my animals, my super handsome husband, and my
3 amazing kids! Here you'll find things from recipes (gluten-free, paleo, and strait up junk food!), DIY ideas, thoughts on raising a son with autism, and whatever else pops into my brain! : ) Read more about me by clicking here! Want to Stay Connected?
Find What
|
 RSS Feed


