|
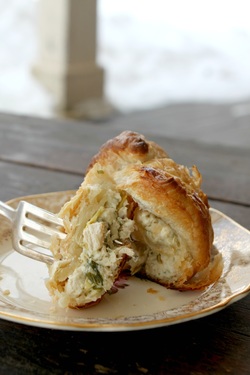
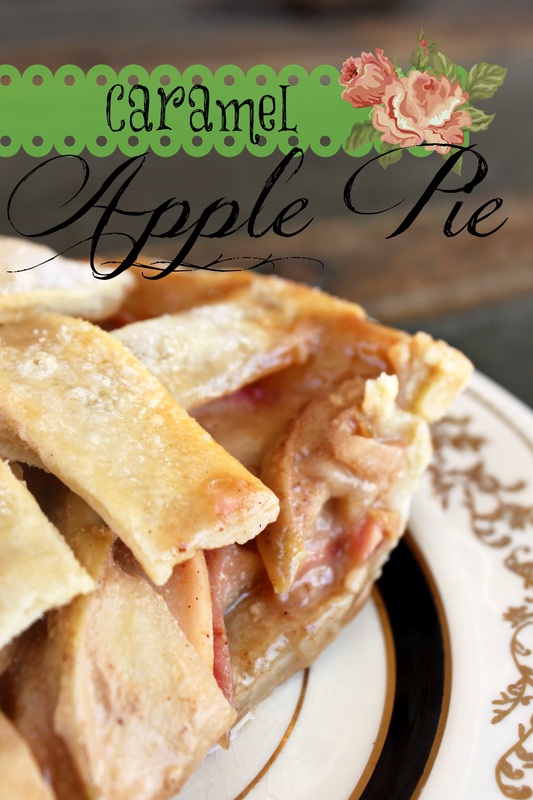
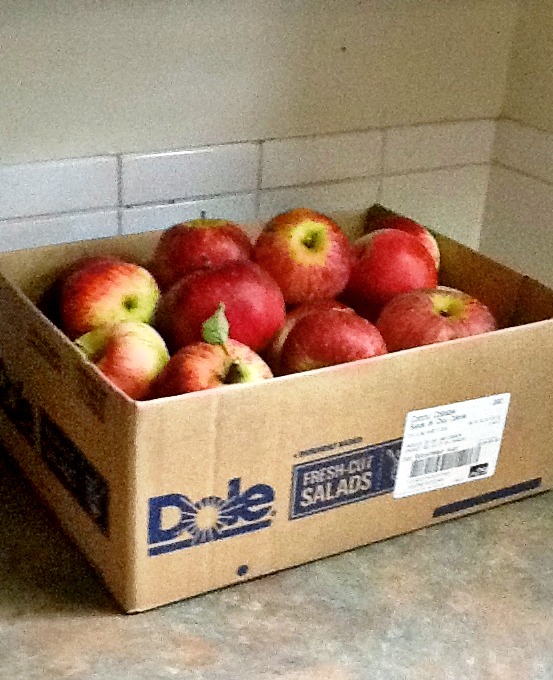
I realize this is un-seasonal, but we live on a beautiful property with lots of land and trees. We have a few apple trees, and last fall I decided to make a few apple desserts to stash away in the freezer until needed. I made apple strudel, apple crisp kits, and a few apple pies. One pie I took home for Thanksgiving, but the second pie kept getting the shaft until this past week when a dessert I was making for company failed big-time! With no time to make anything else, and with most of my other desserts in the freezer being more suitable to plate and bring somewhere else, I decided the pie needed to be the dessert we would have. So, all that to say....I have no step by step instructions or photos because I only started blogging after I had made these pies! Even before I started blogging, I would generally take photos of things (because I liked to), but I remember just making a bunch of stuff out of apples I didn't want going bad, and not thinking to take any photos. I did take one photo on our iPad to text to my sister though, so, I feel sure you will forgive me. :) Caramel Apple Pie
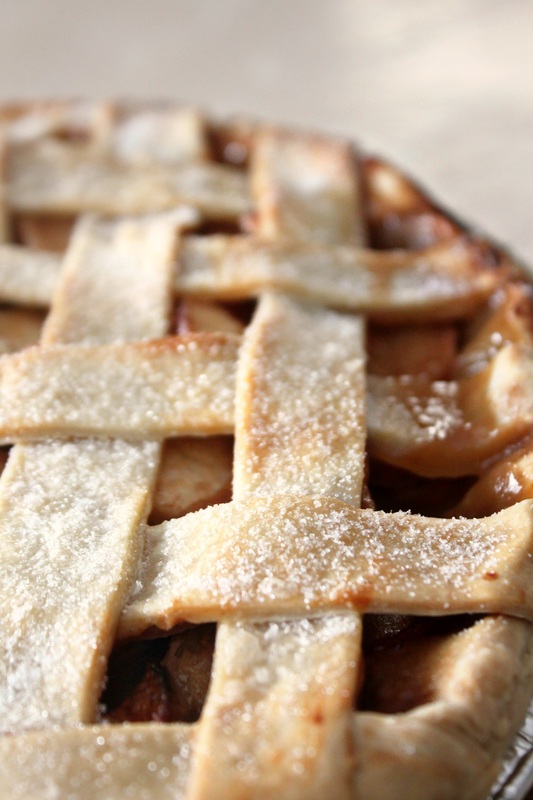
Method: 1. Preheat your oven to 425 degrees F. Place one pie crust into your pie plate, don't trim the edges. 2.Toss your apple slices in lemon juice and put 'em into your pie crust 4. To start the caramel, place a sauce pan on the stove and heat. Once warm, add butter and melt. 5. Add flour to butter and whisk to create a thick sauce 6. Add water, vanilla, the sugars, and spices and whisk to combine. 7. Let boil, then reduce to a simmer for 2 minutes (do the "finger test" to see if it's ready. Basically, you stick your finger into the hot (HOT) sauce, and rub your fingers together to see if the grainy sugar has melted in). 8. Pour caramel over apples in pie crust (carefully, so it doesn't spill out of the pie) and then top pie with second crust. I love the look of a lattice topped pie. For easy instructions, click here. If you don't want to do a lattice, be sure to cut some openings in the top so you can see the caramel bubble (so you know when the pie is done). 9. Use a brush to paint the cream or egg white over your pie crust, and then sprinkle with sugar (skip this step if you plan on freezing the pie). 10. Place a baking sheet on the bottom rack of the oven, and the pie on the middle rack. You don't have to do this baking sheet thing if you enjoy caramel bubbling out of your pie, and baked to the bottom of your stove...I dunno, some people might like that? 11. Bake for 15 minutes, then reduce temperature to 350 degrees F and bake for 35-45 more minutes. If your apple slices are thicker, it may take a little longer to bake. * Check on your pie when you have about 15 minutes left of baking time. If the top is starting to get too brown, cover with foil and let it continue to bake until it's finished. To Cook From Frozen: Heat oven to 350 degrees F, brush frozen pie with the cream or egg wash, and bake the pie for 50-60 minutes, or until you can see the caramel bubbling. If the crust is getting too brown, but the caramel isn't bubbling, cover the pie in tin foil until it's finished. I am not usually a huge fan of baked fruit desserts, but this is a really nice, yummy pie. The apples I used were either McIntosh or Cortlands, but I'm inclined to think they were Cortlands as they do better in baking, and the apples in this pie turned out lovely. McIntosh are better for applesauce or butter because they are sort of a "mushy" apple to start with. Have a great Monday!
1 Comment
Sarah
3/17/2014 09:59:47 pm
YUM!!and I've had the privilege of having an apple crisp kit before the diabetes hahahaha
Reply
Leave a Reply. |
Hi, I'm Amy-Lyn! I am the lady behind this here blog! I live in the sticks with my animals, my super handsome husband, and my
3 amazing kids! Here you'll find things from recipes (gluten-free, paleo, and strait up junk food!), DIY ideas, thoughts on raising a son with autism, and whatever else pops into my brain! : ) Read more about me by clicking here! Want to Stay Connected?
Find What
|

 RSS Feed
