|
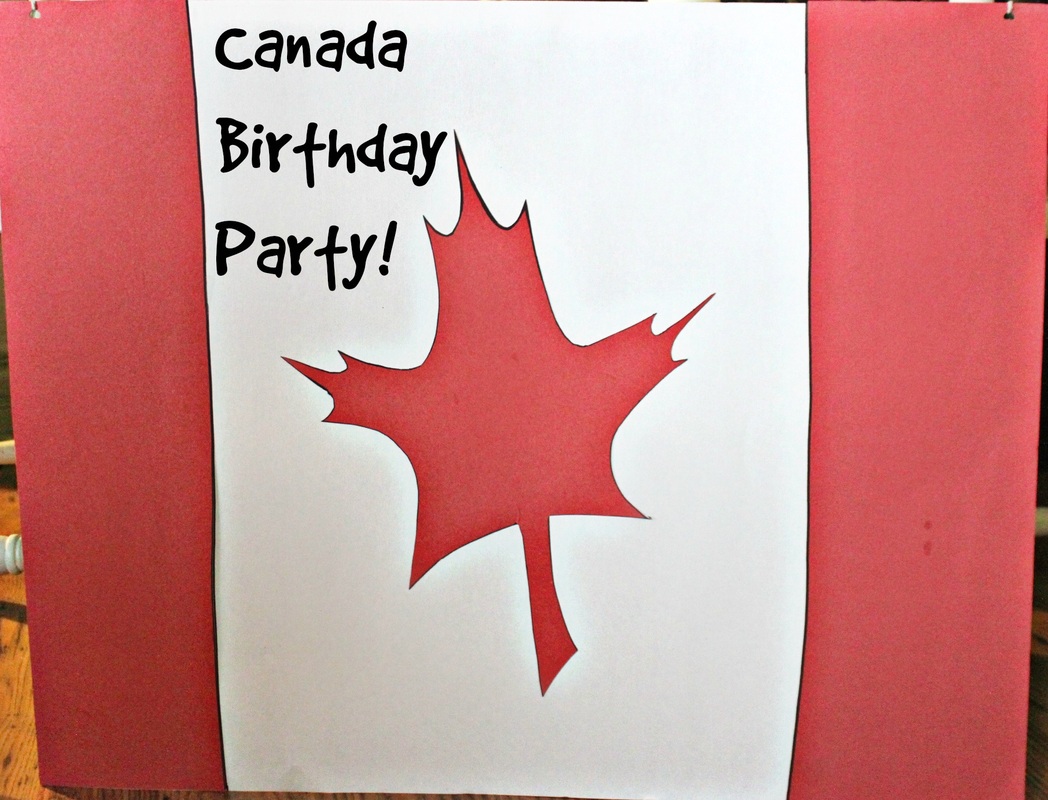
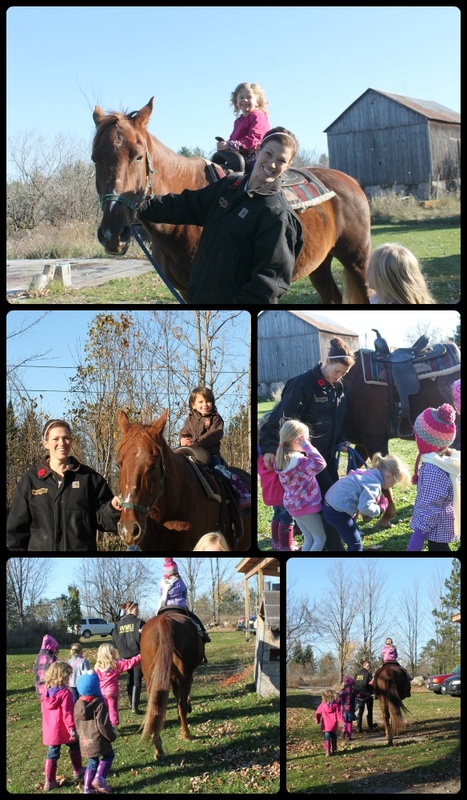
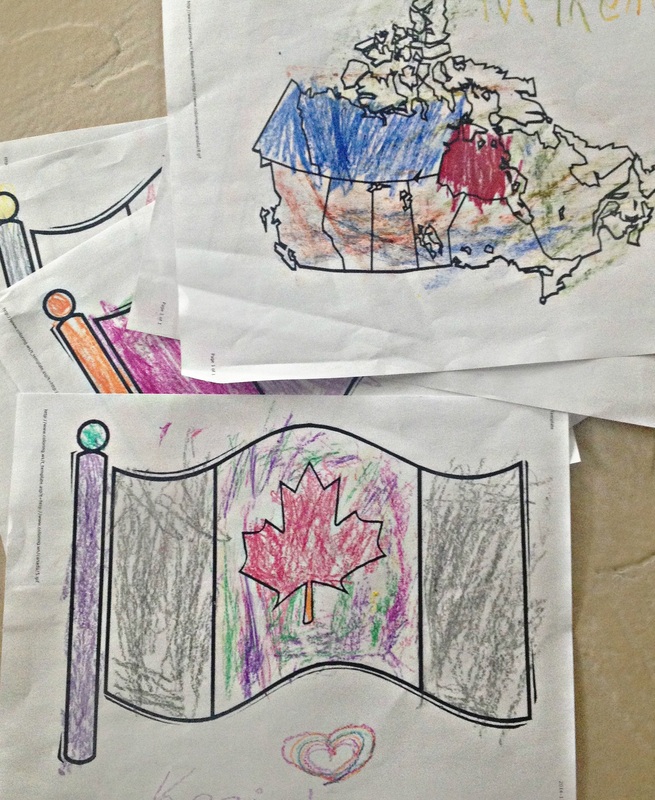
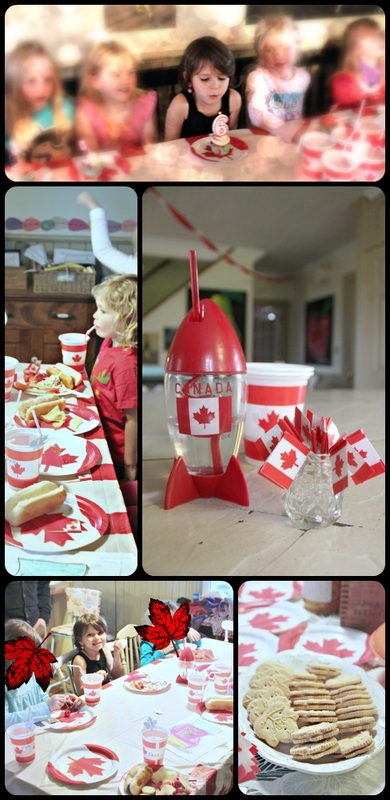
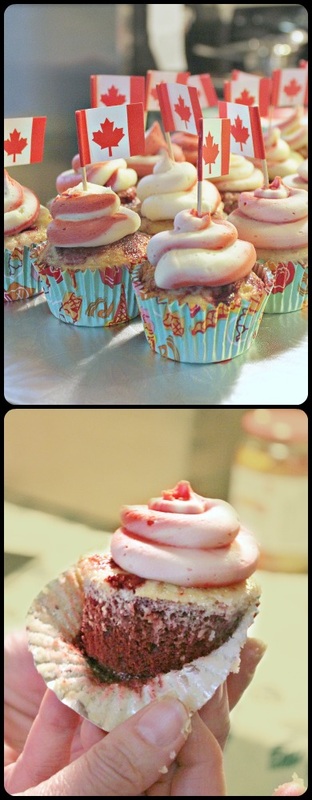
Nope, this is not a super late post for a Canada Day party, it's a birthday party my daughter wanted with a Canada theme! My darling middle child said she wanted her birthday to be Canada themed ever since Canada day, and I thought she would have changed her mind between then and now, but she didn't! Anyway, I didn't take any great photos of the day, I didn't take great photos of the food or grab bags, I just didn't feel like it! I dunno, I was just in the mode of having a laid-back birthday (as laid back as a birthday party can be with ten 6 year old girls running around screaming!). Anyway, I did want to share the day though, and some of the ideas we had. The decorations were simple and homemade. I made this (above) flag with red and white bristol board, and I also made a poster that said happy birthday and it had some maple leaves drawn on it. My husband hung red and white streamers, and we blew up red balloons that we didn't hang up because, let's face it, kids just ask if you can pull them down so they can be played with! So, we blew up 2 dozen balloons, and tossed them onto he floor! Haha, gosh, it sounds so lazy now to type that out, but it was really and truly on purpose! I'm not much for planning activities for parties, mostly because kids tend to find their own things to do! However, this party we did plan to give the kids a ride on our horse, and we printed out some colouring pages from the www for the kids to work on if they wanted to. We didn't have a structured colouring time, we just played outside and rode the horse, and then we all came inside and could colour, play with toys and balloons and dress up in our costumes. The map of Canada colouring page I found here, and the Canada flag colouring page I found here. FYI. Do you like how I blocked out kids faces! Whomp whomp....I didn't have permission to show other kids faces, and I didn't want to assume I could, so you get what you get! :) The only faces you see are of my own lovely kids! We purchased the Canada plates, cups, tablecloth and toothpicks from Party City. P.S., and FYI, if you're into throwing Canada Day parties for the actual Canada Day, I would buy some supplies now as they are super cheap...ya know, since Canada Day was 4 months ago, and won't be back for another 8 months! The other Canada things we bought (like that rocket ship cup) were from Old Navy-again, super cheap seeing as it's not Canada day! They had a bunch of Canada stuff stashed in a cupboard behind the checkout and they let us pick from it when I asked if they had any Canada things. Other items (like pencils, stickers and tattoos) that we found for the grab bags we got from various dollar stores. It took a bit of hunting, but we found quite a few things. We beefed the grab bags up with red candies like Big Foot, and with bags of Skittles (the original kind of course so the bag was red!). We served good ol' Canadian hot dogs (tongue-in-cheek), and had fruits and veggies as well as chips and snack mix. And we also had Dare maple cookies with the cupcakes for dessert. To make the cupcakes patriotic I made vanilla and red velvet and intended on them being in one cupcake together. The first batch struggled though because I tried to do a red layer, then white layer, then red layer like our flag. They were fine (the bottom picture in the collage above), but the two batters didn't quite cook together properly, I dunno. It's hard to explain, but they just didn't really work. So, the second batch I just scooped in some vanilla batter, then red velvet batter, and swirled them with a tooth pick to make a red and white marbled cupcake. They baked up great and rose nicely, as opposed to the red/white/red cupcakes. The basic vanilla cupcake recipe I use is here, and the red velvet cupcake recipe I like is here. I tried a new buttercream technique where you put 2 colours into the piping bag to get 2-toned icing. I'm not a great piper (I'm imagining myself now with bag pipes....), but I think they turned out nicely. If I had read the tutorials on how to actually do this technique they may have turned out nicer....but, duh, I thought I knew how to do it! I just saw pictures of 2-toned icing and went, "cool, I'm going to try that!", and never bothered to find out the best way to do it! Alright, well, I did find out that high-end chefs do it the way I tried to, but I am neither a high end chef nor am I terribly skilled when it comes to using my piping bag (haha, bag pipes....). I tried to use a spoon to put my red icing on one "side" of the piping bag, and the white icing on the other "side", but the first few cupcakes only had white frosting, then the red finally came out and looked good, but, ya know. Sooooo, the two ways that people do this 2-toned technique are either by filling 2 separate bags with frosting, and placing them into one larger piping bag and attaching them to the same tip like in this example, or by brushing gel food colouring in stripes into a piping bag, filling with another coloured buttercream, and piping it out, like these bad boys. So, I think that's everything!
I hope you enjoyed this slightly boring romp through the Canada themed birthday party we had! :)
0 Comments
Leave a Reply. |
Hi, I'm Amy-Lyn! I am the lady behind this here blog! I live in the sticks with my animals, my super handsome husband, and my
3 amazing kids! Here you'll find things from recipes (gluten-free, paleo, and strait up junk food!), DIY ideas, thoughts on raising a son with autism, and whatever else pops into my brain! : ) Read more about me by clicking here! Want to Stay Connected?
Find What
|

 RSS Feed
