|
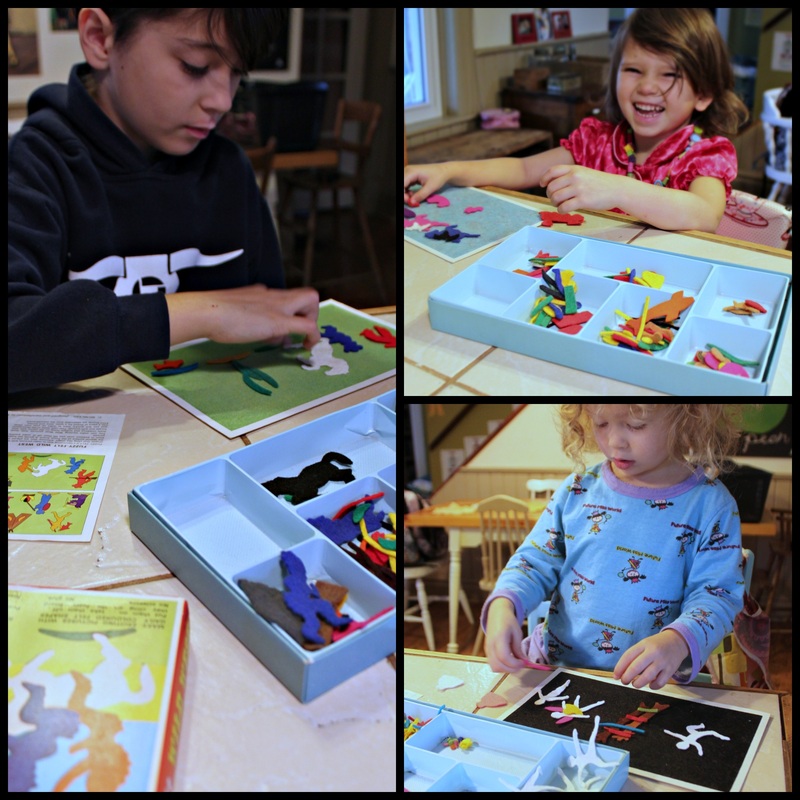
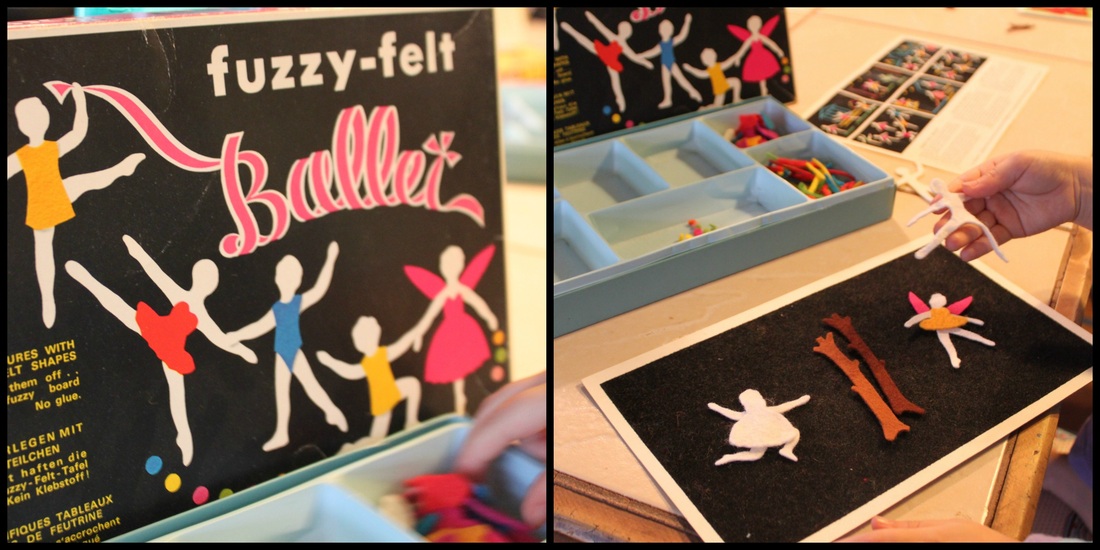
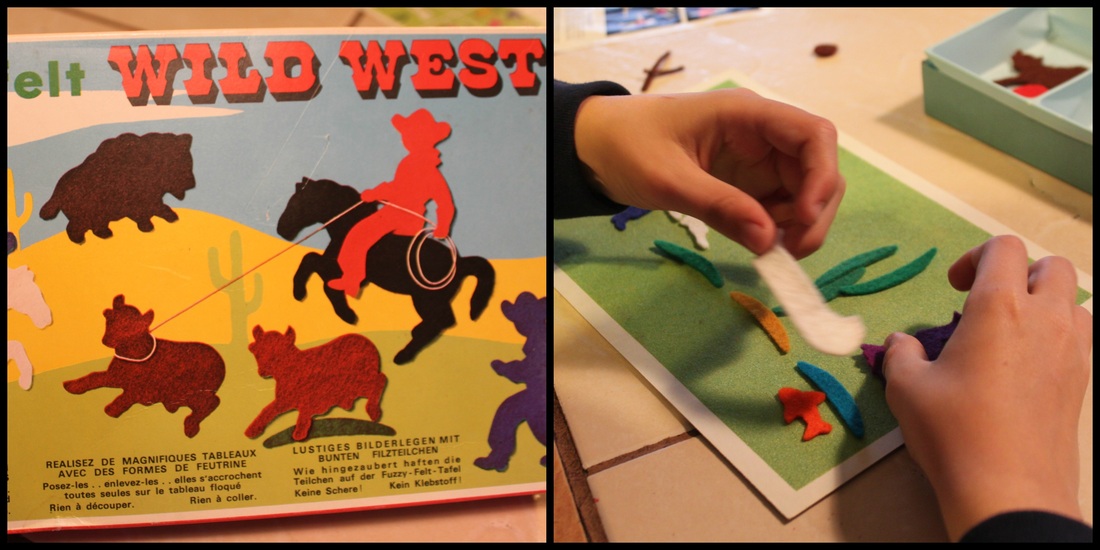
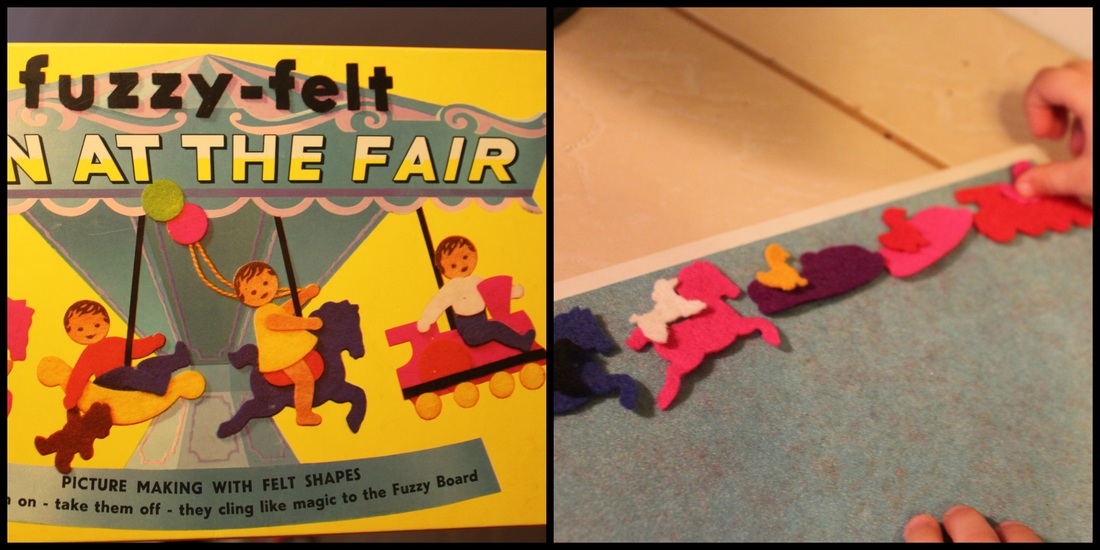
I am generally a purger, and don't keep things unless I know for sure that it will be used/worn/eaten, etc. I do not keep things "just in case we might need it sometime"-because most times, that "sometime" never comes! So, when we were given 3 boxes of "Fuzzy Felt" kits ('60's era) from my husbands' Mom, I pondered whether keeping them was worth the space they took up. Well, let me tell you, "old school" fun can sometimes be better than "new school" fun! I save the playing with these for the weekends (or during power outages), so that they stay exciting. Whenever I take them out for the kids to play with, they stay playing at them for about 2 hours because they each work away at one, then switch, then switch again so that they've each done every set. With Christmas coming, and the stress of "having" to buy so many things, consider something second hand, or homemade for the child in your life. Or maybe just arrange to spend some extra time with them doing something fun (old school, or new school). Or consider this post my sister at The Good Kind of Crazy wrote about Christmas and gifts: http://onlyfitinjustenough.blogspot.ca In this age of noisy, flashy, battery powered toys, kids are still full of imagination, and sometimes you will be surprised by what grabs their attention. They might not be expensive, or noisy, or current, but these "old" Fuzzy Felt kits still manage to steal the show!
2 Comments
I joke with Caleb that if he doesn't stop doing something he'll get put on meds for it. In the moment I am only joking, but it is a reality for Caleb, and for many other children with Autism. The stats are staggering for children with an ASD (Autism Spectrum Disorder) between the ages f 10-14 being diagnosed with a second (and sometimes third) diagnosis, most commonly to do with an anxiety disorder. For a child with Autism, living in a world that is so confusing and overwhelming (due to sensory overload) can become terribly stressful. Anxiety can make it even more difficult for children with ASD to do things that seem simple (or fun) to "normal" people. Going to town to run errands, using public transportation (that scares me for goodness sake!), birthday parties, going out for Halloween, even something like a group photo can become overwhelming. We literally had that problem with Caleb last Christmas. Every place we went, everyone wanted everyone to cram into a small space (get close together), look at a camera suspended on strange looking legs (tripod), look in the same direction at nothing (the camera), and say "cheese" at the same time...? That sounds weird, but that's what we believe our Caleb was thinking! He thought we were nuts! He refused (REFUSED!!!) to be involved in any group photos, and by the end of our holiday, he wouldn't even tolerate someone taking candid/relaxed photos of him, or even of other people in the same room as him. Caleb's anxiety in many ways has improved since he was a child. When he was the age a child would start to learn to talk (12 months on), and he wasn't, he had huge meltdowns everyday (usually several times a day). A meltdown for Caleb involves jumping (with hand flapping {pictured above|), throwing himself to the floor, hitting himself, hitting us, screaming, crying, blood-shot eyes, to give an idea. Every event was stressful for him: going to church (we would hand him off to the Sunday School workers screaming....), pre-school (hand him off to the ECE screaming....), grocery store (we would get dirty looks because of his screaming....), play group (I usually left early because he was screaming, and I was crying), stopping a movie before the credits ran was even cause for a meltdown. Because he had no words to let us know what it was exactly making him upset, we usually just had to haul him kicking and screaming out of wherever we were. As he has grown, we have (with a lot of help from therapists, social workers, teachers, & books) developed different strategies to help him cope. He learned sign language at age 2, used picture symbols, rapid prompting method (for a short time), music therapy, emotion identification (right now it's an emotion on a scale of musical instruments-Red Drums being angry, and a blue flute being happy, and other colours/instruments in between), among other things. He still has serious anxiety attacks, and will have a fit, but he is having them less often, and is able to bounce back from them better, and get on with the day. Now that he can talk, and is learning to express himself, I can see his anxiety in other things. For instance, he has to touch everything near him as he is walking. That includes people in the grocery store who then give him the death-stare! If he is walking down a flight of stairs, and happens to slip and fall, he will get very angry, and will need to re-do going down the saris 3-4 times to "get it right", and will also stop to hit himself wherever he may have gotten hurt in the fall. So, before he would have had a full-blown temper tantrum, but now he has obsessive rituals that need to be done. He has successfully swapped one coping mechanism (screaming) with another (mild obsessive compulsive disorder). I'll take it for now though because it is better than watching helplessly while he has a meltdown. My hope for Caleb as he gets older is that he can continue learning how to express himself, and how to cope with the stress that comes his way everyday, and eventually, this world won't be so stressful for him.
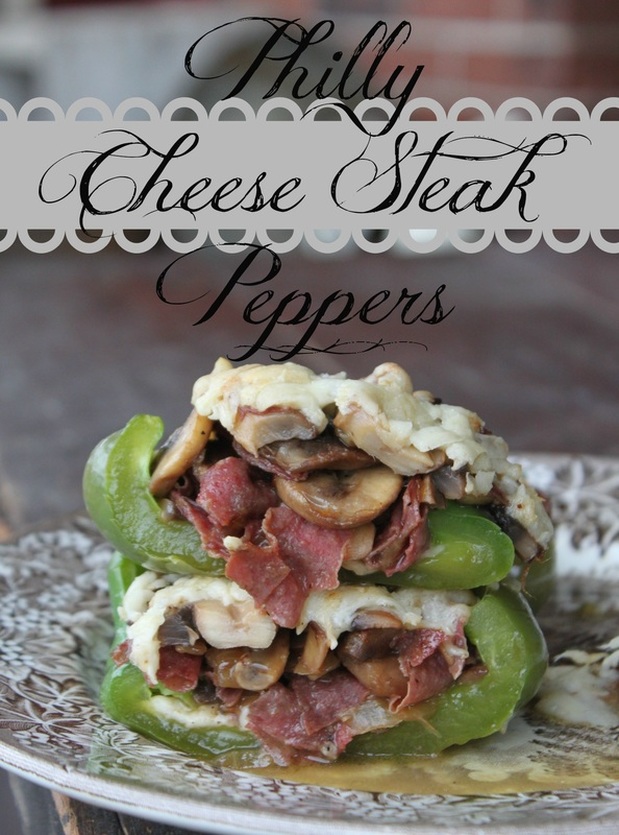
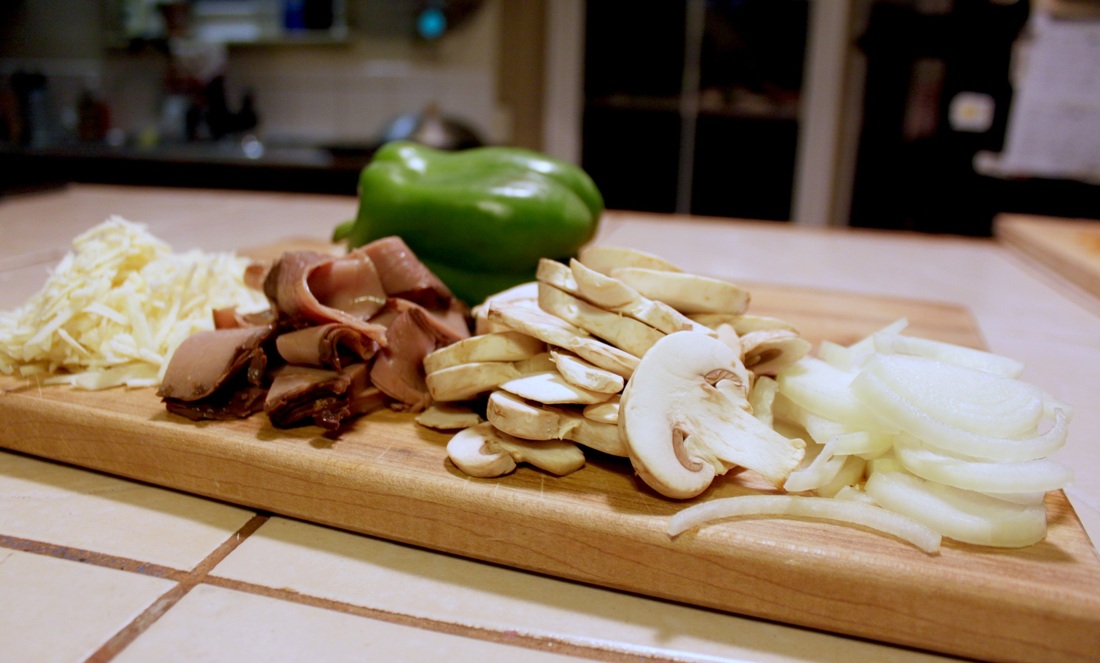
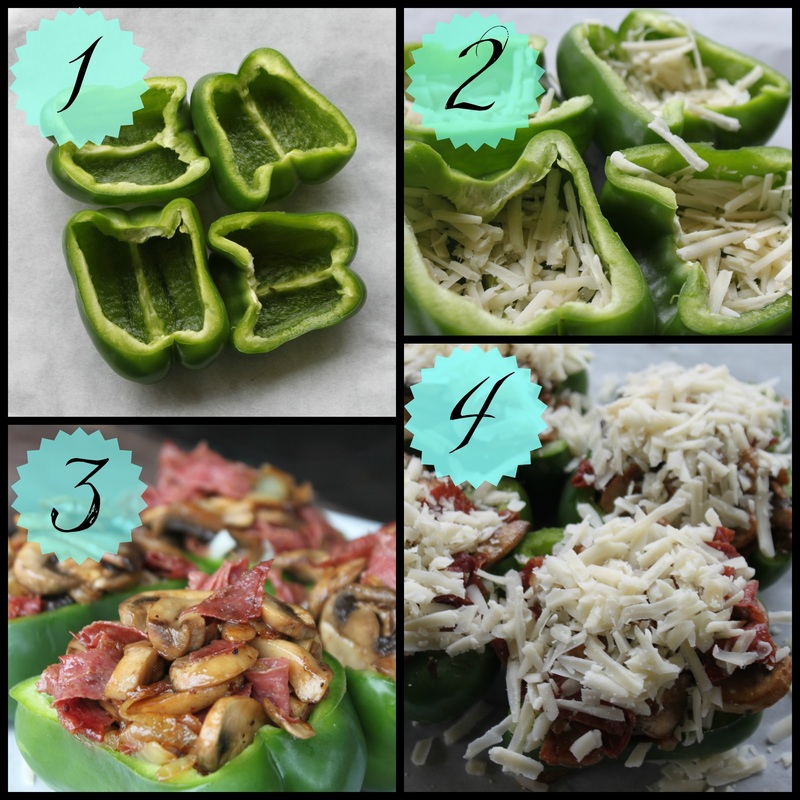
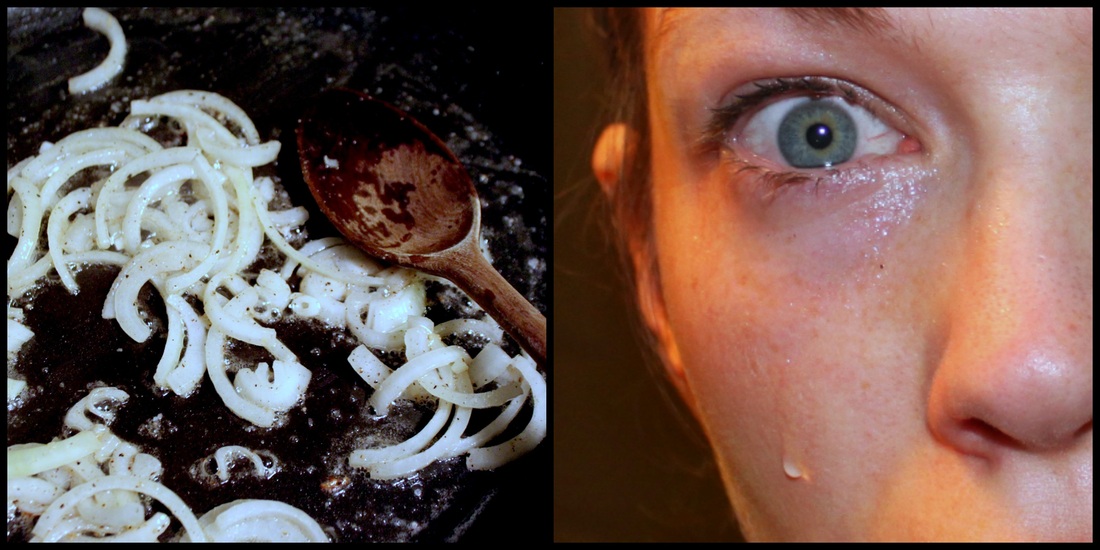
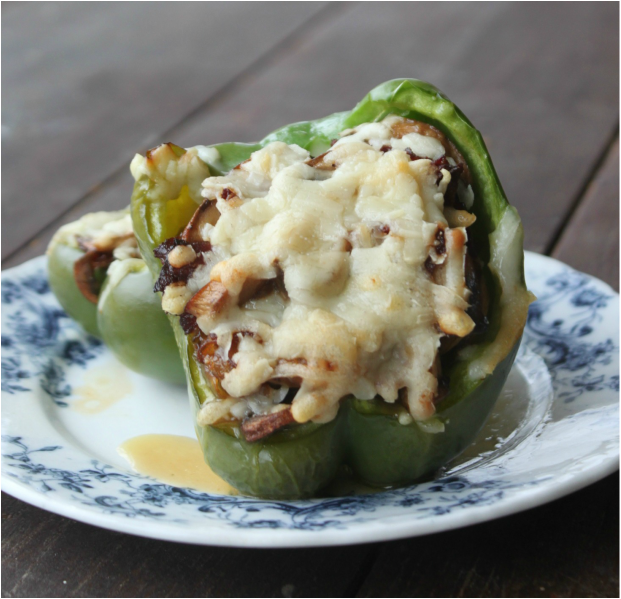
I've never actually had a philly cheese steak sandwich....but I know they look good, if that counts for anything! What I have tried (a lot), and what I do know for sure is how dee-lish these Philly Cheese Steak Peppers are! Low carb, gluten free, easy to make, and so very yummy! Philly Cheese Steak Stuffed Peppers (for 2 {4 halves|) Ingredients: 15 Very thin slices roast beef 1 1/2Cups Shredded Provolone (or 8 pre-packaged slices) 2 Large Green Bell Peppers 1 Small Sweet Onion – Sliced 3 1/2Cups mushrooms - Sliced 2 Tbs. Butter 2 Tbs. Olive Oil Salt and Pepper - to taste Method: 1. Preheat over to 375 degrees F. Line a baking sheet with parchment or tin foil and set aside. 2.See which way the peppers sit best (nice and flat), then slice peppers in half lengthwise, remove ribs and seeds. 3. In a large pan over low to medium heat, add butter, olive oil, and onions and a little salt and pepper. Sauté until onions are getting caramelized, about 10 minutes. 4. Add mushrooms and sauté until they have a wonderful golden colour, and are soft, about 10 minutes. 5. Slice roast beef into thin strips and add to the pan with the onions & mushroom. Allow to cook 5-10 minutes. 6. Now begin to build your cheese steaks! In the bottom of each pepper half, sprinkle a good amount of shredded provolone cheese to cover bottom. If using slices, use one slice. 7. Fill each pepper with meat mixture until they are full. Push the meat mixture down with a fork to be sure you are really filling up the pepper. You should be able to use up all the mixture. 8. Sprinkle remaining provolone, or use remaining slices on top of meat mixture. 9. Bake for 15-20 minutes until the cheese on top is golden brown. The shredded provolone doesn't melt the same way the pre-packaged slices do, but it is still tasty. These are a little messy, but are so worth it! The wonderful flavours of the onion and mushroom comes through, and the provolone has a sharpness that is just perfect. The pepper is mild and doesn't steal the show at all. It is simply a willing vessel in this meal! Enjoy!
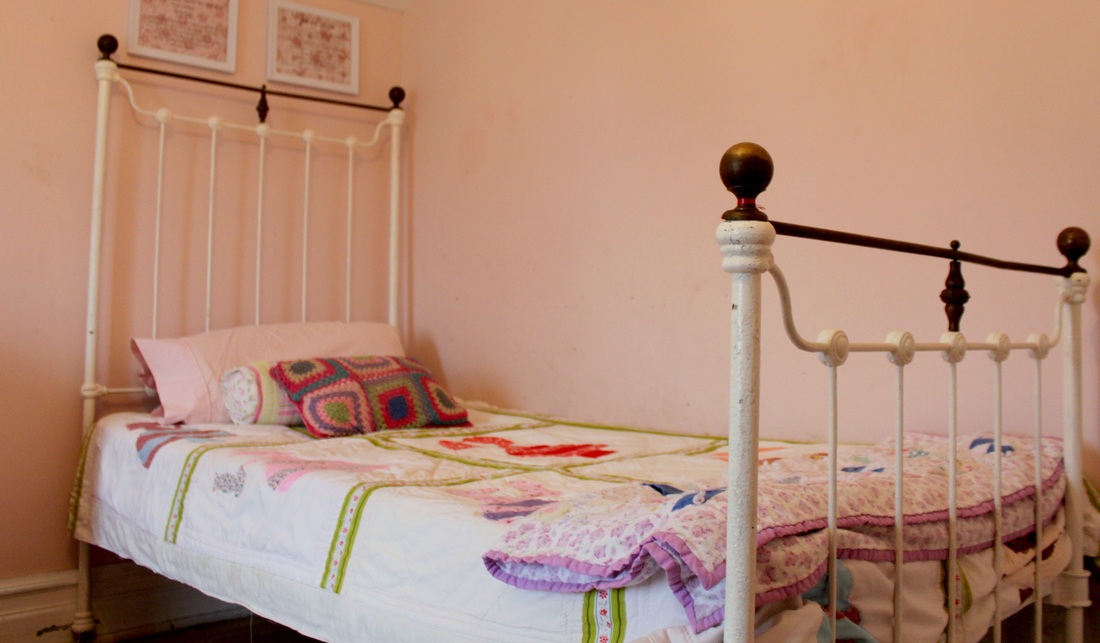
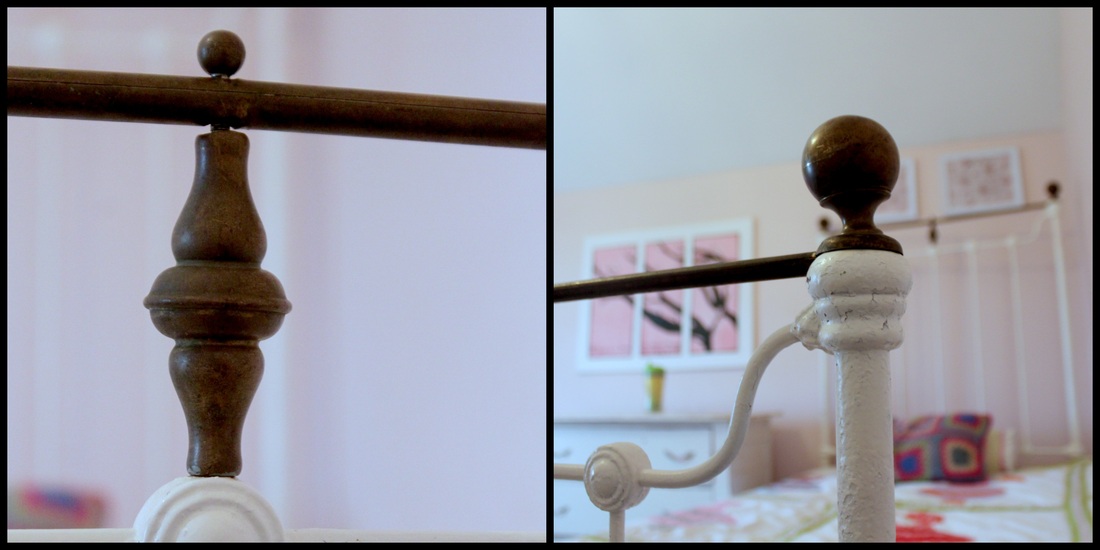
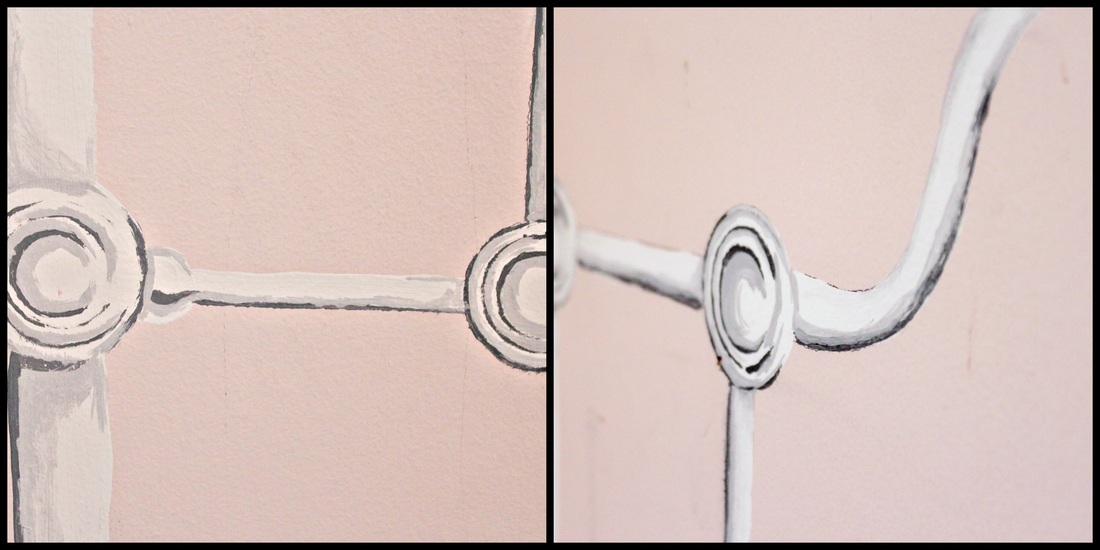
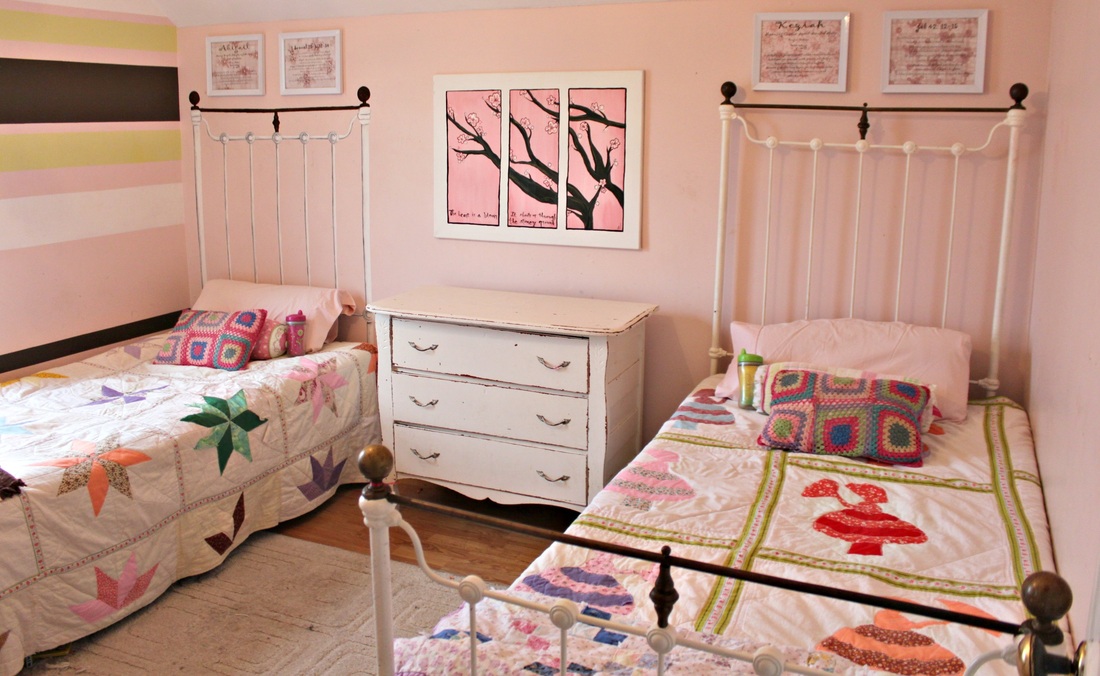
When our 2 girls finally got out of their cribs, I wanted to get bunk beds. But, the set I wanted cost $1000....so, no thanks! Yikes! So, to tackle the issue at hand, I got creative and thrifty! My 2 fav. things! For $75 we bought a brass and wrought iron antique "single" bed. So, to offset that cost, I found (through Kijiji) a metal bed frame (just the legs, and the frame to hold the mattress), a box spring, and 2 mattresses-all for free. We also needed to buy a sheet of plywood to go under the mattress on the antique bed (which cost about $18, with leftovers). But now, we needed a second headboard to match the one we bought. Enter: 1980's inspiration! Back in the day, faux finishes were all the rage. People painted fake brick, fake marble, and fake head boards (among other things). Done right, you could fool people, but done wrong, well, it just looked crappy (and usually hilarious)! So, it was honestly pretty simple to do. I just held the real headboard up against the wall where I needed the "second" bed. Then, I traced it! I then used a small sugar dish to trace and do the circles properly. If you want to do a headboard, but aren't doing a matcher, and therefore don't have something to trace, my advice would be to keep it simple. This headboard is actually very simple. You could use a yard stick to trace the strait bars, a small circular object to get the circle parts right, and create a few simple stencils to do the wavy parts so that they are balanced. Starting with white, I filled it in, and then with 2 shades of grey I added dimension. I decided not to add a "shadow" because the real bed would have a different shadow at different times of the day, but the fake bed would have a perma-shadow in one direction. Illusion wrecker! To simplify the intricate designs along the bed, I used a cereal box and an exacto knife to cut out stencils (draw your design on the cardboard, then place onto a cutting board and use the exacto knife to cut it out). I just put the stencil in place, dabbed on some paint, and moved to the next spot. People (almost everyone who has come over since) has walked past the room, then done a double take and can't believe the one bed is just painted on the wall. The only thing missing is the footboard, but we're o.k. with that because it's a really small room. For $93 (antique bed, plus plywood), a bit of Kijiji hunting, and a few hours of painting, our girls have beautiful, matching beds for their room!
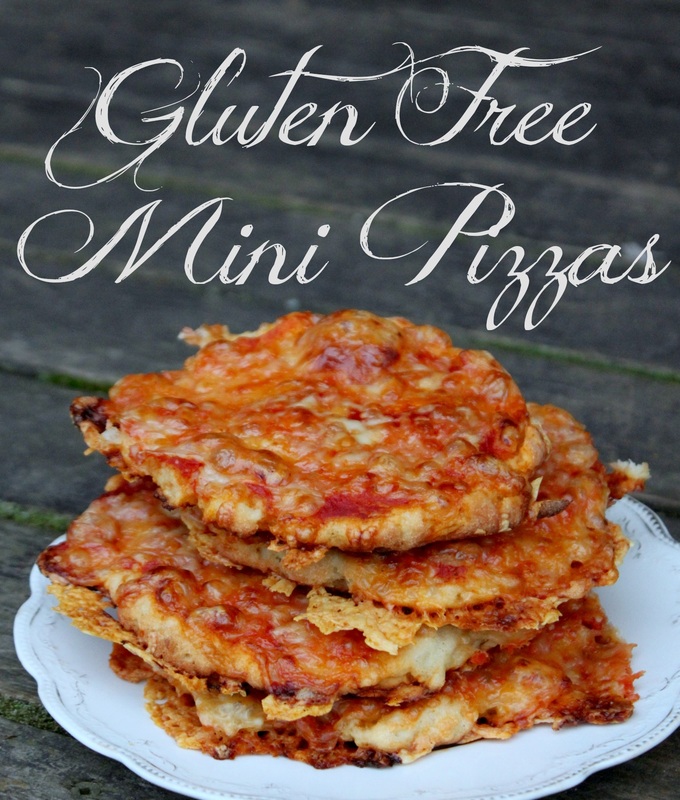
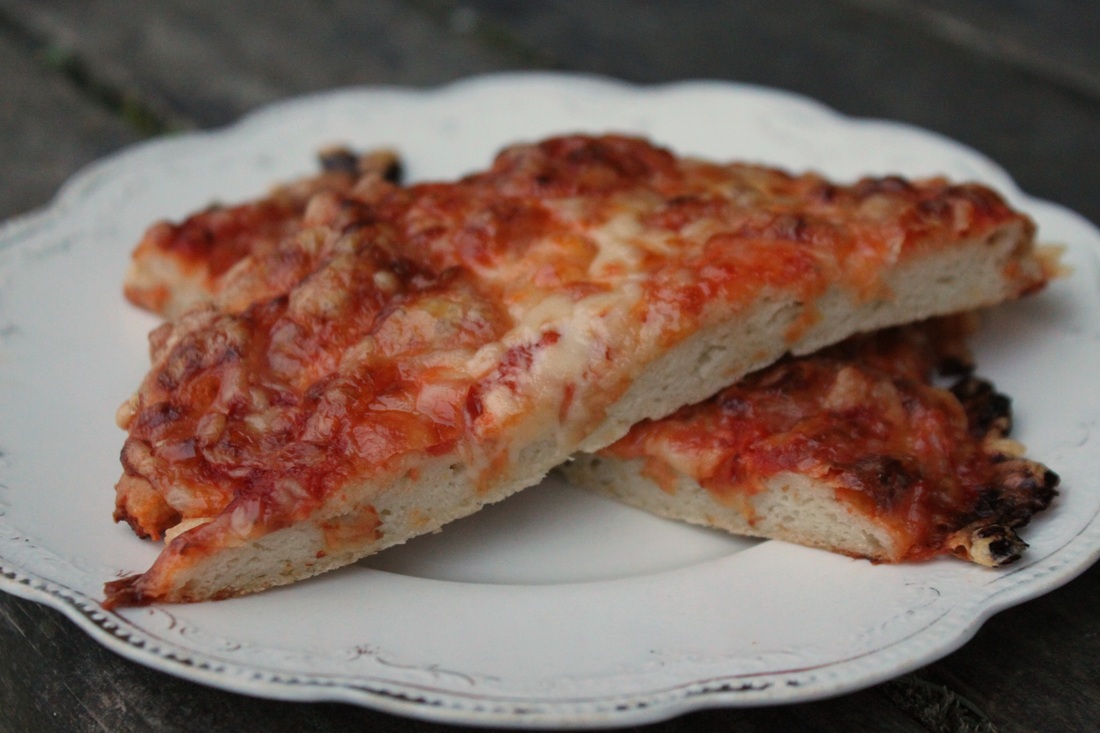
My son calls sandwiches "yucky". Seriously, if he sees me making one, when he is told to eat it at school, if he hears someone mention the word in a conversation he isn't even involved in...... I still send him with a half sandwich a few days of the week, but the in-between days needed something he wouldn't complain about so much. So, one day a week I send him with a mini pizza. I will make a bunch of them, and put them in the freezer to pull out when I need them. It's way cheaper than making him a pre-packaged pizza every week. Those things cost $5.99 each, whereas making them myself costs (roughly) $7, and I get 4 pizzas out of it! Gluten Free Pizza Crust (and also directions for making mini pizzas)
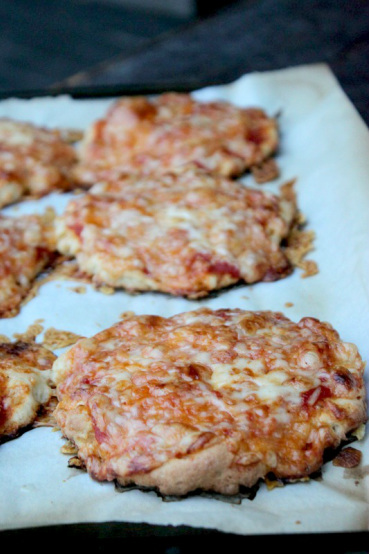
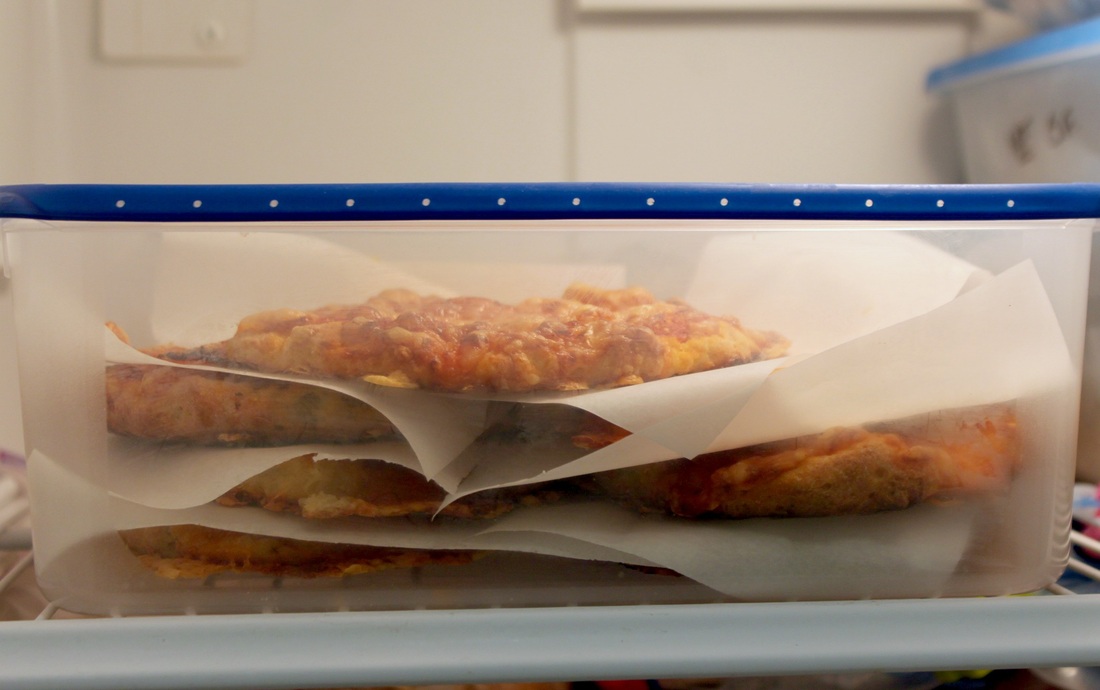
Method: (preheat oven to 425°F) 1. Empty yeast, sugar and water in a large bowl and let stand (proof) about 5 minutes. 2. Mix dry ingredients in separate bowl. P.S. the reason I don't prefer corn starch is that it can add chalkiness in the final product. 3. Add egg and oil to wet ingredients, then add all the wet ingredients to the dry ingredients. 4.Mix with a stand mixer, or a wooden spoon, until combined. Add a teaspoon of water if dough moves up beaters. *Note that gluten free pizza dough is not at all like traditional bread and pizza dough. It will have the consistency more like a thick muffin batter. 5. Scoop onto greased or parchment lined baking sheet in whatever size (or shape) mini pizzas you want. 6. Wet your hands with water and squish dough down with hands. If you want the crusts to puff up a little, let them sit for 10-15 minutes. 7. Spoon and spread some sauce on each crust (*uses maybe 1/2cup of sauce). I actually just used leftover pasta sauce, not proper "pizza sauce". Truth here, this is when these cross into "pizza bun" territory for me because I do not carefully put on the sauce like it were a pizza, I just slop it on and spread it around. Anywho, now put on your toppings (*I used roughly 1 cup of cheese). 8. Bake at 425°F for 15-20 minutes (the baking time is the same if you make one big pizza). These turn out so nice, and thaw out really well! To freeze them, I put a piece of parchment paper in between each pizza. Happy Pizza Making!
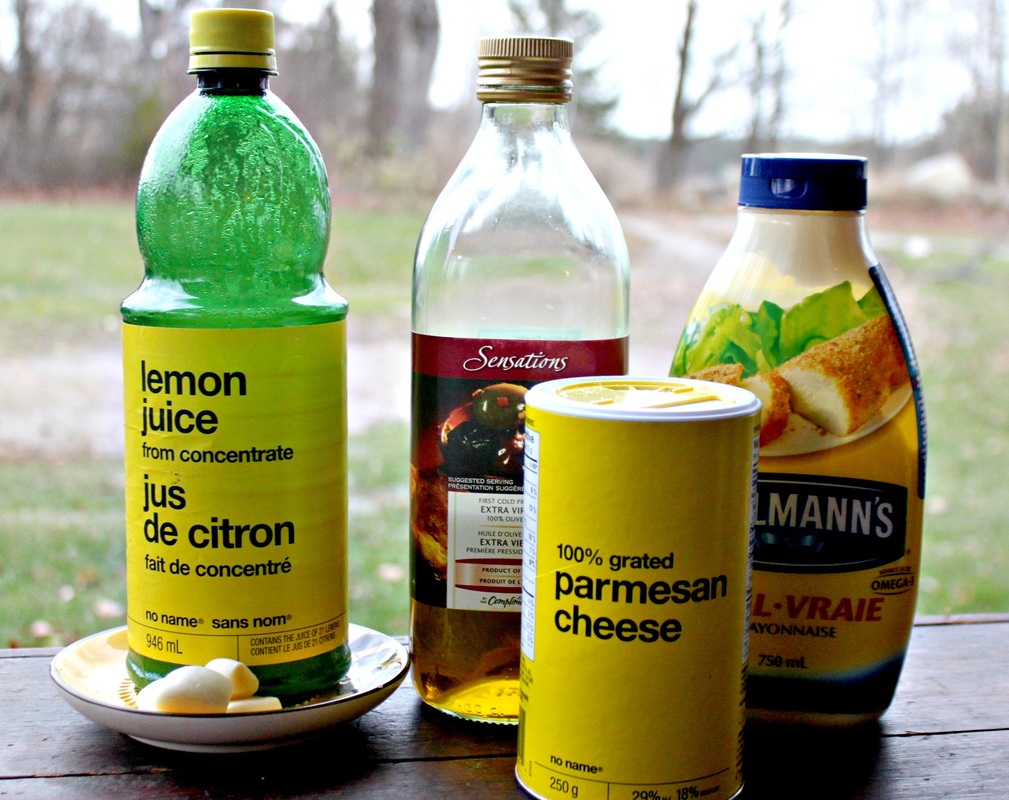
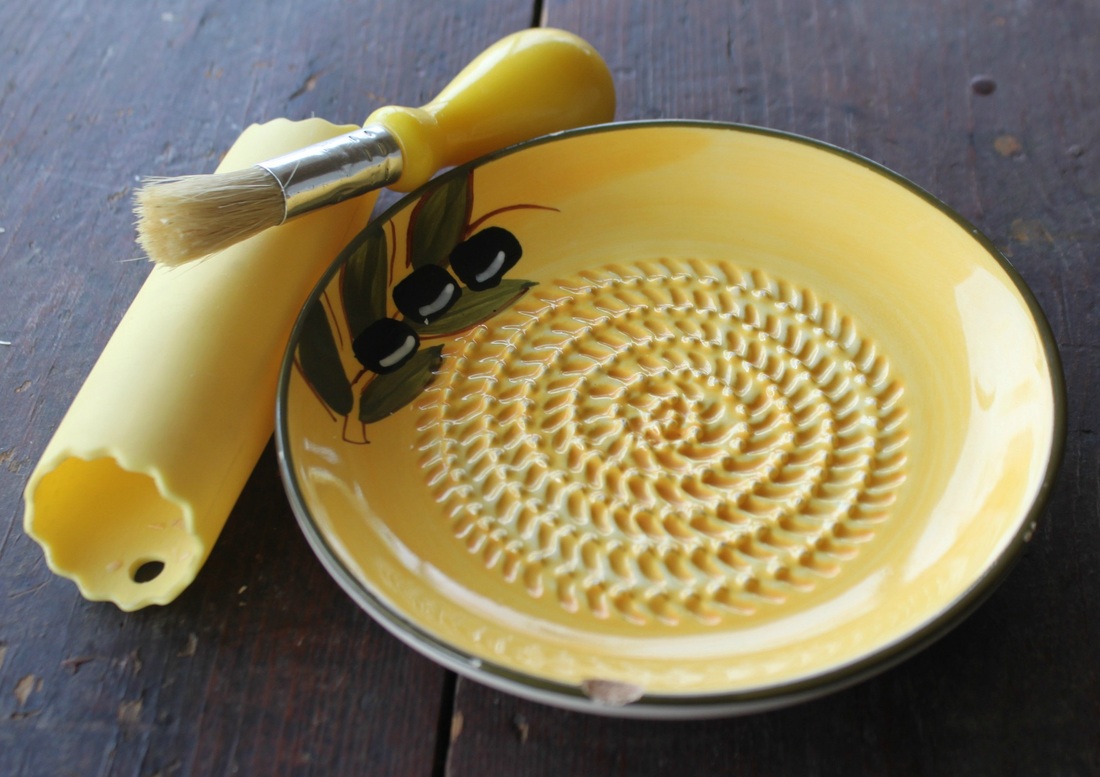
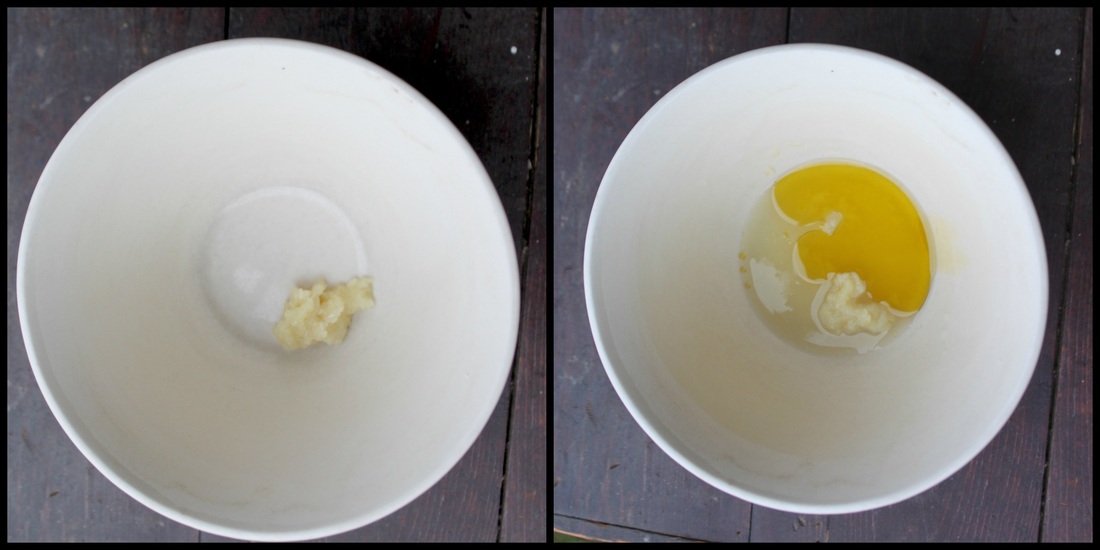
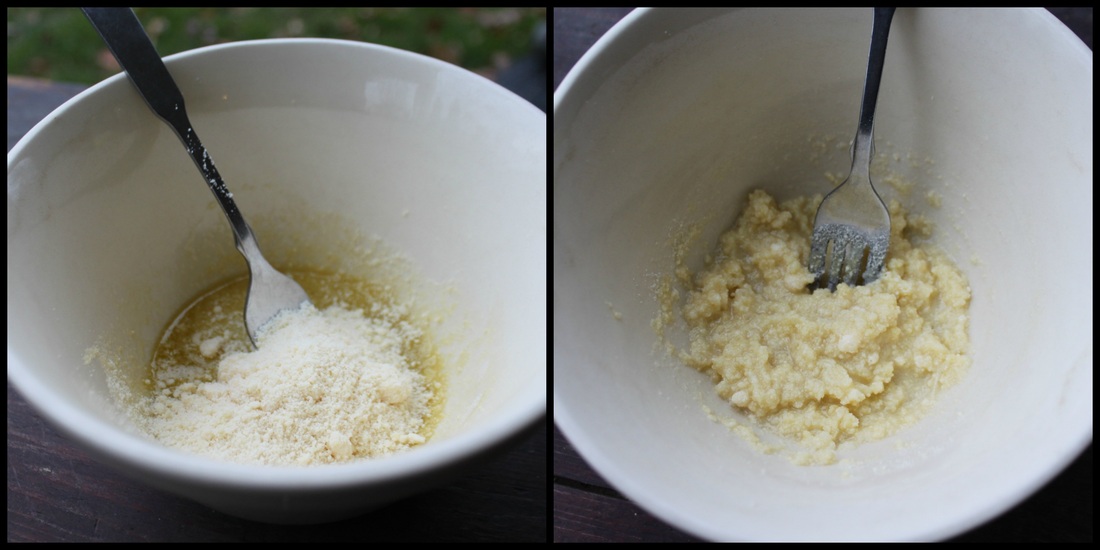
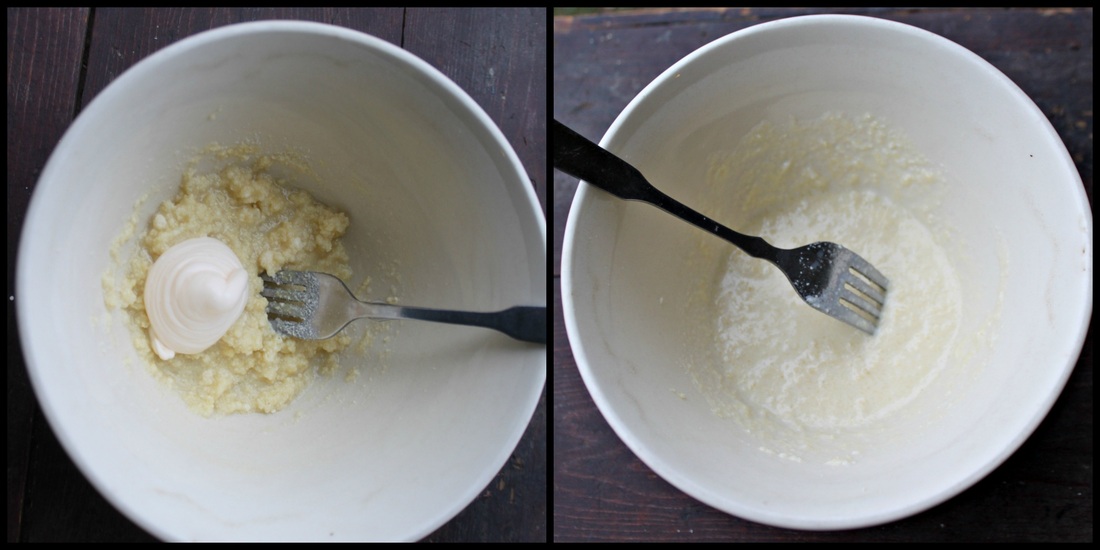
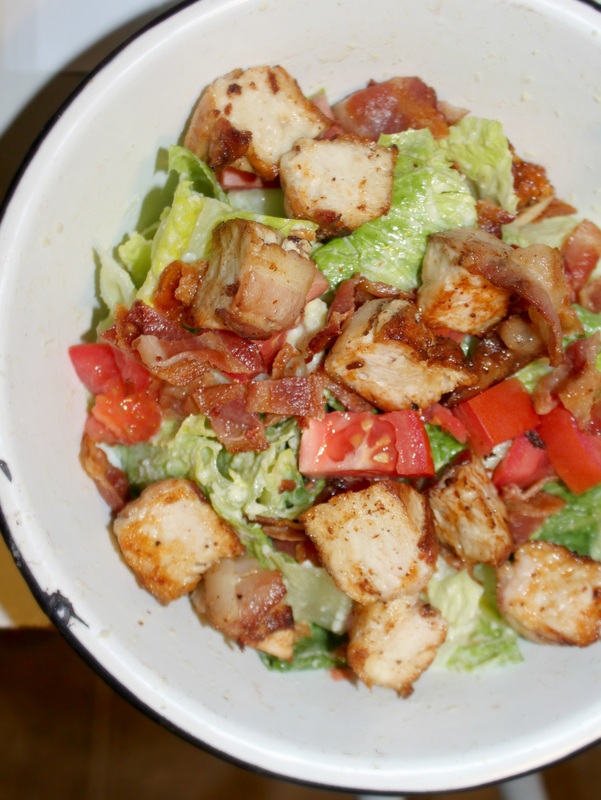
On the opposite end of the spectrum from my love of chocolate is my love of garlic....I've eaten enough chocolate to feel sick, and I've eaten enough of my homemade caesar dressing to be sick. But it's just so good.... The truth about this "recipe", is that there is no real recipe....my Dad makes an amazing caesar salad dressing, I asked him how he made it, he showed me. The end. No measurements, just "watch and learn". Okey dokey! My Dad's famous Caesar Dressing: Ingredients: 1-2 cloves of garlic per person who will be eating it. (one person=1-2 cloves, 2 people 2-4 cloves, get it?) The number of cloves you use will depend on how jumbo they are, how fresh they are, and how much you and the people you're making the salad for like garlic. Olive Oil Lemon Juice Parmesan Cheese Mayo (*it is optional if you don't like/can't eat mayo) Method: 1. Press your garlic into a small to medium sized bowl (depending on how much you plan to make). I used to use a regular garlic press, but I was given one of these do-hickies (pictured below, and I seriously don't know what it's called) and I use it now. A lot. 2. Add equal parts olive oil and lemon juice to the garlic so that it is runny. Whisk it around. 3. Add parmesan cheese until the mixture is thicker. *If you opt out of the mayo, at this point, only add enough parm to make the mix thick, but still loose...think store bought oil based salad dressing consistency. 4. Add mayo to make the dressing runny again (as runny as you like it). I know the mayo idea sounds gross, but it's not. I know someone who hates (HATES!) mayo, and loves this dressing. Just sayin'. To re-cap on how simple this recipe is: 1. Garlic 2. Oil and Lemon to make runny 3. Parm to make thick 4. Mayo to make runny Don't worry too much about the amount of lemon juice and olive oil you use. You just want the mix to be runny. Adding the parmesan makes the mixture nice and thick. It doesn't take too much mayo to get the dressing to a good consistency. Just add it a little at a time. Typically a caesar salad has croutons, but I am not a fan. I'll usually cook up some bacon and chop some tomatoes to go with. If I have left over chicken, I will add that too. A delightful meal (or side salad) that will give your breath the ol' one-two, and it's pretty darn good for ya too! Ya know, just in case you needed a better reason for smelling so badly like garlic besides, "but....I really like it!". http://articles.mercola.com/sites/articles/archive/2004/02/28/garlic-health.aspx
So simple...but so good. I make it and enjoy it on a regular basis! I have even put this on my plain cooked chicken wings as a sauce. Now, that is yummy! You can make a bigger batch and store it in the fridge for up to a month. Make sure the container it is in is a good one, or your whole fridge will smell of garlic! As I sit down to write this, my son Caleb, who has Autism, is literally running around shrieking, "wheeere aaarrrre the craaaayons???" They are on the table right next to the paper I set out for him. The paper he is already holding....my husband does the same thing. Well, not the shrieking, but the not being able to find something right in front of him. A little autism, a little regular guy stuff. There is a quote by Hans Asperger (as in "Aspergers Syndrome" which is diagnosis on the Autism Spectrum) that says, "It seems that for success in science or art, a dash of autism is essential" I couldn't agree more. For art (or science) to keep growing and changing and evolving, a little "outside of the box" thinking is in order. Individuals on the Spectrum are always thinking outside the box, and are usually taught to get in the box now and then (to participate in school, work, etc.) There is a retrospective diagnosis of Vincent Van Gogh for Autism. Because it's just in retrospect, it can't be said for sure whether he did or didn't. But seeing as current autism is only diagnosed on behaviours and not blood work, etc., Van Gogh's diagnosis could technically be just as accurate as my son's. Although...some people say he was a little strange from inhaling the fumes from his paint....also a valid argument! Either way, most people agree that his art is beautiful. My Caleb loves art. He loves doing it, and looking at others art. "Starry Night" by Vincent Van Gogh is one of Caleb's favourite paintings. As an interesting encouragement about not feeling like you've got what it takes to paint...Van Gogh painted Starry Night in 1889 while in an Asylum. One of the reasons I personally feel Van Gogh may have had autism is this particular painting. Individuals on the Spectrum often hear, feel, taste, and smell things differently (and by differently, I mean louder, stronger, stinkier). Sometimes to gain control of their overload, they might engage in what might normally bother them. For instance, Caleb will cover his ears when being spoken to sometimes (an auditory overload), but he also talks extremely loud! Another child we know who is on the spectrum will shut his eyes tight in the sun, wind, if someone is looking right at him (visual overload), yet he will tip his head back, and sway it from side to side while looking up so that the lights he sees are all a blur....isn't that how Starry Night looks? Whether or not Van Gogh was on the spectrum, I won't know for sure. But I find his work inspiring, not only for myself and the art I do, but when I see Caleb and watch him working on his art. Often "normal" isn't what is required in art.
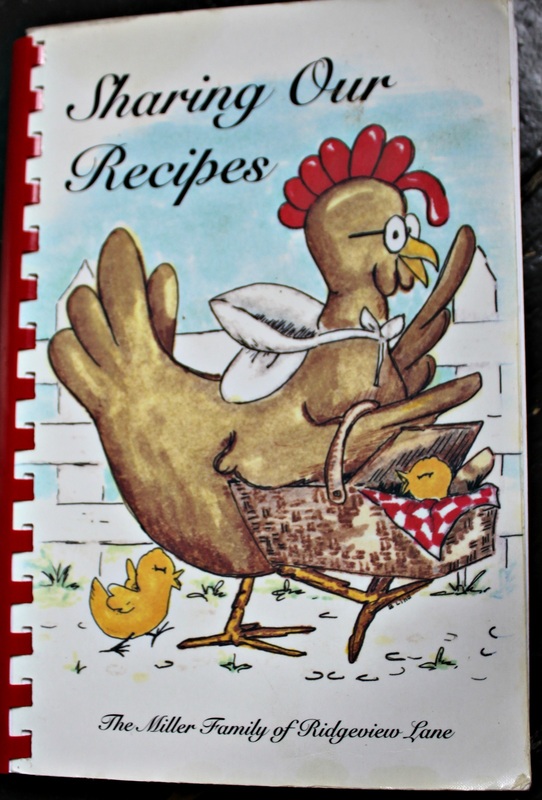
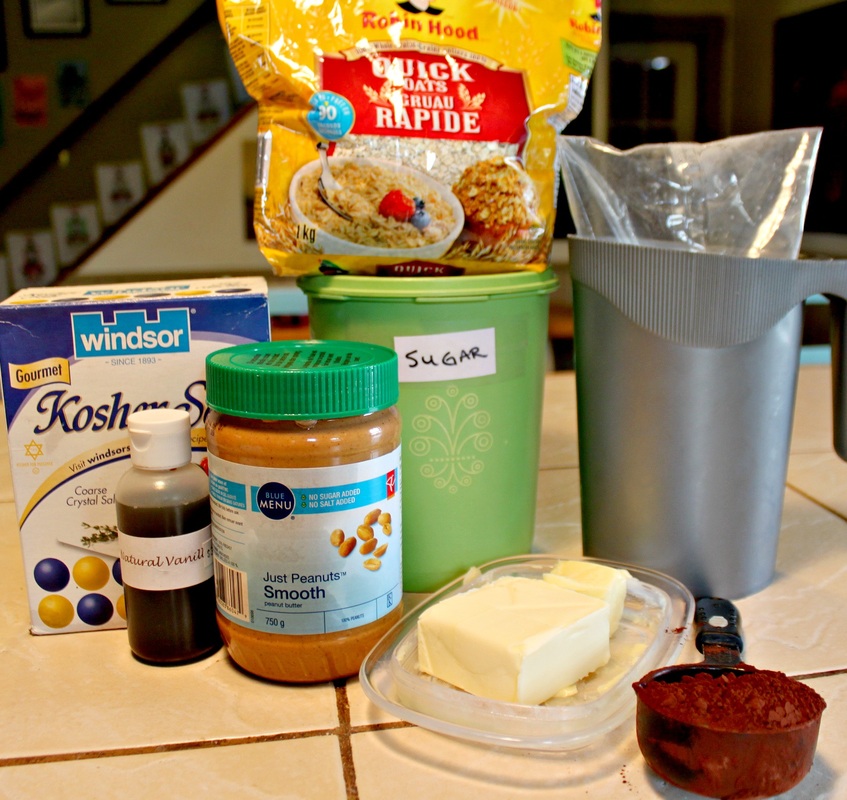
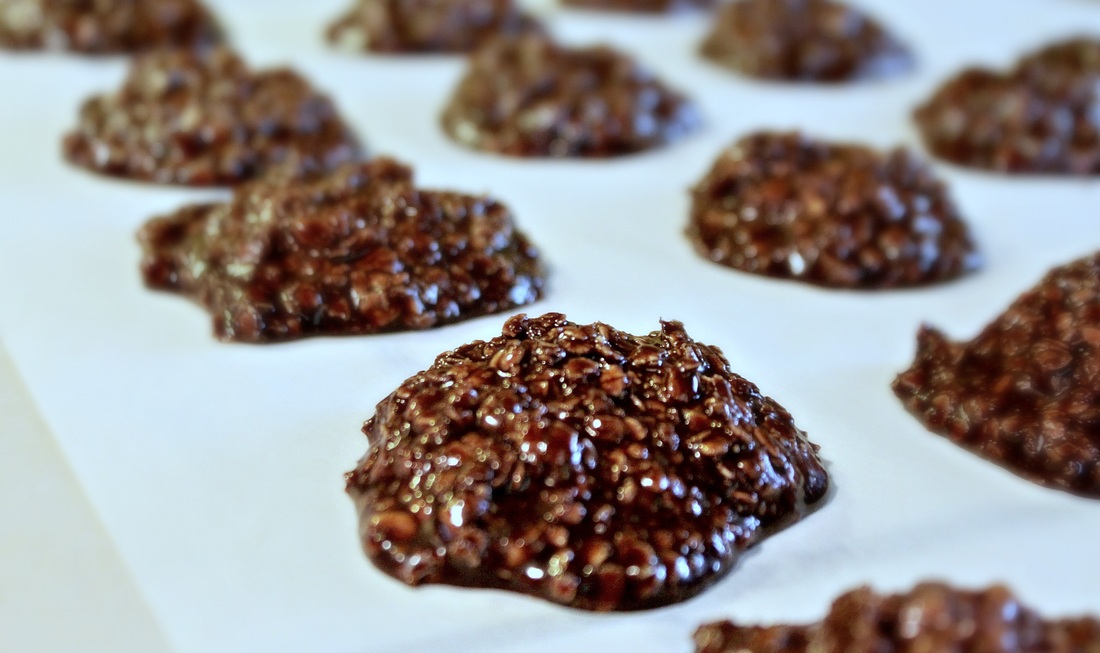
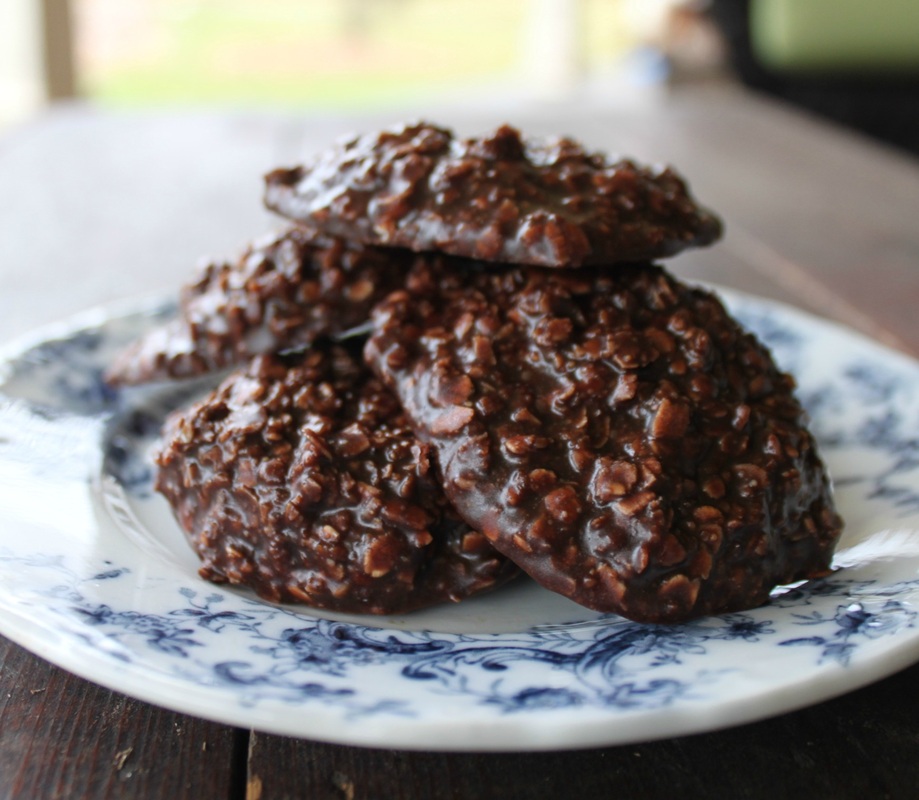
Having an open mind is necessary in art, but also in understanding individuals with Autism. In the same way that different people like different art, different people have different Autism. No two pieces are the same, no two people are the same. Love for the differences is what creates something beautiful. These here cookies are so simple to make, and are always a crowd pleaser....Yes, I meant to say "these here", I live in Tweed for goodness sake! They are wheat free (and gluten free if your oats are certified. In Belleville, you can get gluten free oats called "Only Oats" at the Bulk Barn), and these also have a flavour favourite of mine-chocolate and peanut butter. The recipe is from an Amish recipe book I bought back when we lived in Kirkland Lake. I had to learn the hard way that most of the recipes were Amish sized....I'm talking a cookie recipe making 90 cookies! Golly. I always make it a point of getting out and measuring my ingredients before starting so that I know I have what I need, and enough of what I need. Peanut Butter Chocolate Macaroons (no-bake cookies adapted from the "Sharing Our Recipes" book) Makes approx. 20-25 cookies (depends on how generous your scooping is!) Ingredients:
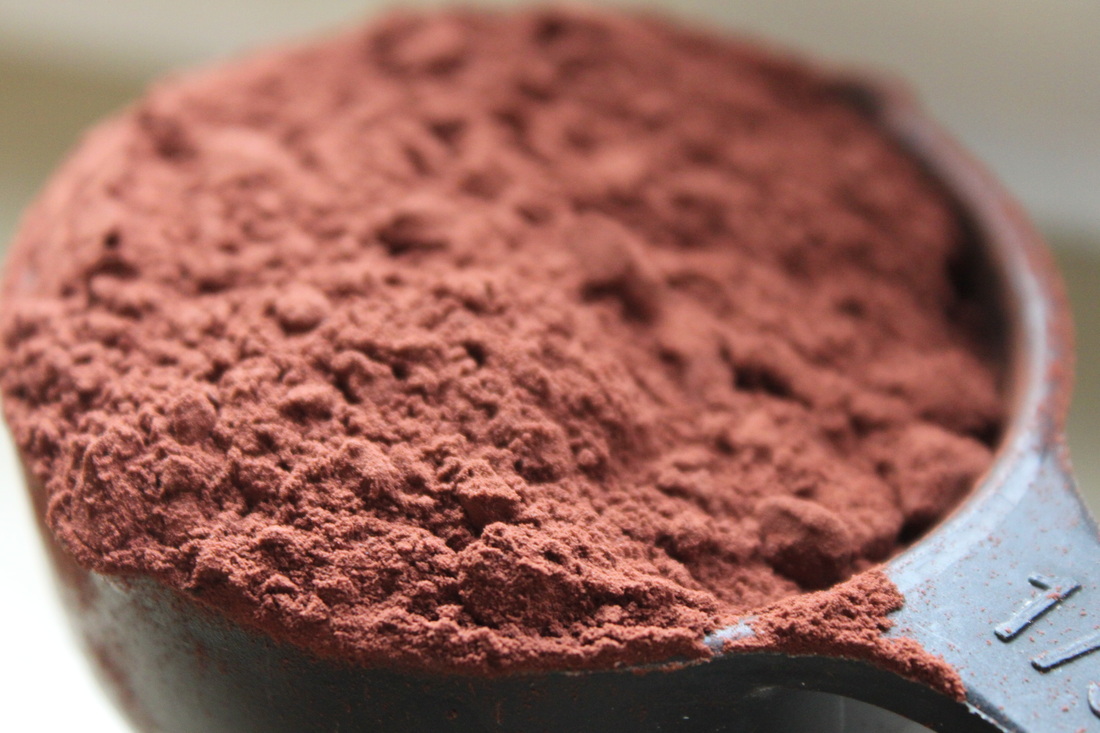
Method: 1. In a medium sized pot on medium heat put sugar, butter, cocoa and milk. Stir as it warms and melts, and be sure to get the cocoa lumps worked out of it. 2. Once warmed and combined, let it boil for at least a minute. You want the sugar to dissolve. 3. Remove from heat and stir in the peanut butter, salt and vanilla. 4. Add oatmeal and stir until coated. 5. Scoop (if you have a handy scooper) or drop by heaping tablespoons full onto wax paper. If you need these pronto, put the wax paper onto a baking sheet, and place into the fridge after scooping. If you have some time, just lay the wax paper out on the counter and let them sit until they are firm. The temperature of your house will determine how long it takes them to set. I like to make these as an after school snack for the kiddies. I made a batch yesterday just as the hydro shut off from a storm! I'm glad they didn't need baking in the oven!
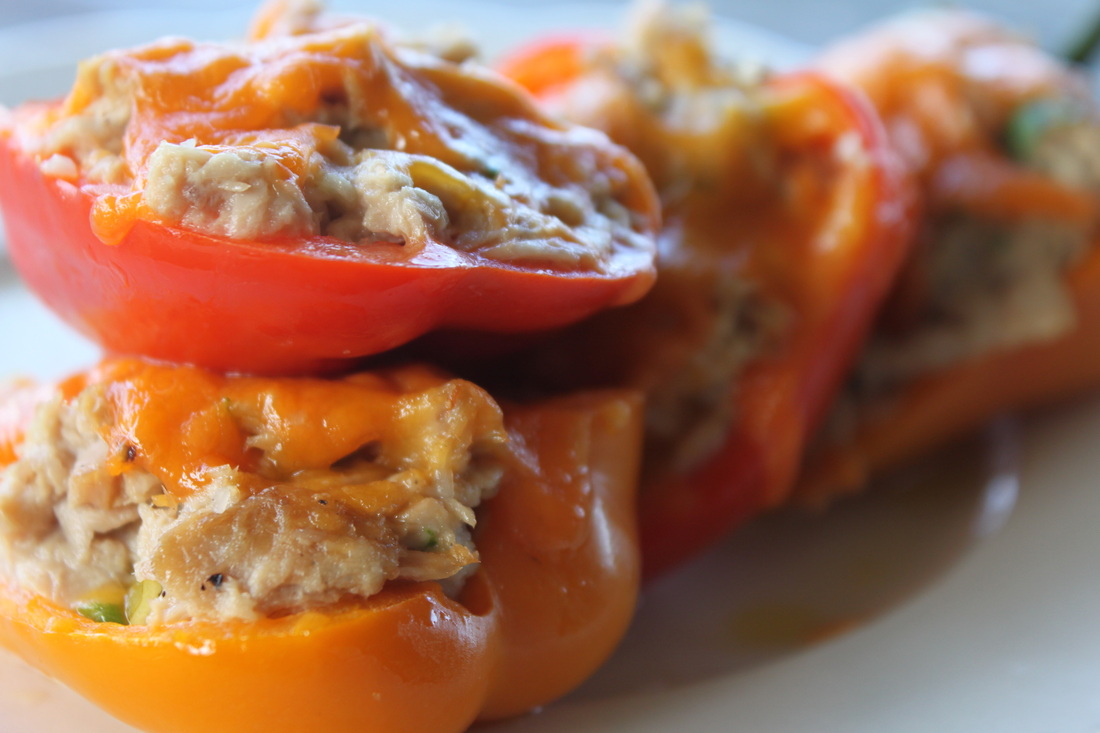
I love tuna melts. However, I don't always love having to eat bread to get one. I would rather save my bread consumption for something else like french toast. You cannot have french toast without bread! (and, according to my husband, you cannot eat maple syrup without putting it on something first...so, the bread is for the french toast, and the french toast is for the maple syrup, fyi). But, a tuna melt can be bread less. It just needs a vessel. I have made them before by taking the tuna, plopping it into a mini ramekin, putting cheese on top and melting it, but it wasn't quite the same. Just not quite. So, when your tuna needs a ride, and you don't want to do the usual, what can be done? You put it into a veggie that is shaped like a boat! Well, when it's cut in half, at least. I usually use one half pepper (sometimes both halves....I can eat a lot), but I got some beautiful mini peppers from the grocery store, and thought they would be a fun change. Plus then my 3 year old who is still home with me can have one her size. Pepper Boat Tuna Melts (mini edition):
(does 2 mini peppers, or one regular sized pepper) 2 Mini Peppers Olive Oil 1 tbsp Mayo (you can use more or less, depending on how you usually like it) 1 can of tuna 2 tbsp green onion (or a tsp dried onion) 1-2 pickled pepperoncini (optional) 2-3 Tbsp grated cheese (more or less, depending on how much you like) Salt and Pepper to taste Method: Preheat oven to 350 degree f. (using a toaster oven makes more sense if you have one. I don't.) 1. Wash the peppers, dry the peppers....(turn the peppers over...? Grade school anyone?) 2. Set the peppers down to see the side they sit on naturally. You don't want to just cut them and realize your boat is a-wobbly. Cut them in half so that you have 4 half peppers. Carefully scrape out the seeds and ribs. Set the halves onto a baking sheet lined with parchment or tin foil, drizzle with a little olive oil and add salt and pepper, if desired. 3. Put the tuna into a medium sized bowl and add the mayo. Mix it up, then add your onion (and pepperoncini, if using). Add whatever other seasoning you like. I add some pepper here. 4. Stuff the tuna mix into each half of the peppers. You should end up using all, or most, of it up. Don't be afraid to use your fingers to push the tuna down, and make sure the peppers are full. 5. Sprinkle cheese on top. 6. Bake for 8-9 minutes until the cheese is looking melty. 7. Turn the oven to broil for 2-3 minutes to make the tops look toasty. Let cool a bit before eating. Enjoy!
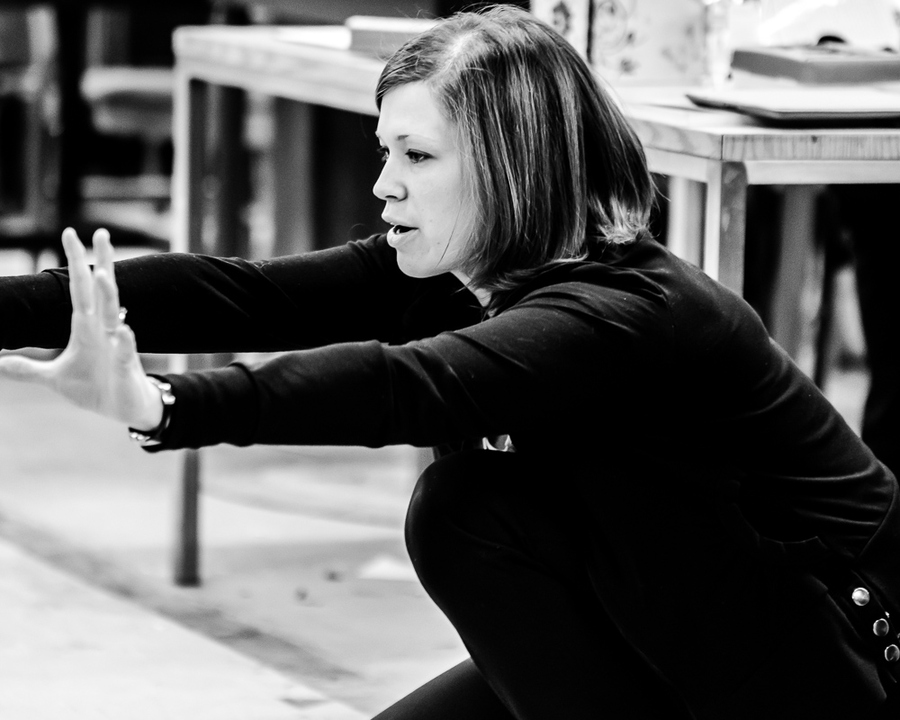
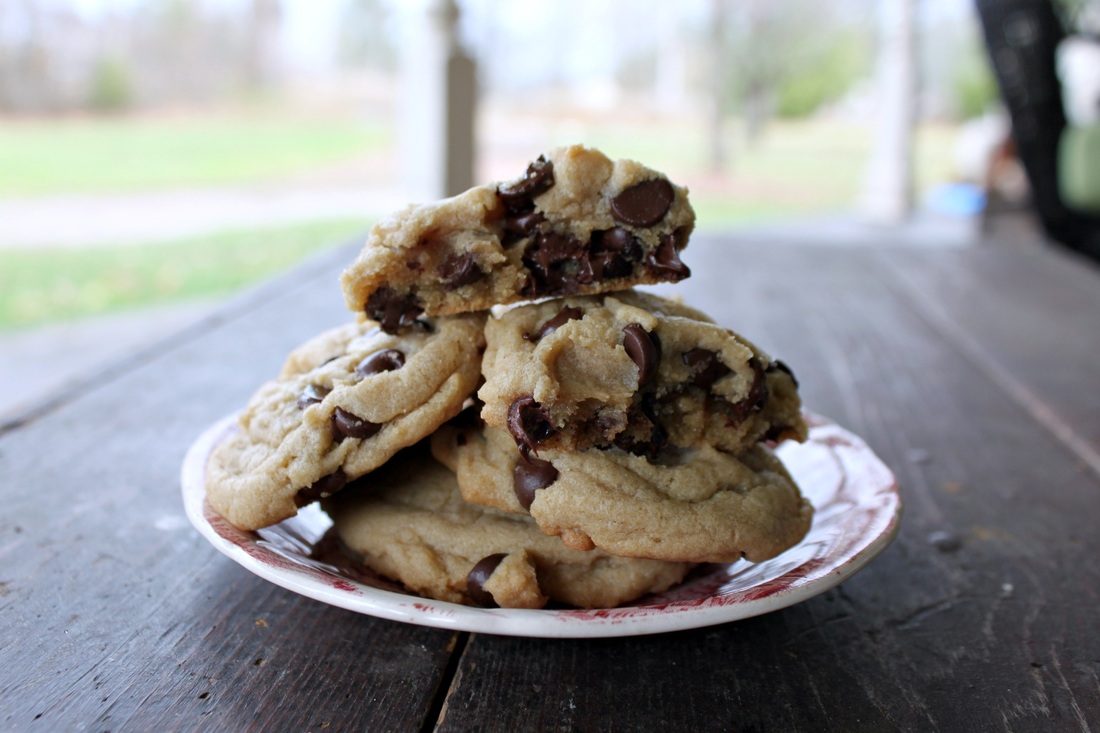
So, what do chocolate chip cookies and theatre have in common? Well, ask a bunch of people down at the Belleville Theatre Guild, and they'll tell you!
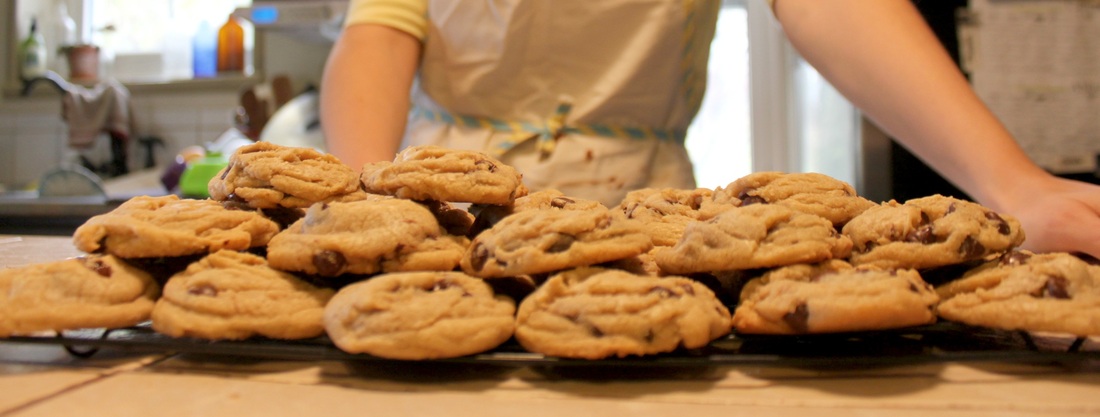
In my first show at the Guild, I starting bringing cookies to the Friday rehearsals, just for fun. Well, my kind of fun. Making 5 dozen cookies apparently isn't everyones idea of a good time! Weirdos.
Some people at the Guild like me for real, and some people only like me for my cookies....I'm o.k. with that.
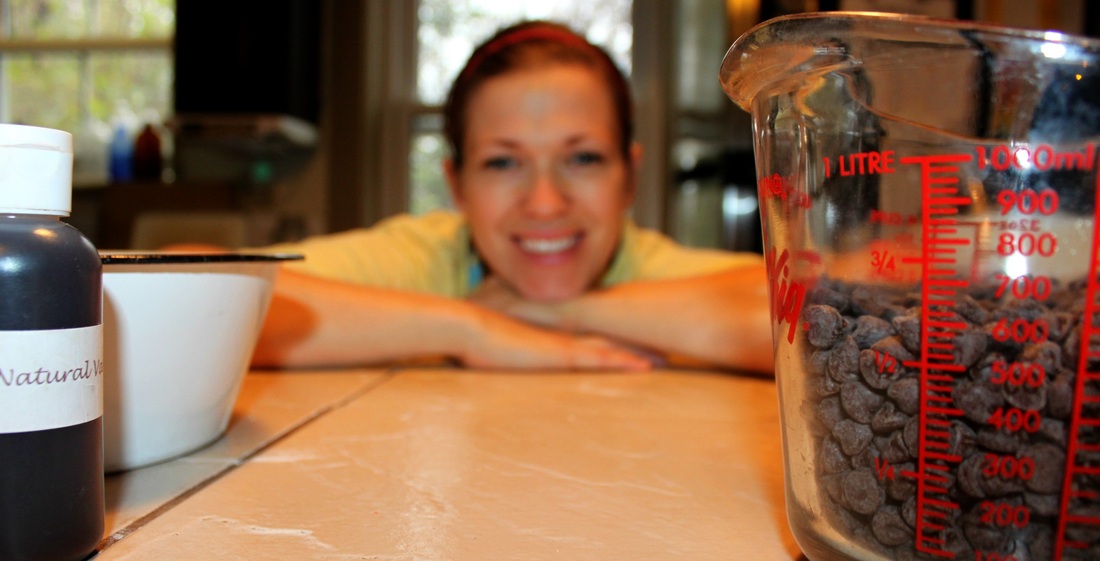
At this point you may scroll down a bit to find the recipe. But then you would miss out on the many (many!) pictures I took, and my helpful tips/explanations that make this recipe the bees knees!
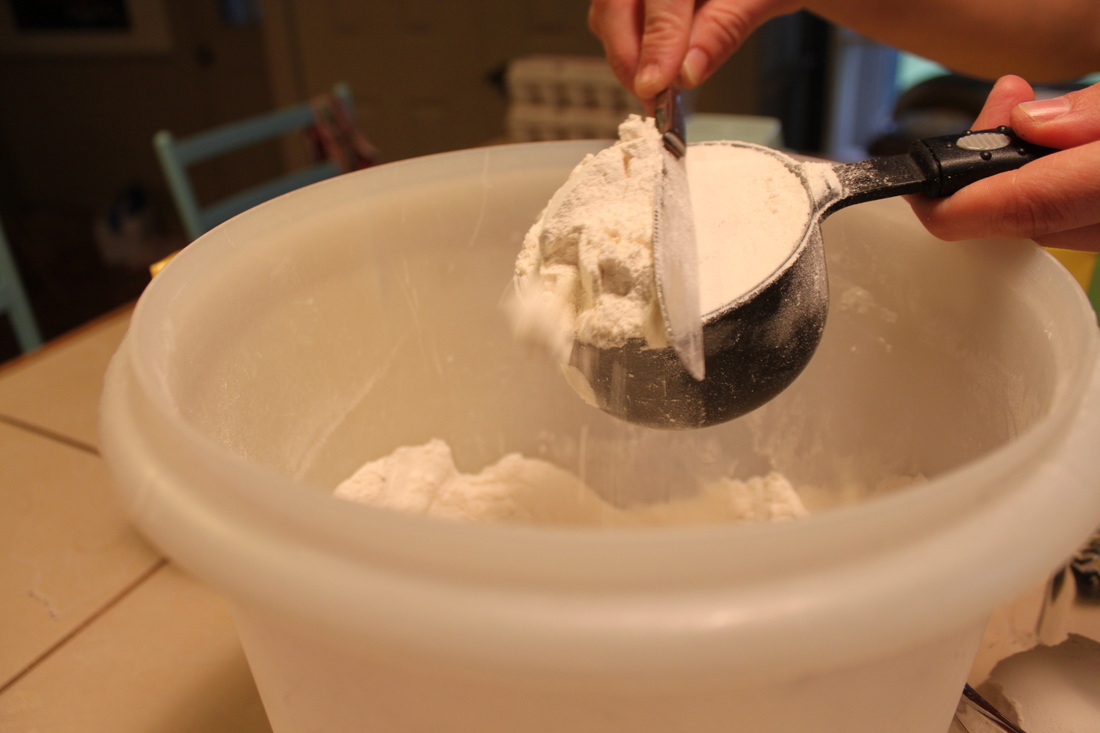
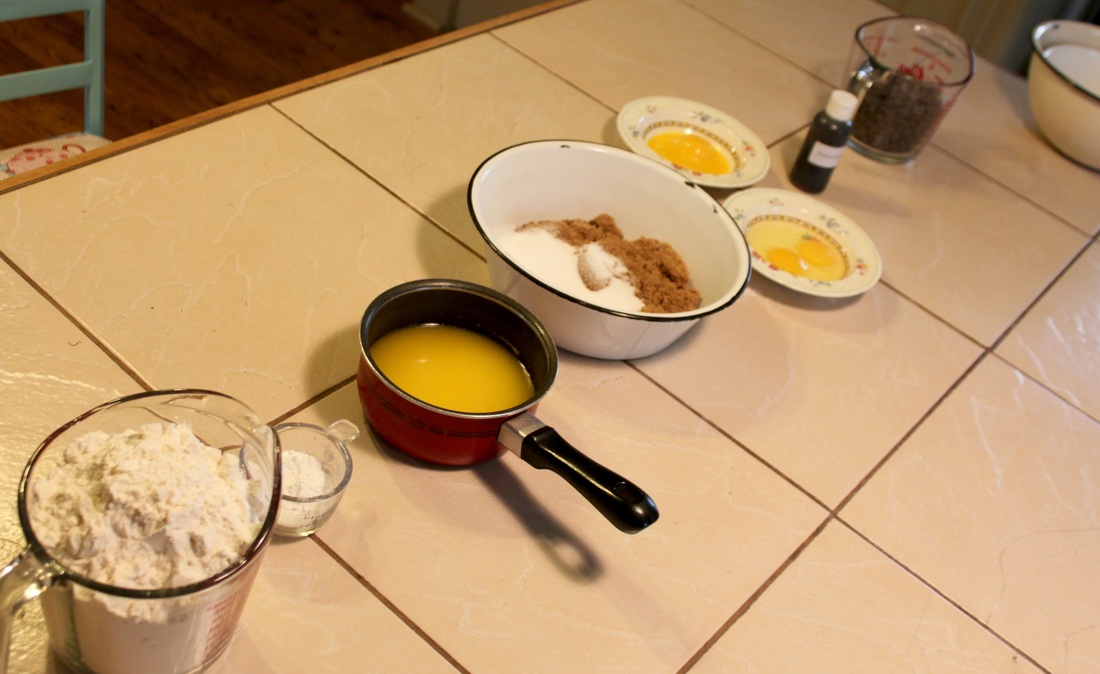
Make sure you scoop, and level your flour properly. Basically, scoop it into your measuring cup with a spoon, then level off with a knife. It's important to have the exact amount. Too much flour=dry cookies. Too little flour=super spreading cookies.
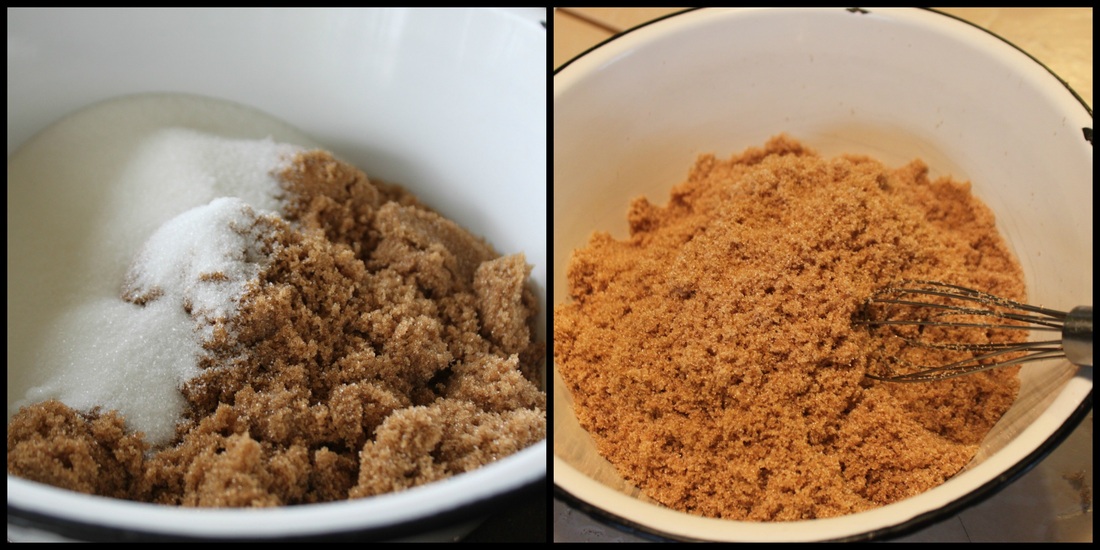
The extra brown sugar helps with the tenderness of the cookie. The white sugar makes the cookies spread a bit-you do need some spreading or else you'll have balls of baked cookies! You do want to mix these together before adding the melted butter because it makes it easier to get rid of the brown sugar lumps.
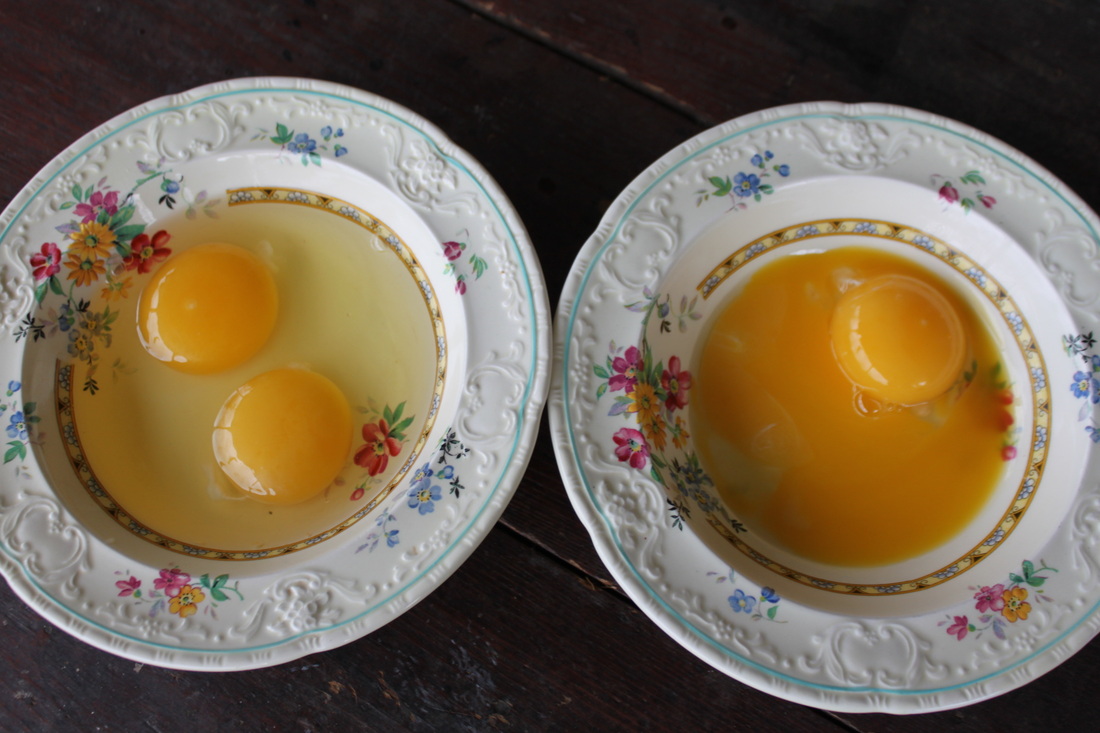
The extra egg yolk ups the chewiness on these lovelies. I pre-crack into smaller bowls because A: I always have shell bits, and they are easier to dig out of a little bowl, and B: I can give 'em a whisk before adding them to the batter, which makes incorporating them easier.
I learned years ago to always measure out things like baking soda (or powder) separately incase you accidentally measure out the wrong amount, or if you use the wrong thing. Instead of measuring it directly into your flour (and potentially wasting it because you added the wrong thing/amount), just measure it into a small bowl, then add it to the flour.
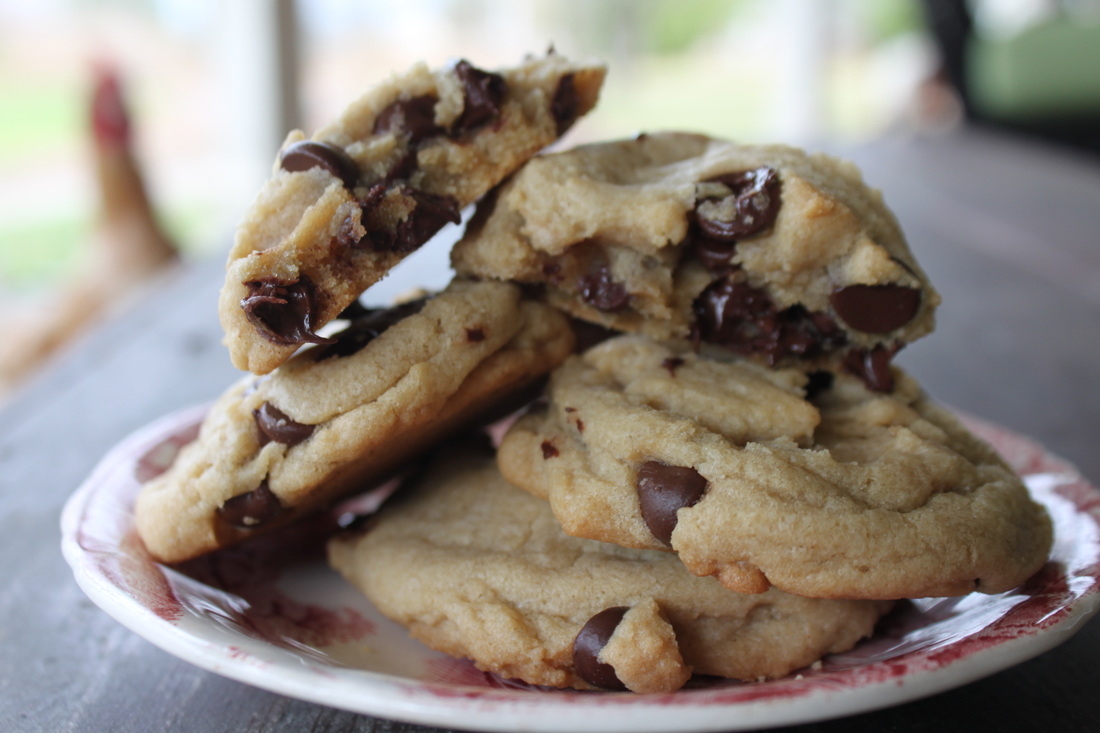
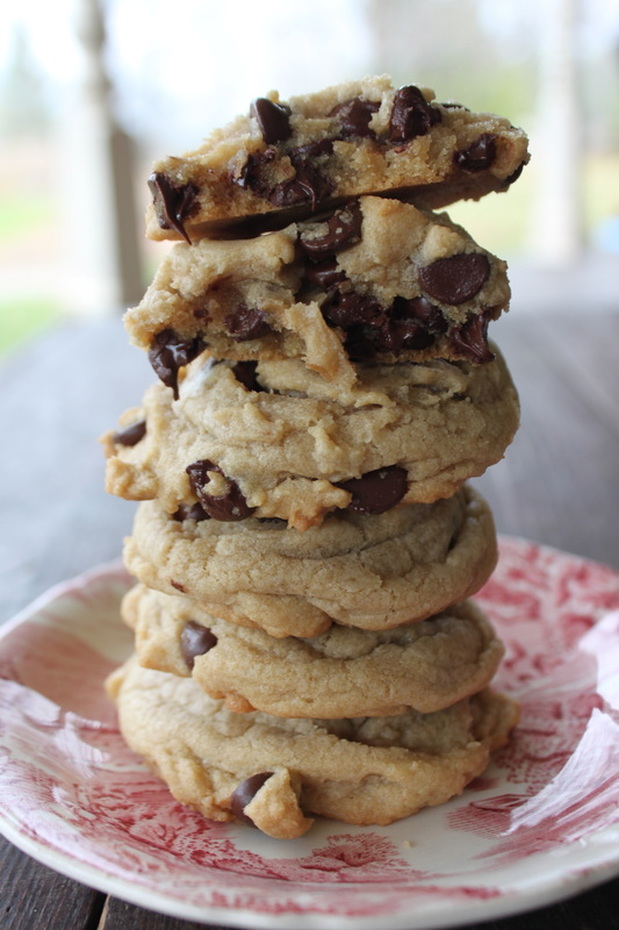
Also, the cornstarch is important-it gives the cookies their staying power, so that they are "soft-baked", and thick.
I also learned years ago to measure and set everything out before really starting a recipe. That way it's all ready, and you know you have all the ingredients. Nothing is more annoying than starting a recipe thinking you have all the components, only to realize once you've mixed up most of the ingredients, that you are missing something-important! No thanks, I will gladly measure it all out first. The added bonus is that your work area is relatively tidy for the task at hand.
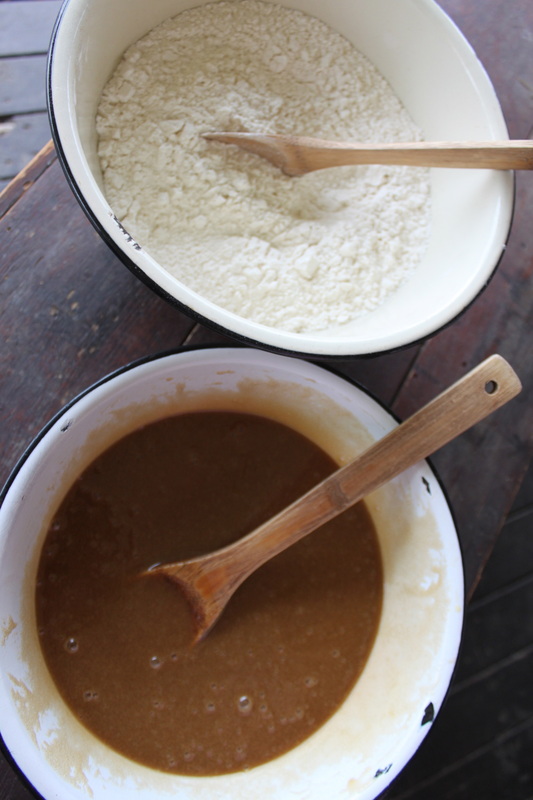
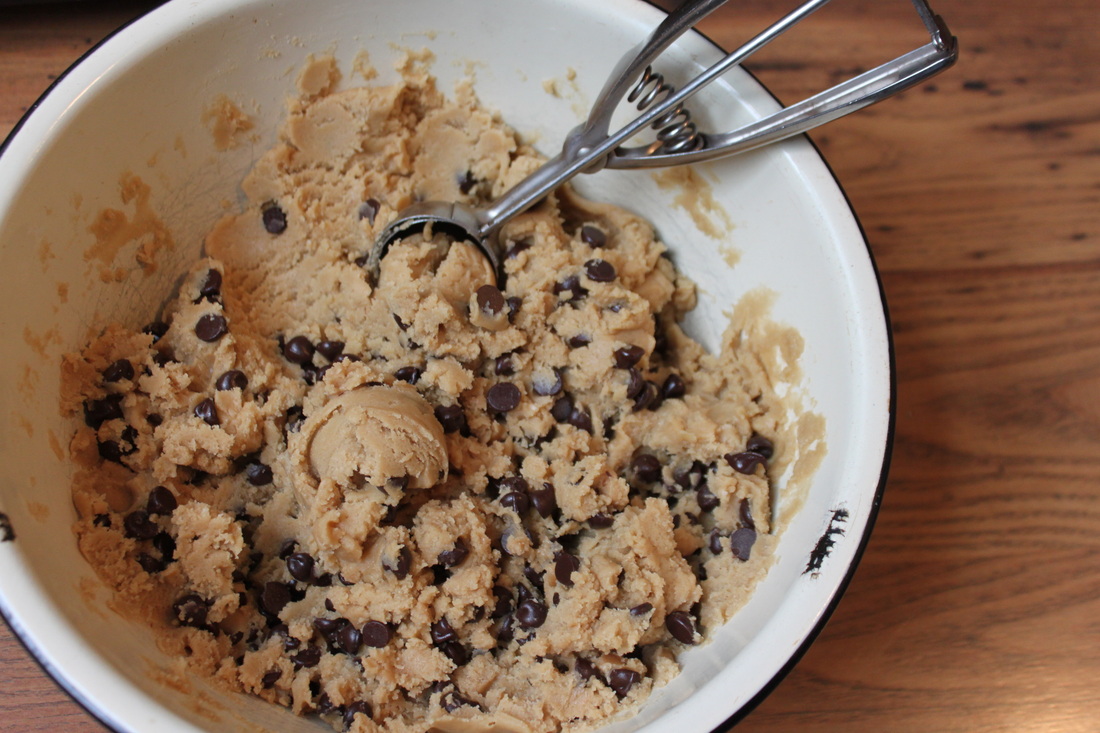
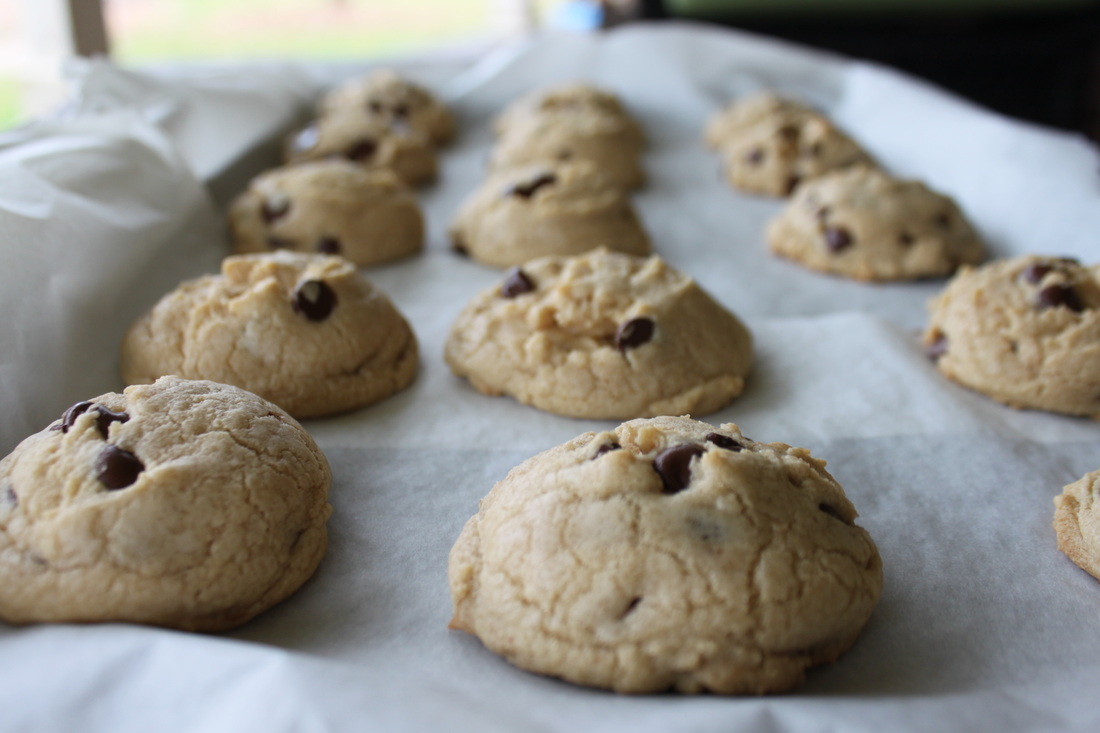
The dough will be soft, but thick. It also has a bit of a sheen (aka-looks a little greasy). It's all good.
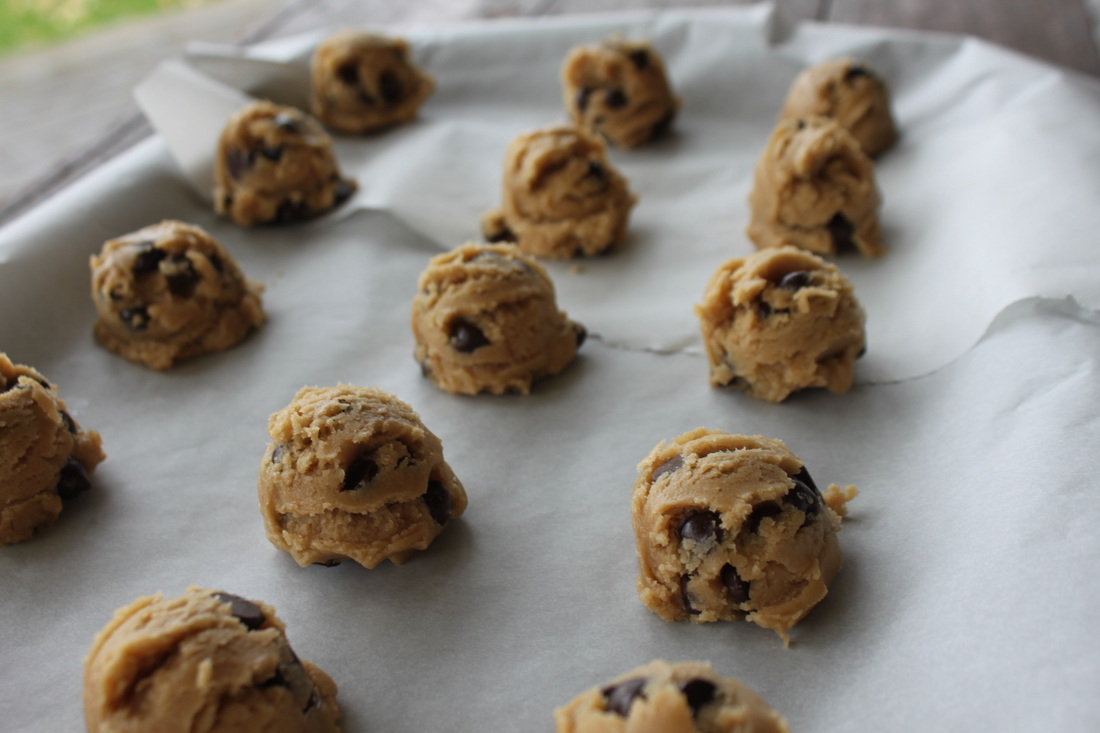
Give the cookies at least 1 inch of space so they don't get into each others business...unless you're into square cookies....
Without further ado:
The Best Chocolate Chip Cookies Ever!!! (and easy too-no mixer required!) Makes approx.25 cookies Ingredients:
Directions: 1. Preheat the oven to 325 degrees F. Line your baking sheets with parchment. If you don't have any parchment, and your cookie sheets are still in good shape, then don't worry about it. 2. In a large bowl, mix together the flour, baking soda, cornstarch and salt. Set aside. 3. In a medium size bowl, whisk the brown and white sugar until they are looking happy together. 4. Mix in the melted butter 5. Whisk the egg in a small bowl, and add to mixture. Then whisk the egg yolk, and add it. 6. Finally, whisk in the vanilla. 7. Pour the wet ingredients into the dry ingredients and mix together with a large spoon or spatula. The dough will be very soft, yet thick. 8. Fold in the chocolate chips. Because of the melted butter, the chocolate chips won't stick to the dough that well. That's o.k, just make sure they are evenly dispersed. **Now, I need to say that chilling dough is all the rage, and can be very important, but I literally don't need to chill this dough. Maybe my house is too cold, I don't know. But, if you make a cookie sheet of them, and they spread too much for your liking, cover them and stick them in the fridge for at least 30 minutes, or up to 3 days (if you can wait that long....). When you take them out the dough will be stiff, but just work it a little with your hands to warm it a bit.** 8. Scoop or roll out the dough. I use a medium scoop from The Pampered Chef to do all my scooping. It is my favourite thing for baking! If you don't have one, just scoop about 2 tablespoons (or 1 huge tablespoon) of dough for each cookie. I can fit 15 cookies on each of my sheets. You want at least an inch of space between each cookie. 9. Bake the cookies for 11-12 minutes. Set your timer, you don't want to forget about these! The cookies will look very soft and under-baked. That's how they need to look! Fear not!!! They cook/set a little more as they cool. If you wait until they are golden in the oven, then they will overcook and be dry once cooled. That is a sad thing for a cookie.... Cookies stay soft and fresh for about 7 days at room temperature in a sealed container. But seriously, who has homemade cookies in their house for that long? Geepers.... I've never had to freeze these for long because I was always bringing them somewhere, but they can be frozen for up to 3 months. Which leads me to my next point- You can scoop or roll out the dough onto cookies sheets, cover lightly, and freeze them. Once frozen, take them off the cookie sheet, and put into freezer Ziploc bags for use as needed. Bake them from frozen for 12 minutes. Something I found on Pinterest from Mel's Kitchen Cafe about frozen cookies and gift giving. I think it's a great idea!
I made this batch of cookies for my rehearsal yesterday with the newest members of the Guild, the Young Pinnacle Players who are working on the play "The Velveteen Rabbit" adapted from the book by the same name. Here's the blog for the show, fyi.
Make these cookies and let me know what you think of them! Also, let me know how many new friends you get because of them.
|
Hi, I'm Amy-Lyn! I am the lady behind this here blog! I live in the sticks with my animals, my super handsome husband, and my
3 amazing kids! Here you'll find things from recipes (gluten-free, paleo, and strait up junk food!), DIY ideas, thoughts on raising a son with autism, and whatever else pops into my brain! : ) Read more about me by clicking here! Want to Stay Connected?
Find What
|

















 RSS Feed
