|
Hello one and all! I'm sitting drinking my coffee and eating a piece of warm, chocolate chunk banana bread. I had a serious problem that consisted of me having one million over-ripe bananas in my freezer, threatening to start a revolt and take over my whole kitchen! O.k, well, that may be a slight exaggeration, but only slightly. The truth is that I did have way too many bananas in my freezer, and I needed a banana something recipe to use some of them up. Preferably a large number of them! I have a paleo banana bread recipe already here, but it only calls for 1 cup of mashed banana, and that wasn't going to do! Then I found the Civilized Caveman Cooking and his banana bread recipe and I was sold! 2 1/2 cups mashed banana? Hot dog, we have a wiener! Yikes, that looks more strange typed out than when I just say it out loud. No matter, enjoy the recipe! Oh, I added chocolate chunks to it too, because, well, do I even need to explain why? 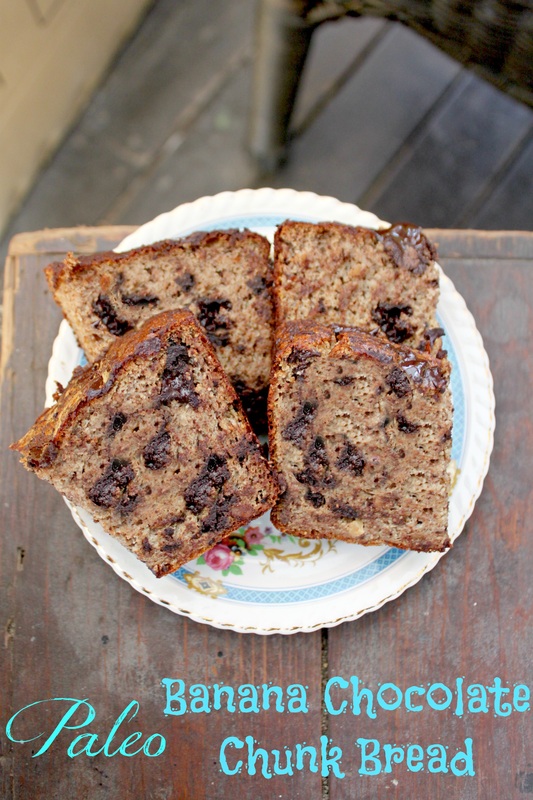
Paleo Banana Chocolate Chunk Bread From the Civilized Caveman Cooking. Find his recipe here Ingredients:
Method:
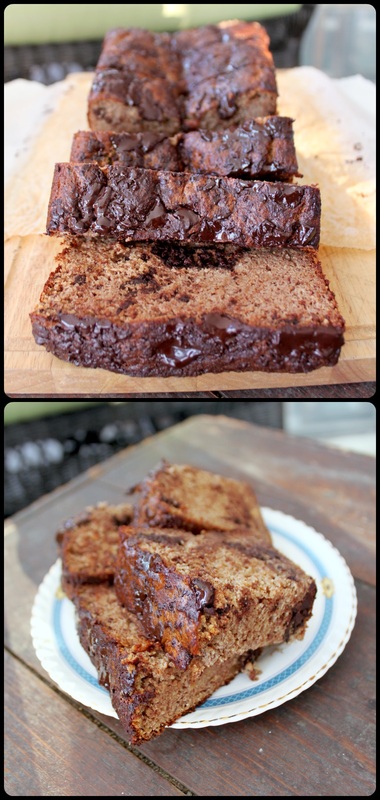
I have made this loaf a few times, and to store it I cut it up, then stick it into an airtight container and put it into the freezer. My favourite way to eat it out of the freezer is to put it into the oven for 15 minutes or so (just on the rack, not on a baking sheet or anything), and let the outside get crisp while the inside get warm. Yumm-o.
Anyway, I hope you all have a great Wednesday! I hope to bake and bake and bake today! That's the plan, at least. I need to get a workout in too, as well as do my usual things like tidying/cleaning, making dinner for the fam, and doing the chores at the barn. The whole day is in front of me, and I'm ready to go! Well, after one more cup of coffee.
0 Comments
I like going to our little local grocery store because they always have things marked down 50%. It's always for different reasons, but the reason matters not to me! I just love a discount! :) A while back (I'm talking in the summer) they had Pillsbury Raspberry Turnovers on 50% off. I have literally never bought these before in my whole life, but at 50% off, I was interested enough to try! I stuck the boxes in my freezer, and waited for a time I wanted to make a breakfast for guests, or just for fun on a treat day. When I finally decided to make them, I realized I actually didn't want to make them as turnovers, but would rather have a nice bun, like a cinnamon bun....minus the cinnamon, obviously. So, that's what I did. I made me some raspberry rolls, and (despite me not actually enjoying baked fruit desserts) these turned out really nice, and somehow seemed nicer than a turnover, but that might just be something I'm telling myself because I want to believe it. These kept well too, sitting on the counter for 2 days, and tasting yummy up to the last day. 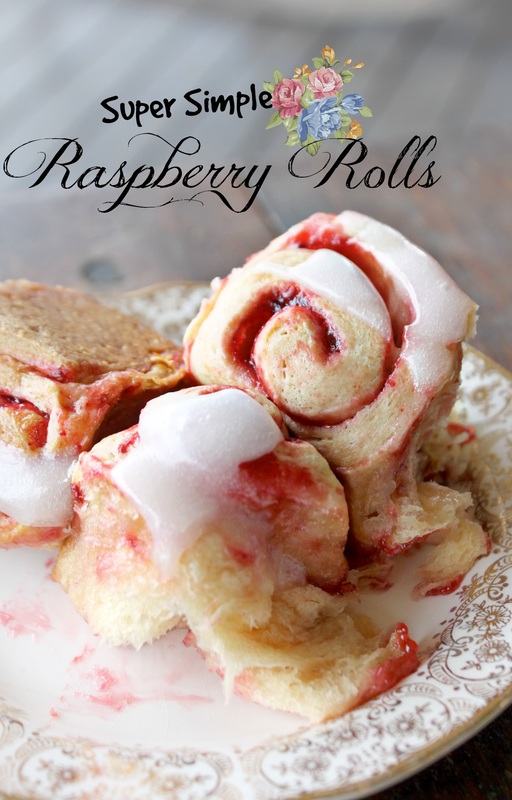 Raspberry Rolls Ingredients:
Method:
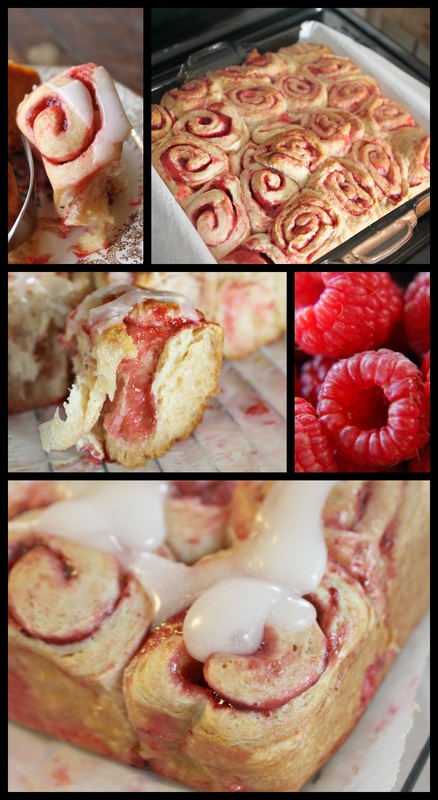 I realize this is NOT a real recipe, only an idea for something you can do with something already made for you. I fully intend on making these again, only I will try with a homemade dough and a pure raspberry jam. I'll let you know how that real recipe goes. Pinky swear. So, that's all for today.
I've been more on and off with posting because we've have an irritating Apple bug that causes desktop Macs to not be able to connect to the internet via WiFi. So, all my photos are on the desktop, and even if I worked on a draft on the laptop I would't have any photos to use because I can't access them because the iCloud won't work properly...blah blah, blah. Anyway, my brilliant husband got a long Cat-5 cable (ethernet), and hooked our computer up to our router so that I have internet again! However, the cable (though it is long) isn't quite long enough and I have to drag the computer desk away from the wall and on a wacky angle to get the cord to reach! I'm o.k. with this though! Apple really should fix this bug, but in the meanwhile we have figured a way around it! So, apologies for being absent, but I'm still here! :) Happy Wednesday! Alright, so, eating paleo means you cut out things like sugar, dairy and beans, but another thing you cut out is grains. I really didn't care much about that last one because I've never really been a huge grain lover. Well, I loooves me some grilled cheese, but that's not just regular toast or a sandwich; it exists all by itself as a delectable food, so, yup. Anyway, not having bread and buns, etc., didn't bother me. But one day I had made some fantastic soup and thought, "....gee, something to dip into this would sure be swell" (o.k., maybe I didn't talk like that, but it makes a better story). So because the soup was ready before it was actually dinnertime I started to experiment. Truth time: my first 2 attempts at some sort of "roll" were terrible. I threw them into our "chicken bowl" (aka-our compost-aka-what we feed our chickens!). :) But, the second bun was better than the first, so I thought third time could be the charm, and it was! Oh it was!!! It was soft, but could hold it's own, and was just what my soup needed! So many exclamation marks in this post!!! Sorry!!!!! haha...oh man... I still don't crave bread and buns, but having a recipe to use when you do want it is awesome! I felt like eating a burger with my hands and not completely bun-free with a knife and fork, so I whipped a double batch of bun and it made my (grumpy, pre-period) day! Over share? My bad. 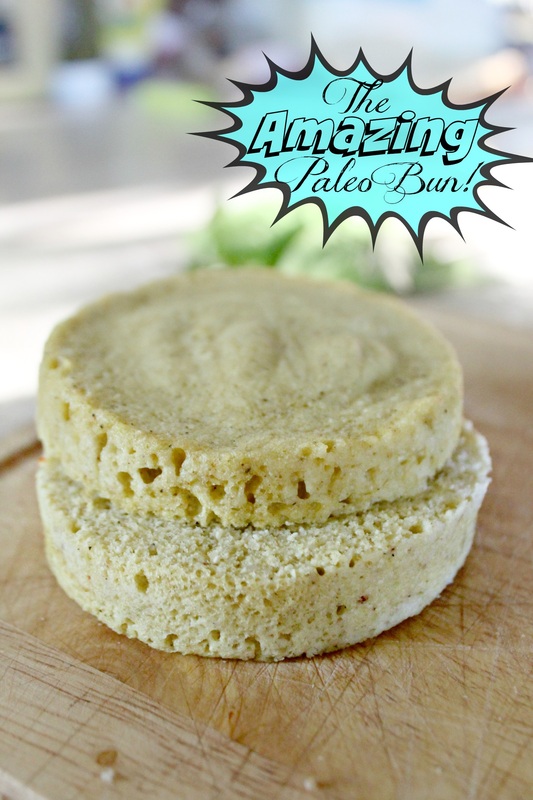 The Amazing Paleo Bun Ingredients: (This makes one bun with 1/2 inch pieces when sliced in half. Double recipe for a thicker bun as I did in the photos). I like a double bun for a burger, but just a single bun if I want something to dip into soup. :)
Method:
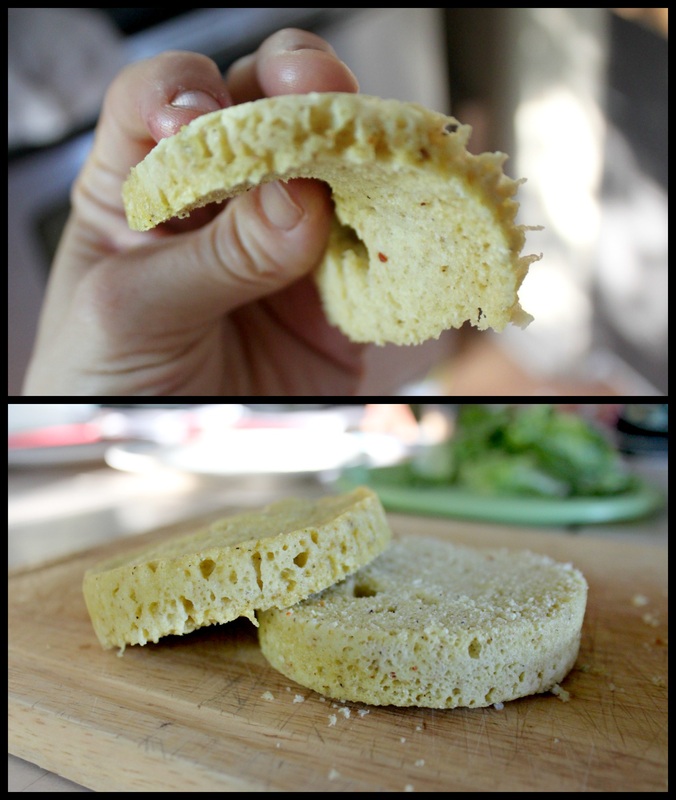 This is 2 buns, one used for the top, and one for the bottom The picture above shows how these buns are soft and flexible, and not crumbly and weird! 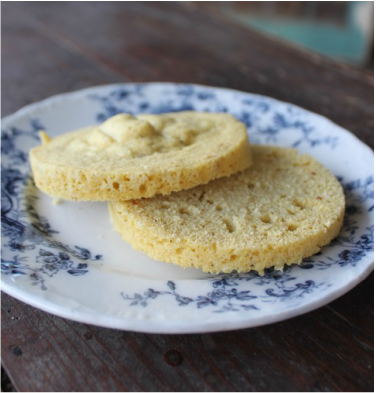 This is one bun cut in half 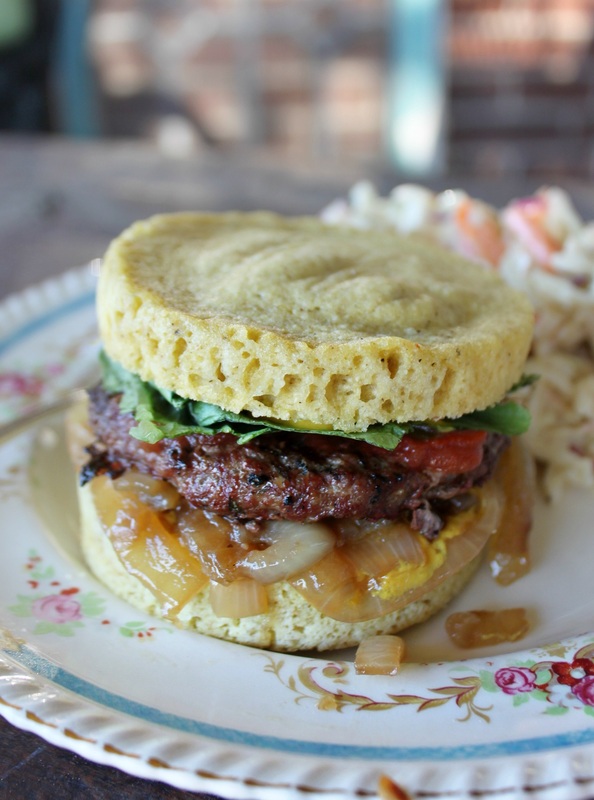 Yum! Seriously, check out that amazing looking burger! Well, I'm off! I'm feeling kinda lazy, but laziness is not an option today, unfortunately! (thumbs down).
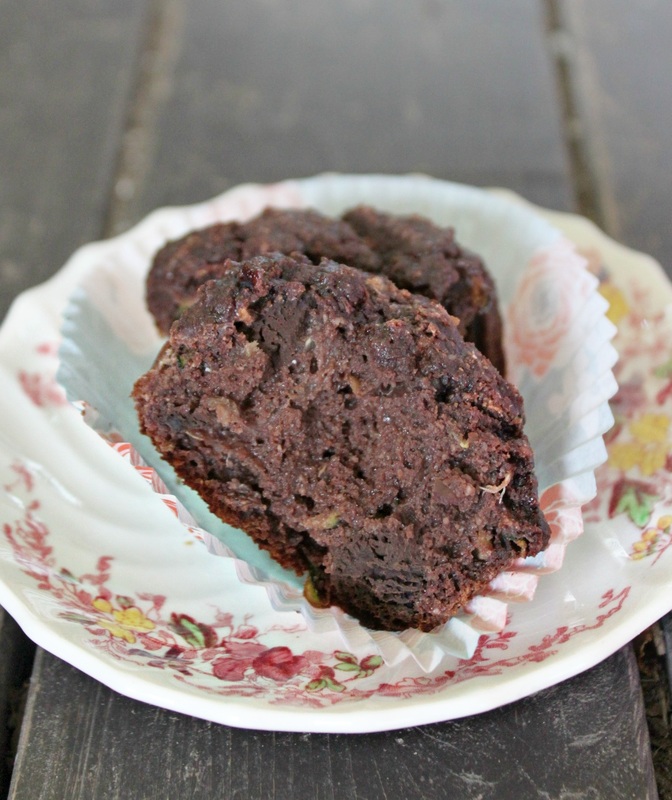
I hope everyone has a good weekend! xo I've got another recipe today featuring zucchini from my neighbours garden! :) Chocolate zucchini muffins are nothing new, so if you're thinking, "eeewwwwww", you suck, and you've never tried it. You're just guessing it's gross because we treat zucchini as a vegetable, but in reality (botanically) it's fruit. I know. Bonkers. So, what I'm saying is, if you're in doubt, think of this more as a chocolate and (insert another fruits' name here) muffin. O.k? Let's get to it then! 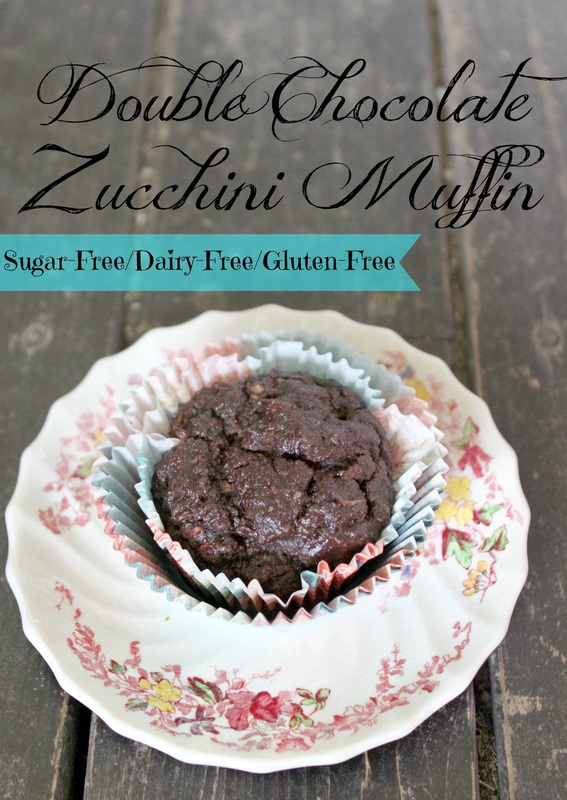
Double Chocolate Zucchini Muffins Ingredients:
Method:
I think I'm not getting enough (or good enough) sleep lately. I usually can sit down at the computer and write away, but a few times over the last few weeks I just sit here....staring.........then, I suddenly I snap out of it, and think, "was I thinking of something important? I can't remember, I'll sit here and think for a minute......"(staring).....I think you get the idea.
So, on that note......... Good morning to you. First of all, I'm from Canada, and that is indeed how we spell flavour here! O.k, I'm glad that's out of the way! We got back last night from a weekend away with just enough time to pack lunches, put away things from our travels, have a cup of tea and watch an episode of Bones. The wedding we went to this weekend was such a refreshing event; not too traditional, but still beautiful and, most importantly, really reflected the people who were getting married and their tastes and true personalities. At the reception they had a proper Irish céilí....which is basically like square dancing, except not always in a square...I don't know quite how to describe it except to say it was riotous and celtic, and great fun. So much fun. Anyway, let's talk about creamer. Store bought coffee cream should make you gag a bit when you read the ingredients...and if it doesn't make you gag a bit you need food therapy of some sort. Corn syrup and partially hydrogenated oils should not be in coffee cream. They really shouldn't be in any food at all, but that's a whole different story. So, my flavoured cream is truly a whole food idea, and it can be customized with whatever milk option you can drink, and to many, many flavours. Get ready to be amazed.... :) 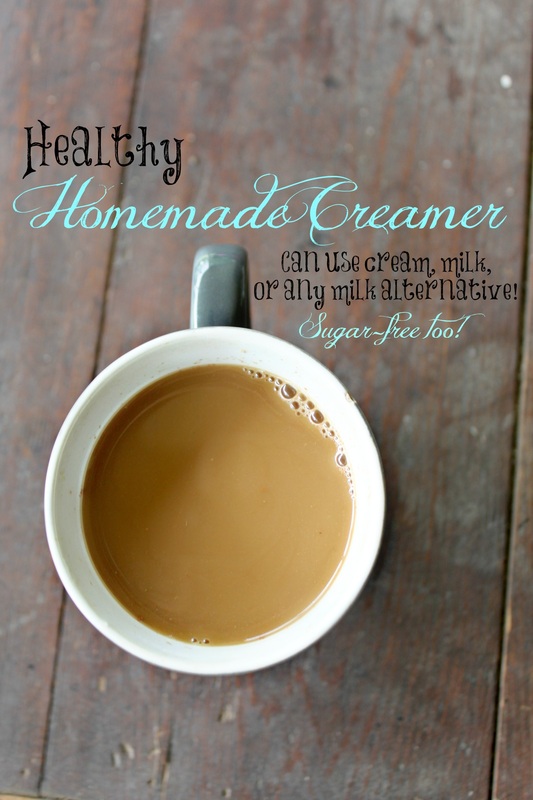
Healthy Flavoured Creamer Ingredients:
(Make more or less depending on how much creamer you would generally use within a week) Method:
Some tips: You can add a few drops of honey or maple syrup to the steeping milk if you want it a little sweeter, you can also add extras like cinnamon, a pinch of salt, vanilla extract, or a pinch of cocoa powder. Perhaps don't add all those at once, but make some flavour combos that you think might work! 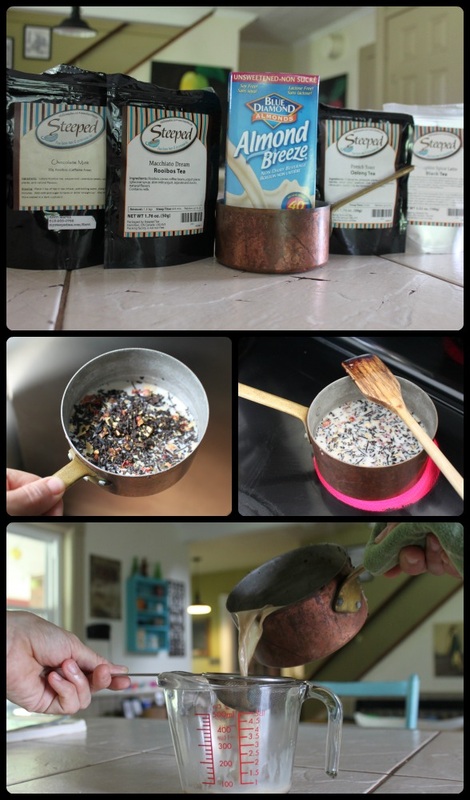
I choose Macchiato Dream this time.
Can I just say that if you don't like cream in your coffee, you can make flavoured milk for your tea, or you can use a fruity tea to steeped with a milk alternative as a strait-up drink. I made the kids "strawberry milk" (almond milk steeped with strawberry tea), and they loooooved it! I have also steeped chai tea in my milk for a proper-ish chai tea latte. 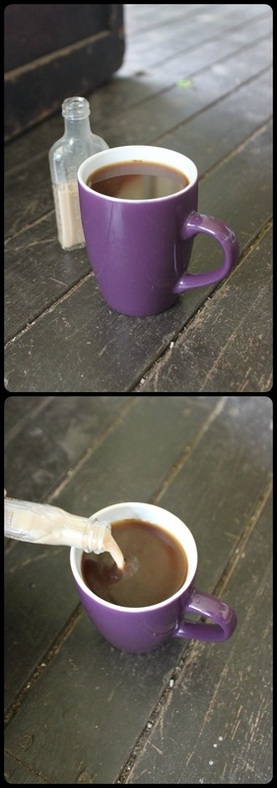
Well, dear people, that's all I have to say for now! I hope everyone has a fine monday!
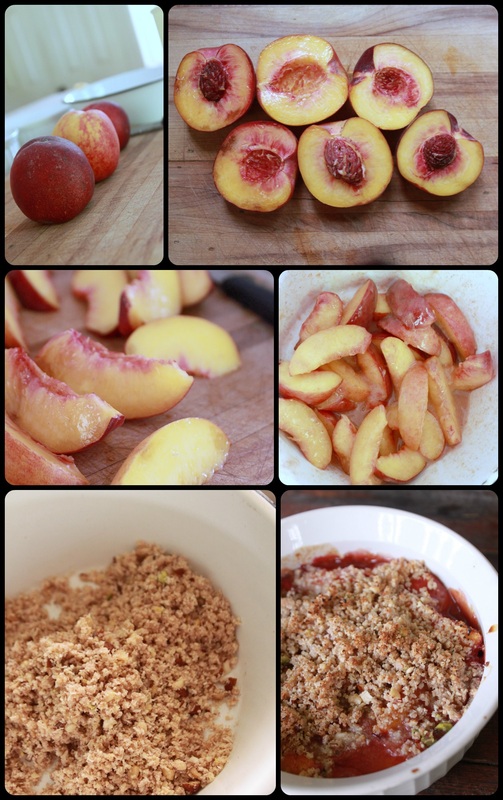
Alright, so I usually dislike baked fruit desserts. A lot. I think it's because the idea of eating hot squishy fruit is just not appealing, especially given the alternative-chocolate!!! Just sayin'. But, this peach season here in Ontario, I've got the hot peach bug. Oh yeah, it's a real thing. It's this thing where you dream of all the ways you can make peaces into baked desserts for yourself. And I say "dessert" lightly because I have mostly been making these peach creations for my lunch. Anyway, this recipe is one of 4 that I have recently been mucking around with, and I hope you get a chance to make it! This is not too sweet, but is just full of fantastic flavour. 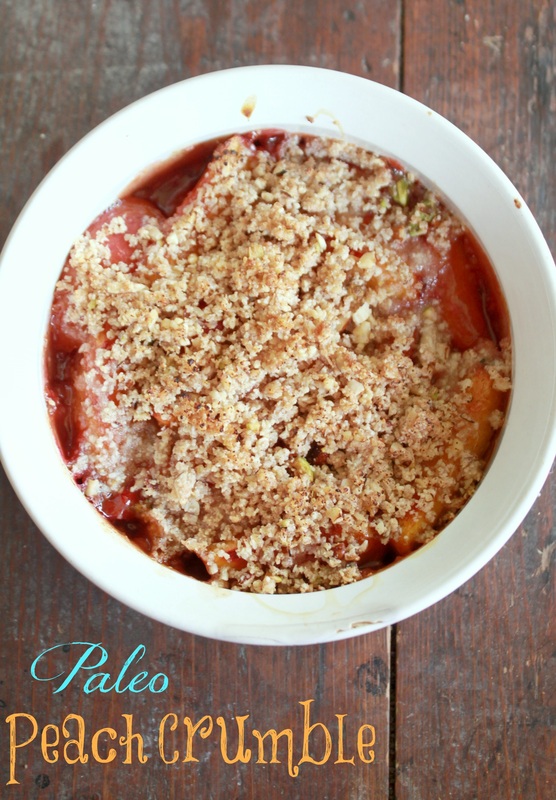
Paleo Peach Crumble Ingredients
Topping:
Method:
Friday is here, and I hope everyone had a great week! We're off to a wedding down in Hamilton, and we're pretty excited about it! So, I hope whatever your plans are for the weekend (including if you have to work) that you make it a good one.
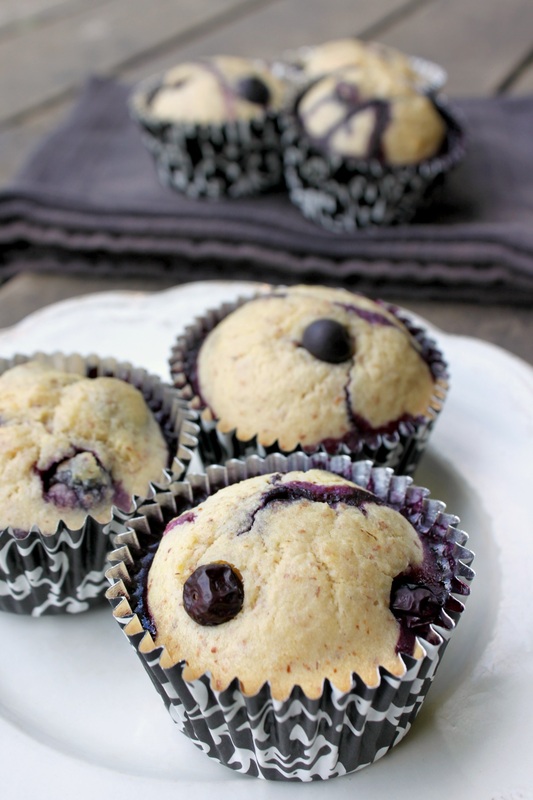
Amy-Lyn oouuut. I'm a geek. Good morning one and all. Does anyone else have blue jays at their house? I have them here in abundance, and I really like to watch them fight over our bird feeders that hang here and there on our porch and in the trees. They squawk and fight, and dive and make a big show out of getting some seeds. They are noisy, they wake up the whole house, they've knocked down a few of my feeders, but I still really like having them here! They're pretty, and don't we (honestly) excuse more from pretty things? A rose with it's thorns, a bratty but beautiful child, Ikea furniture with it's crazy instructions and sometimes poor quality? You know it's true. Anywho, onto muffin talk. I made these muffins for a breakfast with family over, and they were well received. My Dad said something like, "Uh huh", when I said, "these are paleo muffins Dad. They don't have any wheat, dairy, or sugar". But, let me tell you, a "uh huh" from my Dad (and the fact that he ate a few muffins...) means they passed some sort of test. :) I've made them a few times, and even my kids like them. In fact, they enjoyed a few fresh ones as an after school snack yesterday. Nothing like a warm, good-for-you, but comfort food-ish snack to make a kid sit down and talk about their day a little. I did get a "uh huh" from one of my kids when I asked if they had a good day, but I'm starting to think (or hope) that this is just a reaction people have while eating these muffins because they are so delighted and taken by them that all their happy brains can say is, "uh huh"? Maybe? Well, they are enjoyable, none the less! Uh huh. 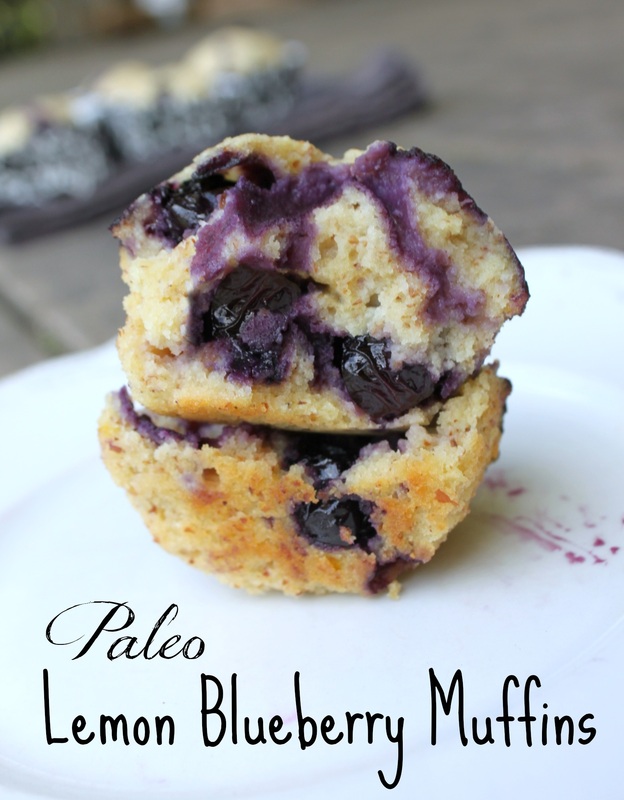
Paleo Lemon Blueberry Muffins Adapted from Lexi's Clean Kitchen Ingredients:
Method:
Well, alrighty. I hope this Wednesday is a good one! It really feels more like a Tuesday to me because Monday was the holiday, Tuesday they started school, so my inner calendar is just messed up. No matter, I shall make due.
Even though this hasn't been the coldest summer, I've still been using our bbq for anything and everything. Seriously, even if it's raining I will still use the bbq just out of stubbornness because it is the summer, and summer is for using the bbq, darn it! Anyway, onto this 'pie'. It's really not a pie at all except that I made it in a pie plate. You really could make it in a casserole dish if you wanted, but that's totally up to you and if you prefer to eat food in a square or a triangle! 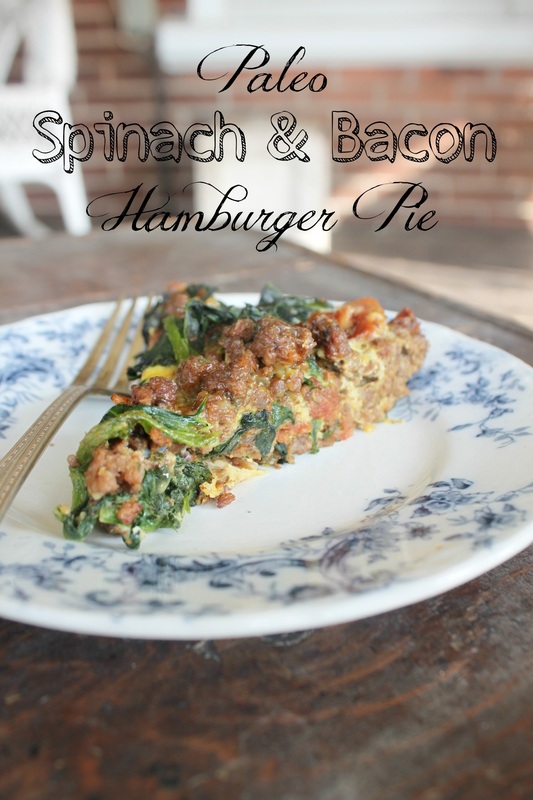
Spinach & Bacon Hamburger Pie Ingredients:
As a "topping":
Method:
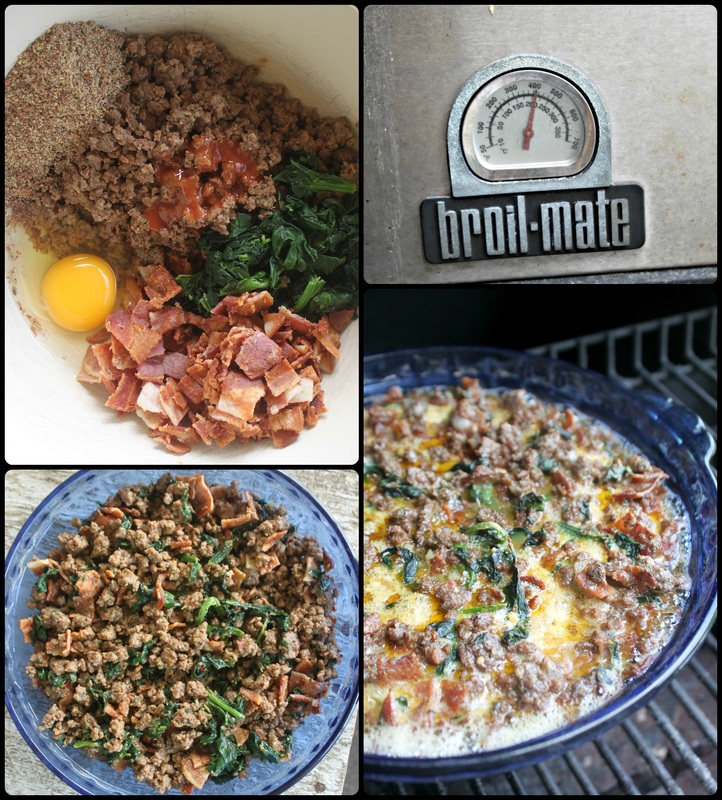
It really is a pretty simple meal to make. I generally make 2 pies, because we can eat almost one whole pie for dinner, and then I slice the second pie and put it into he fridge because it makes great leftovers for breakfast, lunch, or dinner. Also, f.y.i., you can do all the prep on this ahead of time, then wrap it up tight and put it into the fridge until you're ready to put it into the oven or bbq. If you do this though, you'll need to put the pie into the bbq (or oven) as it warms because if you stick your cold glass pie plate into a hot anything it'll likely break! That would suck! So, you would just need to watch the cooking time a bit. 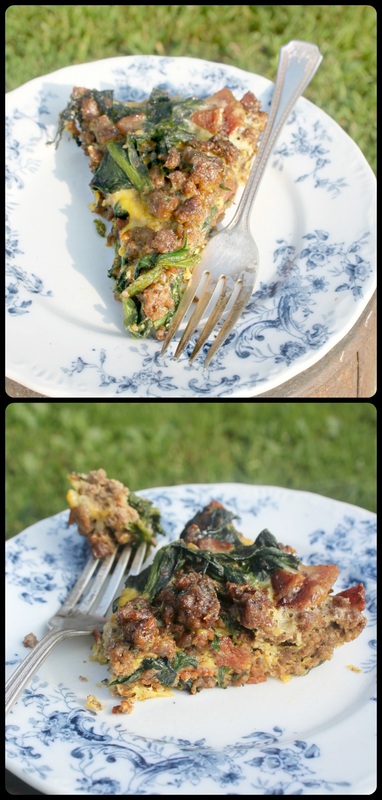
Well, that's it meat lovers!
I hope everyone has a great day!!! One needs to get creative when they have hens that are great layers! I love having eggs at hand whenever I need them for a recipe, or to give away as a super random, hillbilly-style gift to bring to someone, but at some point you just need something 'different' (well, different, but still using eggs!)! This is made with sweet potato, but can easily be made with regular potato, and there is no milk products in here either, so you can add cheese or milk or cream if you wanna. 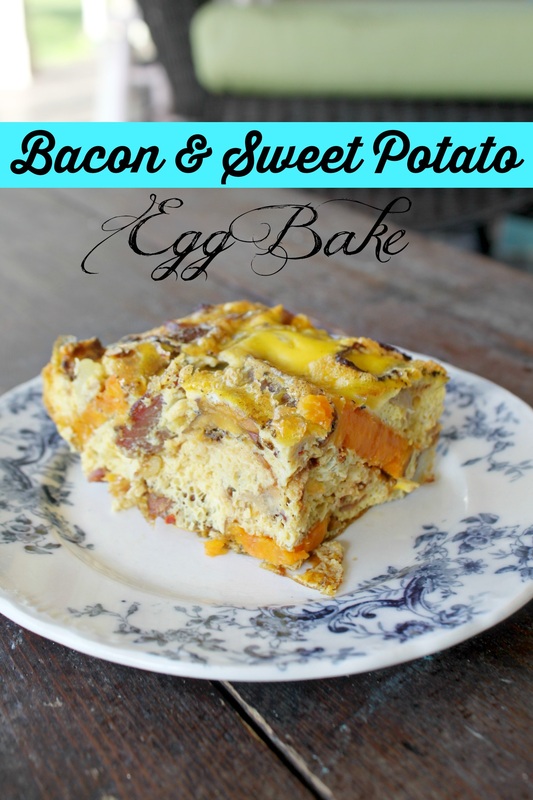 Bacon & Sweet Potato Egg Bake
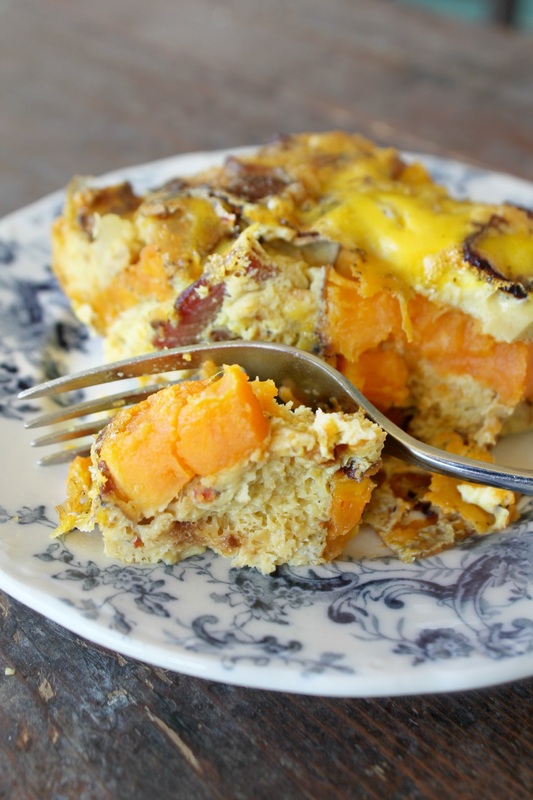 The last time I made this, I actually did half the pan with the recipe (and ingredients) above, and the other half with regular potatoes and cheese in the layers. The kids and my husband thought it was super tasty with the addition of cheese, and using regular potatoes.
So, make it how you would like, and enjoy it! These pancakes are a marvel! Gluten free, sugar free, dairy free, but really so good. When I first heard of them I thought, "yuk, sounds like a banana omelette!", but because I am me, I had to try them, and I was quite pleasantly surprised. Indeed indeed. 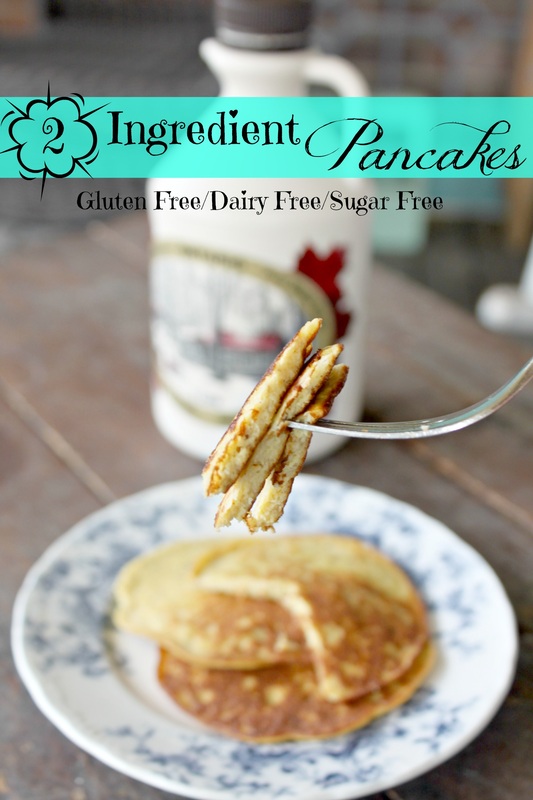 2 Ingredient Pancakes
Method:
 So, this may gross some of you out, but the day I made these to take pics for the blog, some McDonalds coupons showed up in the mail. I saw a picture for their McGriddle (basically a pancake with syrup right in it, made into a breakfast sandwich), and it gave me fond memories. When I was pregnant with my first, I loved those darned nasty things!!! Anyway, seeing the picture made me go, "...mmm, I kinda want something like that....but not really". During the week I eat 'clean'; just fruits and veggies, meats, nuts and seeds. But I thought, ya know, I'm going to try these pancakes as "bread" for a breakfast sandwich (well, I ate it for dinner...). All that to say that I made it, I ate it, I loved it! I added a splash of Franks Red Hot, and it was deee-lish! I didn't have any tomatoes (booo), but the egg, bacon, and lettuce were scrumptious! 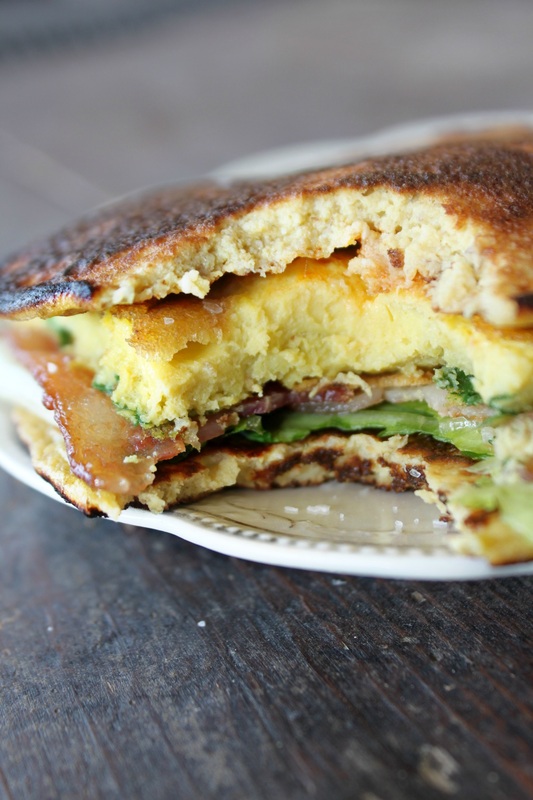 So, that's all I've got to say about the 2 ingredient pancake! Oh wait, that's not true! These are great as leftovers (in an airtight container in the fridge), and make a great snack cold with some nut butter spread on 'em.
O.k, now I'm done! |
Hi, I'm Amy-Lyn! 
I am the lady behind this here blog! I live in the sticks with my animals, my super handsome husband, and my
3 amazing kids! Here you'll find things from recipes (gluten-free, paleo, and strait up junk food!), DIY ideas, thoughts on raising a son with autism, and whatever else pops into my brain! : ) Read more about me by clicking here! Want to Stay Connected?
Find What
|
 RSS Feed


