|
This song is one that brings me back to Christmas, and what it all means. This song also sends me to a place I was a few Christmases ago before our life as we knew it began to fall apart.
Songs have a way of doing that; of bringing you back to a place, whether good or bad, and letting you take a look at where you've made it to. It gives you a chance to be thankful for how far you've come, or a chance to realize you need to get back to who you were. Don't let this season of hope, of joy, of family and friends, and of the greatest gift ever given, pass you by without stopping and reflecting on who you truly are, or who you wish you could be this Christmas and always.
2 Comments
Well, you may have realized by now that most of my g.f. recipes don't have any flour substitute in them at all. I do this because of the texture issues that come with the g.f. flour options. There are some exceptions though, like the pizza I made a awhile back-and these cookies are an exception too. They have so much flavour from the spices and molasses, and you put icing on them, and-yum! Gluten free Bob is your uncle! Ya know, Bob's Red Mill....wow, that was a bad joke....a very bad joke. I'm so sorry. Anyway, I did the dough up, and made 2 types of ginger bread yumminess-A cut-out type for the kids, and a lemon cream filled version for the grown-ups! 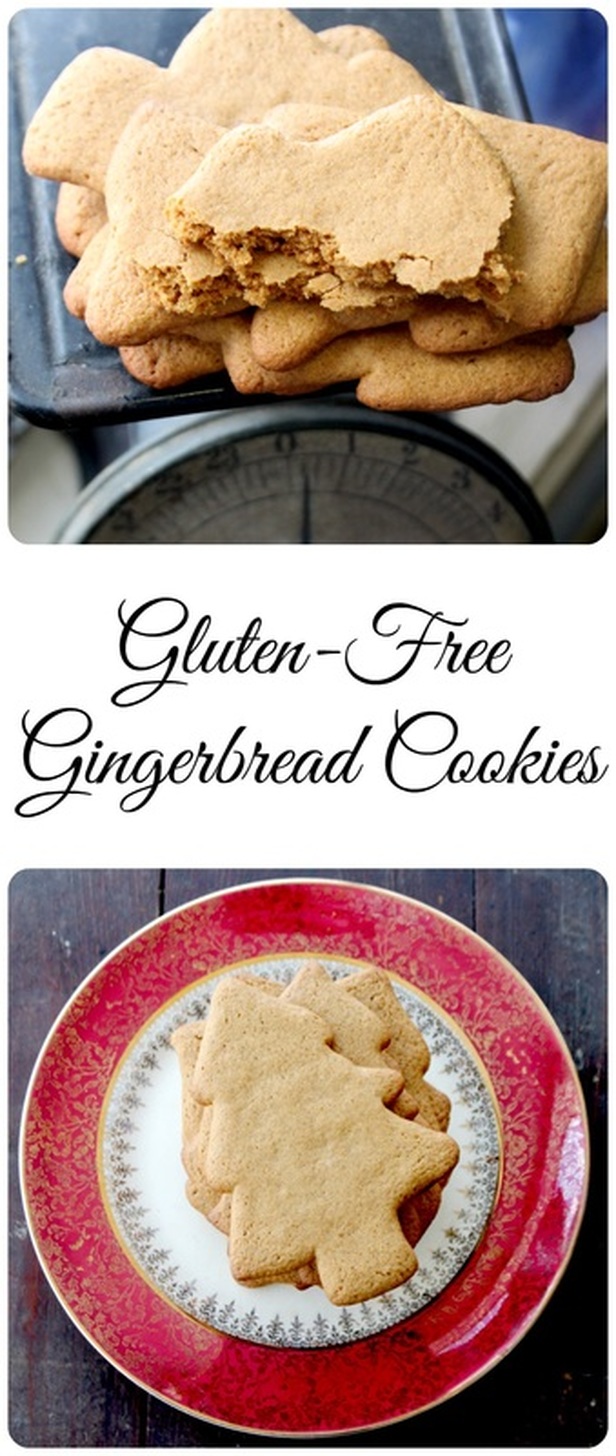 Gluten Free Gingerbread Cookies (Be warned! This dough needs at least one hour of fridge time before rolling, cutting, and baking!) Ingredients:
The Extra Ingredients for the lemon cream in the grown-up cookies: (ok, kids like them too!) : )
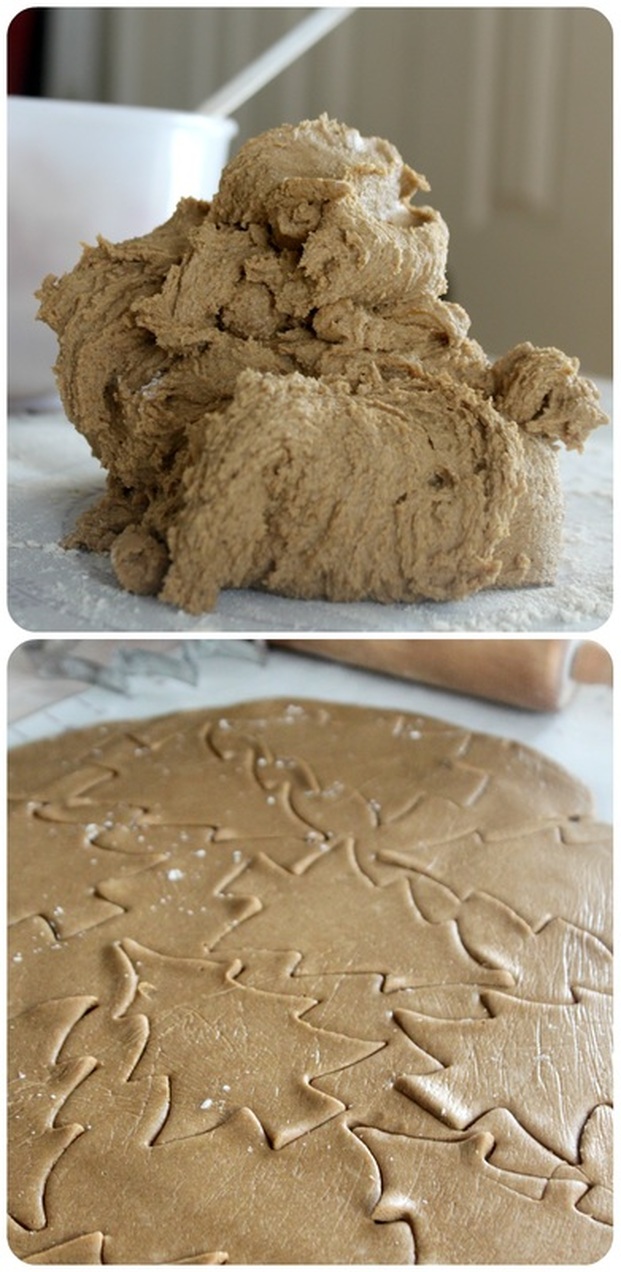
Method to the madness: 1. Mix together the flour blend with the spices, baking powder, and the salt. Set aside. 2. In the bowl of stand mixer (or with a hand mixer), cream together butter and brown sugar until a thick, about 30 seconds. 3. Add egg and 3tbsp molasses. Blend until combined. Be sure to scrape down the sides and bottom of the bowl with a spatula. 4. Add dry ingredients. Blend until a thick dough forms. The dough will be thick, but soft....it's hard to explain. You'll see when you get here! If the dough seems too dry, add an additional tbsp of molasses, and the 5th if it still seems too dry. 5. Place plastic wrap onto a large plate, and lightly flour the plastic wrap. 6. Turn the dough out onto the plate and plastic wrap, and pat down a little. Wrap up tightly, and refrigerate for at least an hour. The dough will be too soft if you try to use it right away! Trust me! ......after the dough is done chillin'...... 7. Preheat oven to 350°F. Remove the dough from the fridge and give it about 5 minutes to soften slightly. 8. On a very floured countertop, turn half of the dough out (if you plan on making the 2 different types of cookies). Place the plastic wrap you had the dough wrapped in, on top of your patted down dough (I like to have the plastic wrap on the dough to make rolling it easier without having to add too much extra flour to the dough in the rolling process). Using a rolling pin, a can of some kind, or pressing it down with your hands, spread dough to about 1/4 inch thickness. 9. Cut into shapes, and carefully (using a spatula) place onto a parchment lined baking sheet. 10. Bake for 9 minutes. For the Lemon Cream Filled Sandwich Cookies:
Lemon Cream Filling:
 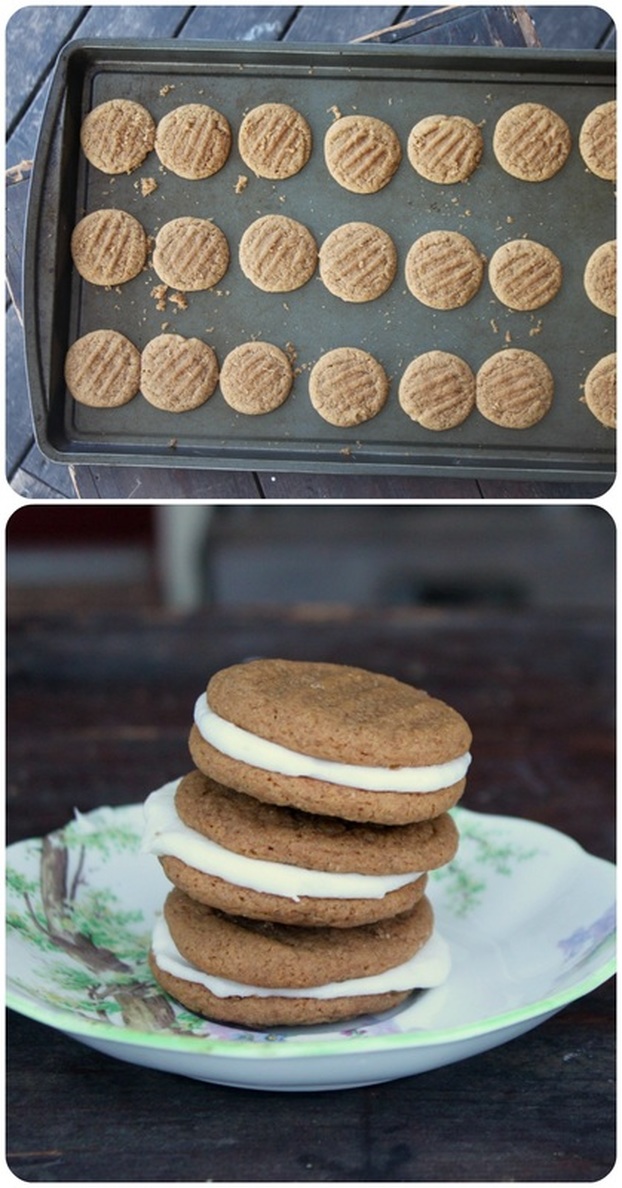 The cookies have a crisp outside, but a soft inside, and are just lovely. And, as all my Christmas treats are, these can be frozen in an airtight container and taken out as needed! I hope you whip up a batch! As soon as it gets colder, I add at least one soup night to our weekly menu. I love soup! Here's a sweet potato and carrot soup recipe my beautiful sister posted on her blog, "The Good Kind of Crazy". You can't have enough soup recipes for our long Canadian winters! 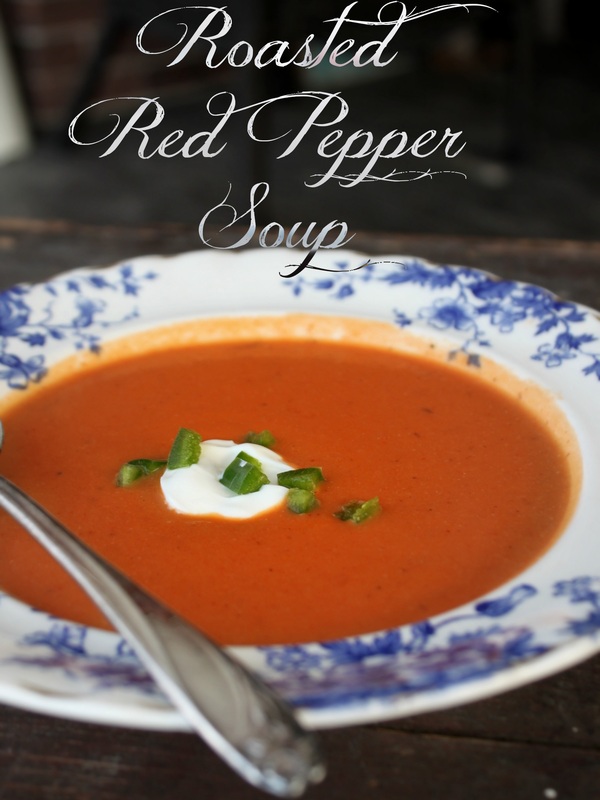 The roasted red pepper soup I make uses my cream soup base, which is made out of cauliflower. The original recipe is here , but I've also included it in the directions below.  Roasted Red Pepper Soup Ingredients
Method 1. Heat oven to 425 degrees F. 2. Line a large baking pan with aluminum foil or parchment paper, and put the peppers onto the pan. 3. Toss cauliflower, and quartered onion with 2 Tbsp olive oil in a baking dish. Sprinkle with salt and pepper. Place garlic heads, cut side up, into the cauliflower pan, and drizzle with olive oil. 4. Place the peppers on the top rack, and the cauliflower on the bottom rack, and roast for 45-55 minutes. You'll know the peppers are done when they are black almost all over, and the cauliflower pan will be done when the cauliflower is soft, but more importantly, when the garlic is properly roasted (it will be popping out of the skin) 5. Once done in the oven, take out, place the peppers into a bowl, and let cool slightly. 6. Once the cauliflower mix is cool enough, squeeze the garlic out of the skin into a blender, and add the cauliflower and onion. Add as much of the stock as you need to blend to a good consistency. If you have an immersion blender, just put all of this into a large pot, and blend it up! 7. As that is blending, cut the peppers in half, remove the stem and the seeds, and peel off the skin (it will mostly come off easily, but there may be some tricky spots). And watch out for the pepper juice in there, it can be hot! Save this pepper juice though! 8. Now, put the blended cauliflower into a medium sized pot, and put the roasted peppers into the blender. Add what pepper juice you have, and some stock if needed, and blend. 9. Once blended, add to the pot, and any remaining stock you may have. Add the paprika, and salt and pepper. Warm back up, and enjoy! Serves 4  I ate my soup with a dollop of sour cream, and some chopped green onions What is your favourite soup? I couldn't say what mine was....I have a lot of favourites!
Have a great weekend! There are so many mis-conceptions about Autism. We all know how hurtful it is to find out someone assumed something about you based on something they saw, heard, or interpreted. Why would be any different for a person with Autism? One serious mis-conception is that people with Autism are mentally retarded. The video below is one I have shared often, and I will share it for years to come because of the impact it has on peoples' view of those with Autism. Please take the 10 minutes to watch it...you will forever have a changed idea of Autism. Carly's story is so amazing, and I hope you took the time to watch the video. Carly's Dad said something so important in the video; he said he was horrified that all the years leading up to Carly being able to communicate, they talked about her like she wasn't there. What a terrible regret as her father, but think of how Carly felt all those years? There are some children on the spectrum who seem more functioning than others. But regardless, being treated like a real person, not just something taking up space in a room, will give an individual with Autism the chance to shine. And I think you may be surprised by their light.  Our shining Caleb and his beautiful sisters I am excited to share this yummy and simple recipe with you today! For starters, it is so delicious; a slightly flaky cookie, but once it hits your tongue it starts to melt. Yumm! 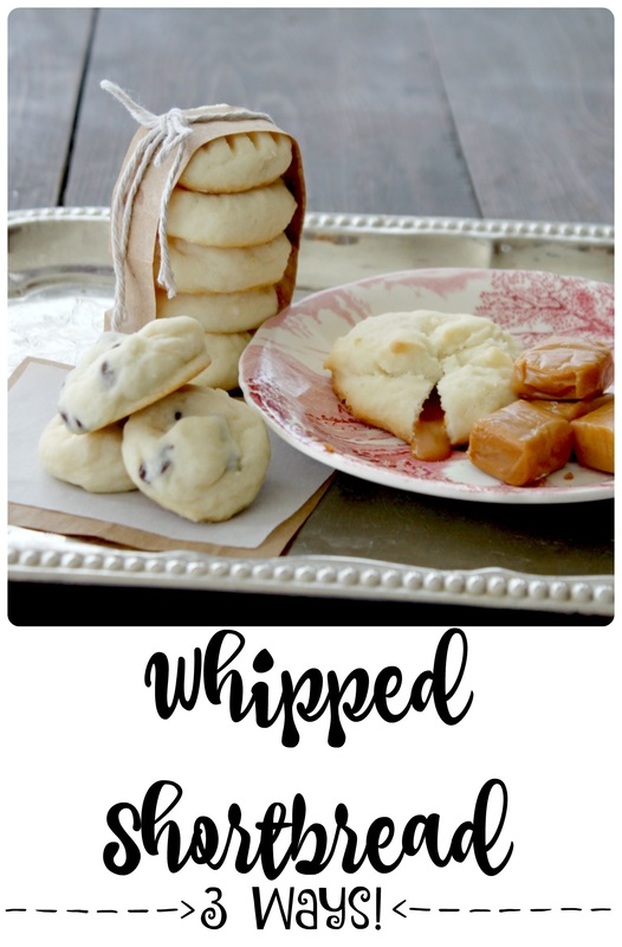 The best part of this whipped shortbread cookie recipe is that it freezes really well, making it a must bake and have ready in the freezer cookie for the Christmas season. Nothing like having a get-together to go to, and knowing you have a really yummy treat you can bring along but not have to sweat over that day. Today, I made 3 kinds: Regular, Caramel Stuffed, and Mini Chocolate Chip. 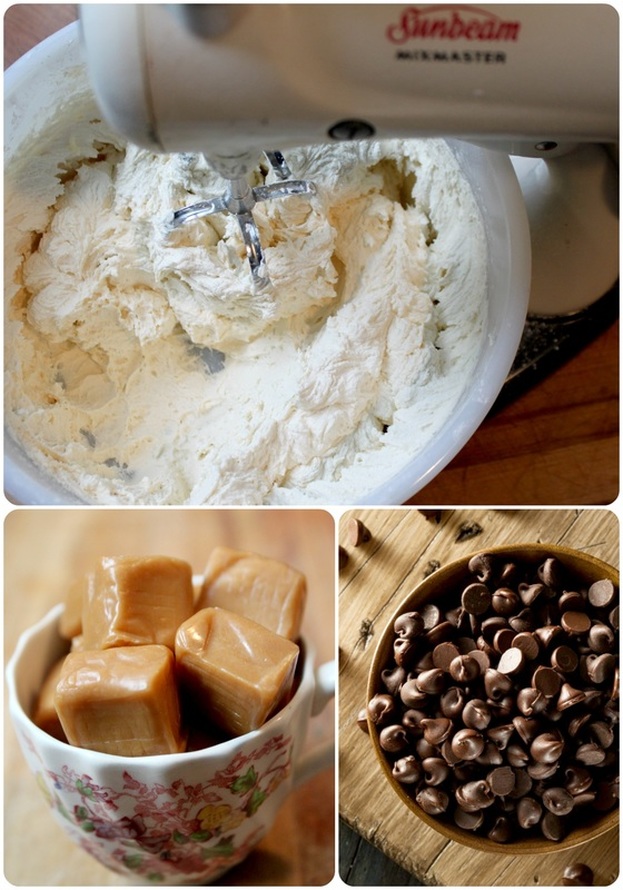 Basic Whipped Shortbread Ingredients:
* If you have a stand mixer you'll want to use it, if not, no worries, but you will need a hand mixer. For the special ones I made I also needed:
Method: I've highlighted each baking method
Don't cook these little darlings until they are golden all over! Well, unless you enjoy super dry, over baked cookies.....You just want a pinch of golden on the bottom, that will ensure these stay buttery and perfect! To freeze these, simply place into an airtight container, separating each cookie type with parchment or wax paper. Then, when you need them, take out what you need and leave at room temp until thawed, and plate/box up as needed for parties or gifts! 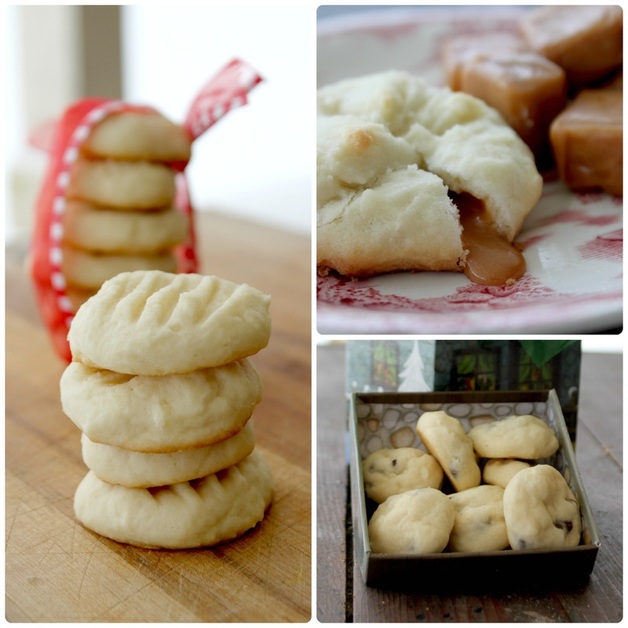 Confession-that oozing caramel one looks good, and it was good, but if the caramel cookies crack open during baking they aren't the best for freezing anymore. There are a lot f different add-ins you could do with these. For instance, instead of vanilla, you could add lemon juice, and grate some lemon peel into them. Or, you could stick a Toblerone triangle on top before baking. Or how about Earl Grey Whipped Shortbread? They are amaaaaazing! Don't be fooled though, these cookies are wonderful enough to stand up on their own! Happy Christmas baking! Yesterday I posted about the cake I made for my daughters party. Today I want to share some photos from the rest of her party, but mostly my thoughts on birthday celebrations. Some people feel that having a theme, and looking to Pinterest for party ideas is a waste of time, and too complicated (not that it's complicating, but more that it takes away from simple pleasures). I disagree.  I already had some pink plates, so I ordered some My Little Pony stuff online to be thematic and supplement what I had. Before the party started I was chatting with a Mom (and friend) who came early. I was telling her how I really feel there is a time and place to have simplicity, but then there is a time to go big. My kids birthday's are one of those big times to me! I shared last week how I have had 2 late term miscarriages. Going through that experience (twice) made me really appreciate the fact that I have 3 healthy, beautiful children whose birthdays I get to celebrate! I have 2 babies who's happy birthday song I never get to sing, and whose cake I never get to make, and who's hours of Pinterest hunting for their party I never get to do. So, am I doing big birthday's out of sadness for my loss? No, I am not. I feel that the birthdays I give to my children represent how glad I am that they are here. That being said, if one of my kids only wanted one friend over, and wanted to eat take-out pizza, and watch a movie, and do nothing else-I would do that too! The point of celebrating someones' birthday is to let them know they are loved, and for them to feel special! For instance, this pony party had hot dogs at it! Would I have picked hot dogs for a My Little Pony themed party? Nope! But my daughter wanted them, so we had them! 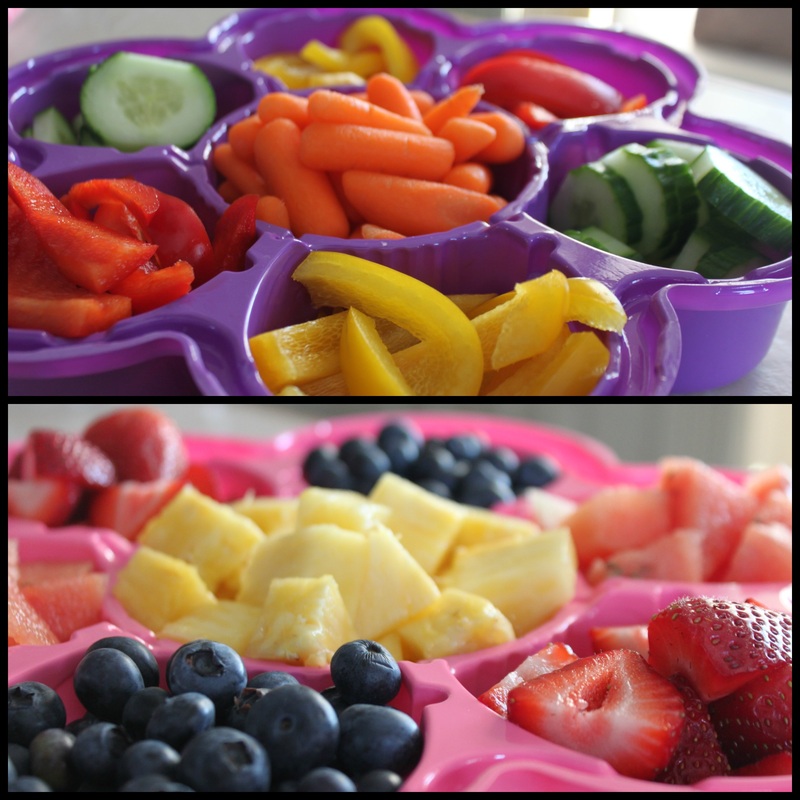 Colourful fruits and veggies. My Little Pony is all about rainbows! My personality type also plays into this in that I enjoy a theme, and having something very specific to work on. If you're not into themes and colour co-ordinating, that's fine! At the end of the whole thing, it is about a child who's day of birth you are celebrating! That's it! What form it takes changes based on you and your family, and your birthday child. 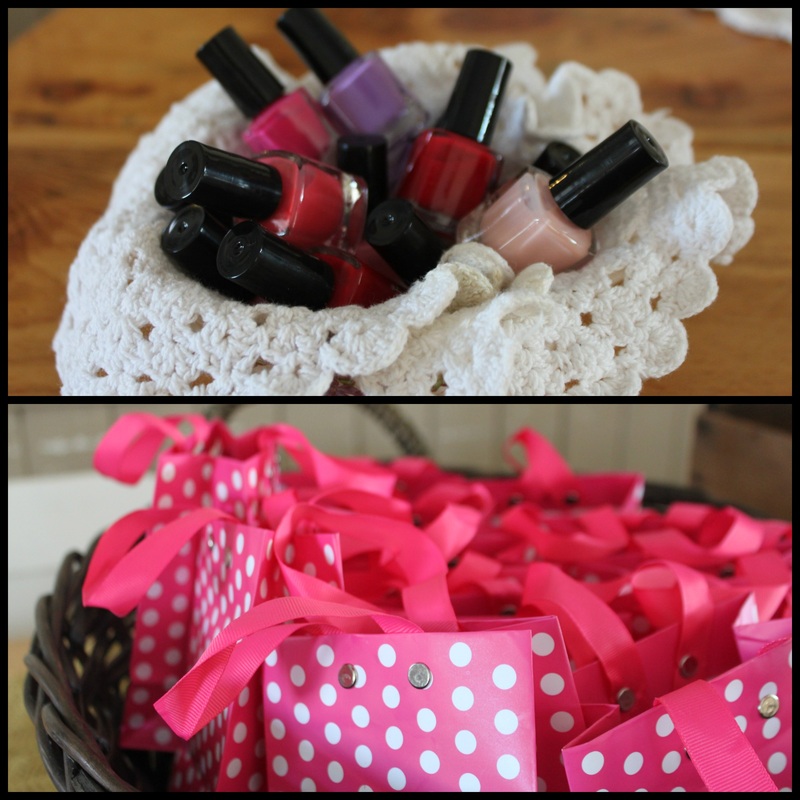 We painted the girls nails, and they got to add the polish they picked to their treat bags. In the bags were some MLP stickers, a MLP charm bracelet (both ordered online with the plates and cups), and some m&m's One thing I do, no matter how big or small of a party my child is having, is I wake them up on the morning of their actual birthday, and tell them the story about when they were born. I had a friend who's Mom did that, and I loved the idea. I also have video of me in the hospital, and my big belly, and of them right after they are born, and I show it to them. They really love it, and it is a really special moment (I usually cry a lot!). It lets them know that they are a treasure, and that I love them so much. 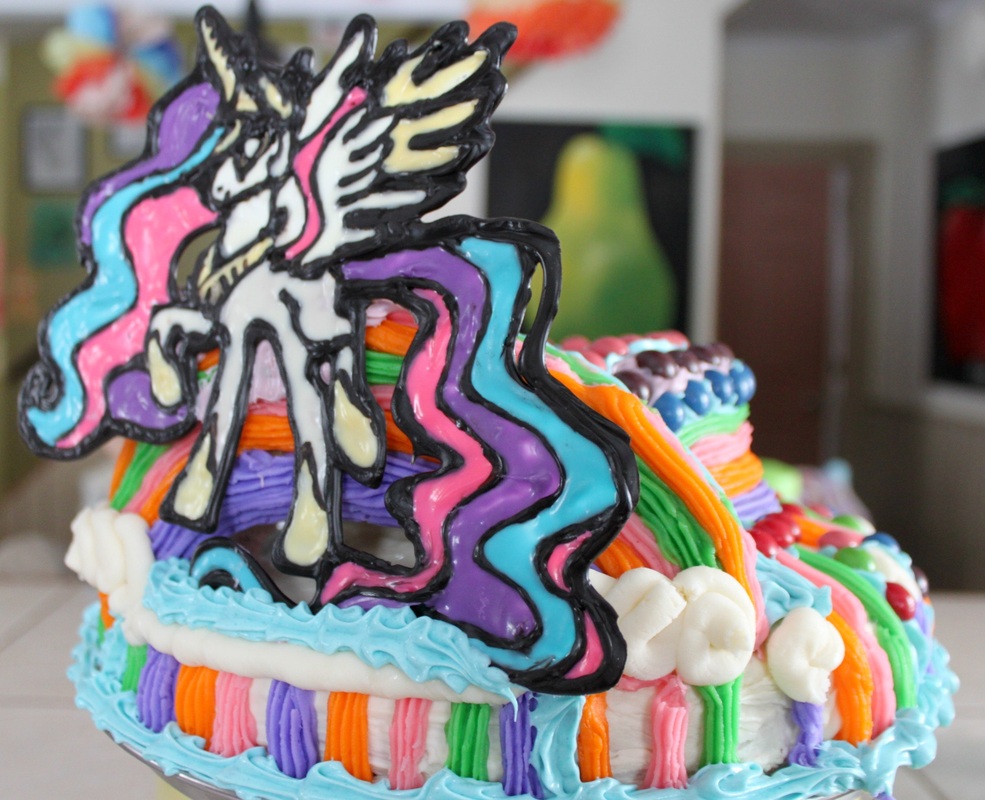 The Princess Celestia Cake Big or small birthdays are a hot topic right now, which way to you tend to go and why? I honestly feel that regardless of what the party looks like, it's about your motives, and your heart. Simple or themed/complicated, who is the party for, and why are you doing what you're doing?
My daughter turned 5, and asked for a Princess Celestia (from My Little Pony) cake. She actually wanted a huge cake that was an actual standing horse! I thanked her for her obvious faith in my abilities, then gently told her I wasn't that good! Gotta love a 5 year old! I did have a plan though, and I wanted to see what I could manage. It's fun to push yourself a little and see what you get!  The finished product Princess Celestia Cake: Ingredients:
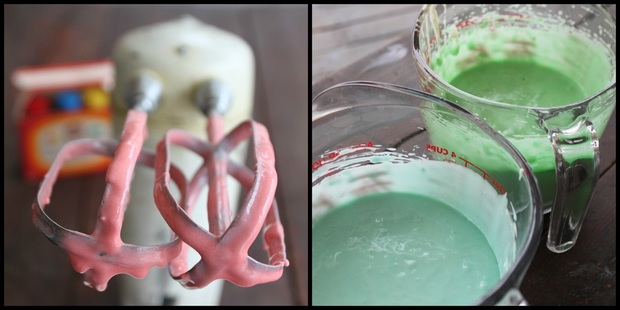 3 of the 4 coloured cake batters Method: So, to start with the cake! I had always wanted to do a multi-layered, multi-coloured cake (and had one huge failed attempt for this same daughters 3rd birthday)-but I was ready to try again! I made the 2 mixes, divided them into four bowls, and added a little food colouring to each and mixed 'em up. 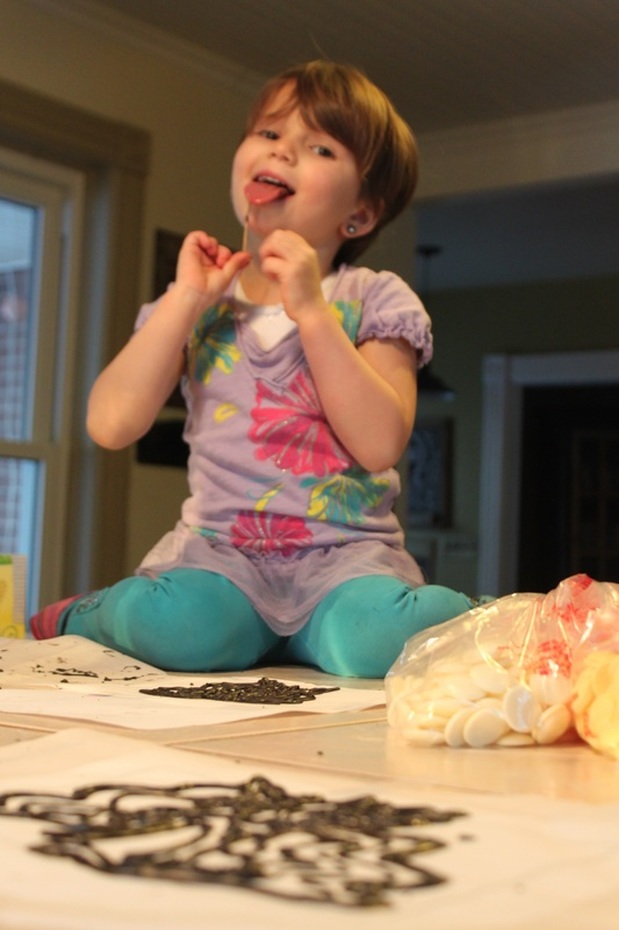 Getting some "help", and encouragement, from the birthday girl. I baked them 2 at a time in round spring form pans. Once they were completely cooled, I put wax paper between each layer, wrapped it up tight in plastic wrap, and put them in the freezer! It was 6 days before her birthday! I like to get stuff done ahead of time, so freezing is a good option that keeps the cakes moist and fresh. 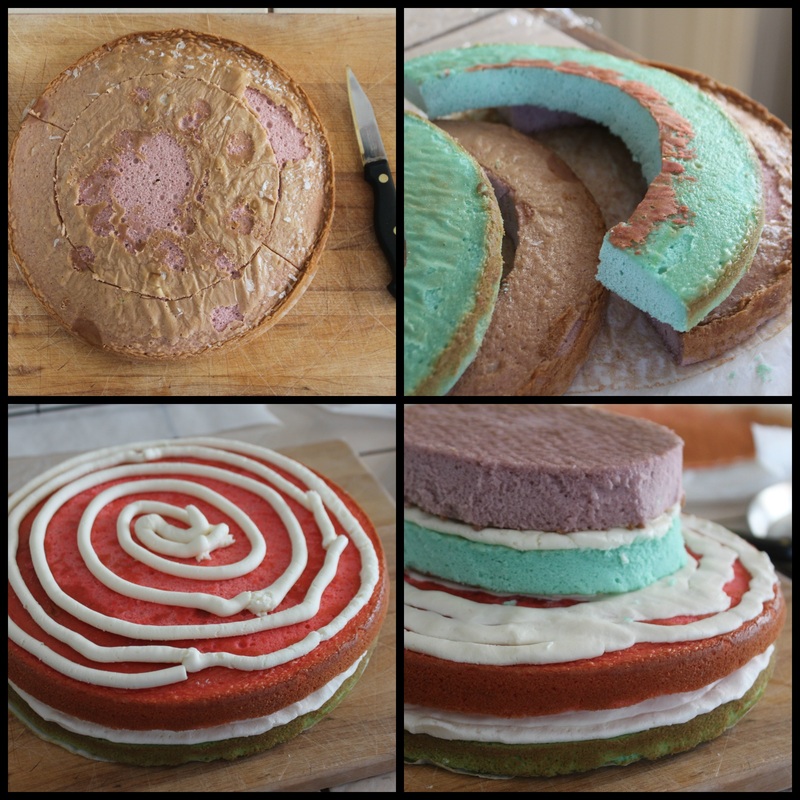 Cutting some of the cakes into smaller circles, the cut-off pieces, a spiral of icing between layers, and the layers iced and stacked! Two days before the party, I got the cake out of the freezer, and started phase 2: cutting the cakes to the right size. I left 2 cakes as they were, and placed a bowl on the other 2, and cut out around the bowl to have smaller circles. I didn't scoop and spread the icing on the cake because when you have this many layers you don't really need a lot of icing in between each. I just piped a spiral of icing on, and gently squished it down to cover. 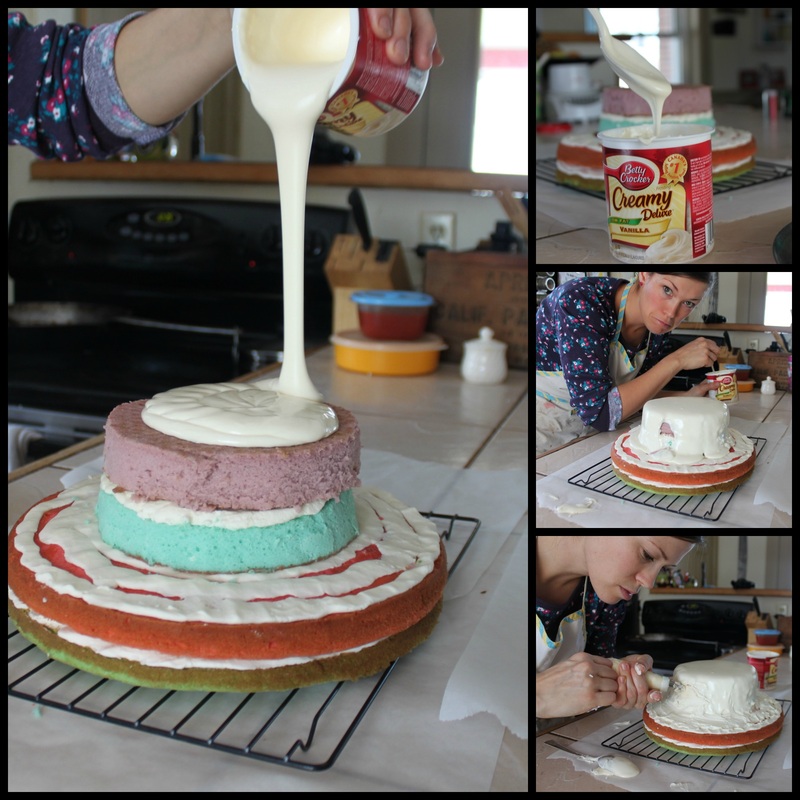 Pouring the warmed icing on the cake, and fixing the bad spots. I use (and love using) fondant for the final icing on cakes. It gives them a really clean, professional looking finish. But recently (on Pinterest) I saw a cake decorator who would warm canned icing and pour it over the cake. She said it dries and sets like a fondant, and would be easier to use. However, it didn't work out 100% for me, so I had some lumpy spots, and a few spots where the icing skipped over, leaving holes! So, I had to fill them in using the icing I had in my piping bag. I was a smidge annoyed, but not too worried because I knew I was going to pipe more icing with colour on the cake, and could hide the bad spots! 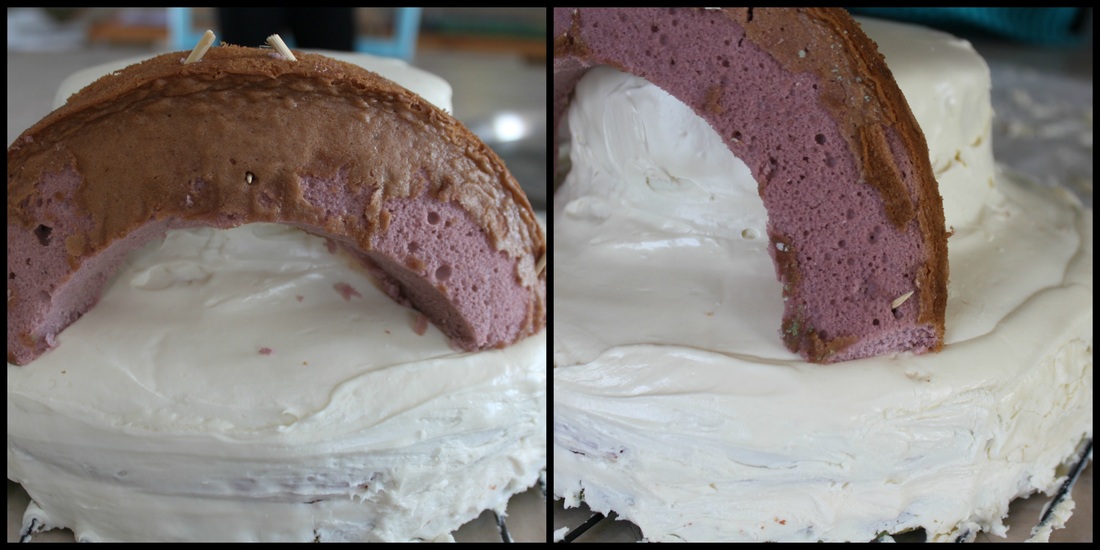 I used one of the pieces I had cut to make a rainbow on the cake. I secured it with toothpicks and halved skewers.  Ziplock bags of icing, and the cake almost finished. Next I divided my white buttercream into different bowls and coloured them. My only thought was rainbows, so, I went with that, and tried to cover the lumpy "fondant" spots, and make everything look good. P.S., by "look good", you can clearly see that I mean "looks ok!". My piping skills are poor!!! Hahaha 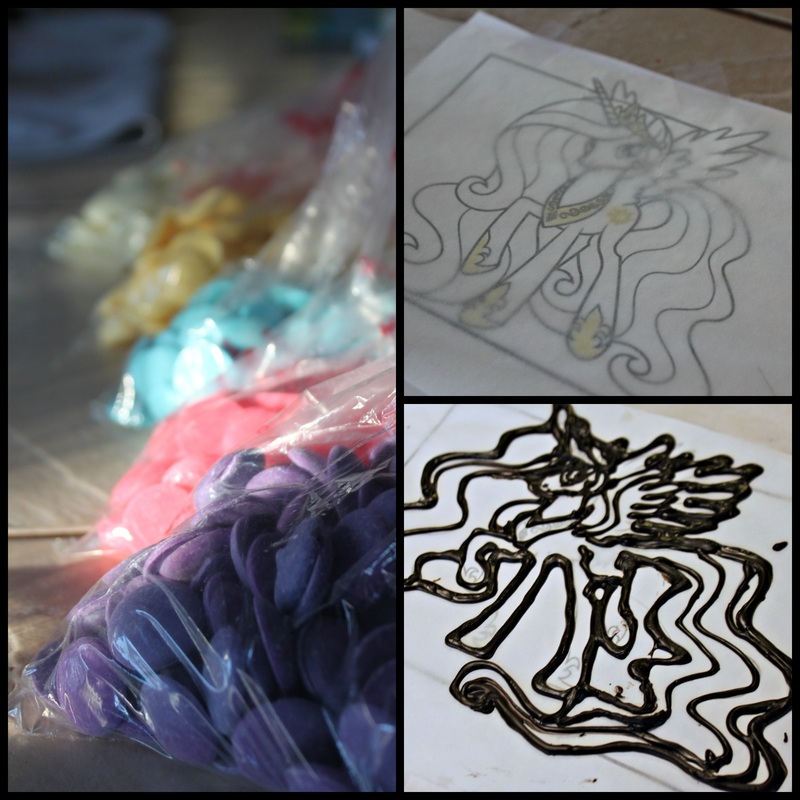 My Mercens Chocolate Melts, and the images I used to "trace". So....now I just needed Princess Celestia...oh boy! I am not really a good character artist, so I decided to print a picture of the pony, and tape it under a sheet of parchment paper. Then I just needed to trace it! I melted the Merken chocolate as needed-starting with the black. I let them cool a smidge after melting, and piped the outline of the Princess. I actually did a different picture first (you can see it in the photo above with Abby), but her face was too smooshy. So, I printed a different picture and started again! (the bottom right picture {above|, and below). 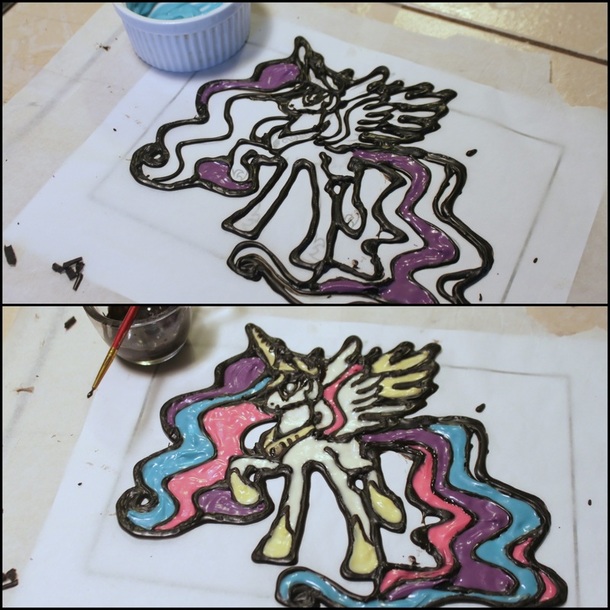 Painting with chocolate Then I used (clean, brand new) paint brushes to paint the colours into the outline. Once I finished with the colour, I did the black chocolate again to clean up the lines. Now I just carefully put the wax paper into our back room which is cold, and let it really cool and set. I had originally intended to find a way to make her stand on top of the cake, but it seemed pretty risky. So, I decided to just stick her in front of the rainbow. Yes, it would hide the rainbow, but the most important part (to my daughter) was Princess Celestia, so I went for it. I was glad I did, it made her very secure to the cake. I did the finishing touches, like adding Skittles candy, and piping blue around the cake edge, and was done (finally!). 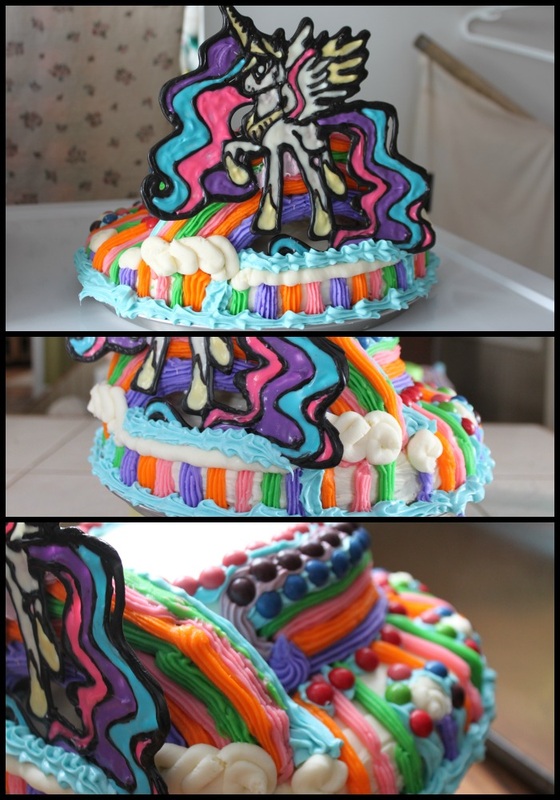 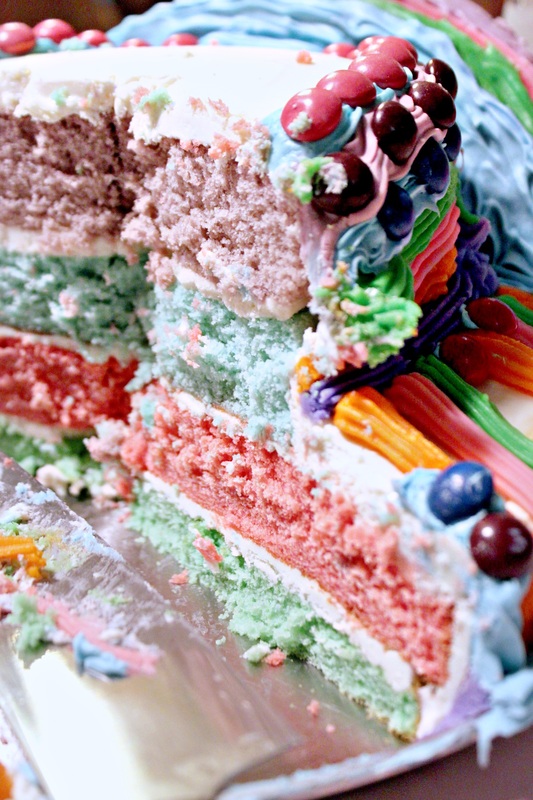 I was despairing at one point about the chocolate and making the princess. I told my daughter that I wasn't happy with how it was turning out, and she looked at what I had painted so far and told me it was "prefect!". That was the point after all, wasn't it? To make it perfect? Haha, gosh no! But to make my daughter happy? You bet!  I'll talk more about the rest of the party, and my thoughts on birthday's, tomorrow. See you then! My gluten free son hates (HATES!!!) store bought gluten free granola bars. That's legit, they are pretty nasty! Then we discovered that one bar from Nature Valley was wheat free (yes, I know they process it on the same machines as their products with wheat-but I needed something for this seriously picky kid to eat, especially at school!). Now, for no reason, he doesn't like them anymore! Yikes. Well heck. I decided to make my own for him. With Pinterest and the internet in general, it's easy to find recipes to suit. I ended up using a combo of recipes (basically what I liked from a few), and making these. Picky, picky Caleb likes them (for now), they are soft and chewy, not too sweet, and they were easy to make. 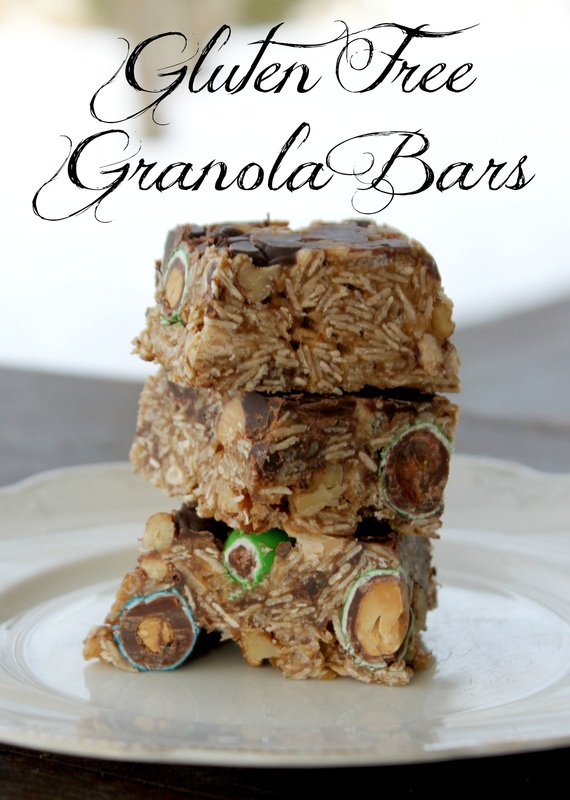
Homemade Granola Bars (makes a 9x13 pan) Ingredients: 2/3 Cup packed light brown sugar 1/2 Cup nut butter (I used almond butter, but peanut butter would work, and hazelnut butter would be delightful) 1/2 Cup honey 1/2 Cup unsalted butter 4 Cups quick oats 1 Cup gluten free cereal (I used the g.f. brown rice Rice Krispies) 2 cups "mix". Use chopped mixed nuts, butterscotch chips, chocolate chips, raisins, m&m's-whatever you want! I even used ground flax meal in this "mix". 1/2 cup semisweet chocolate chips (optional*) Method: 1. Put the brown sugar, nut butter, honey and butter in a medium-large sized pot over medium-low heat, stirring frequently. 2. Bring sugar mixture just to a boil and then continue cooking for an additional 2-3 minutes stirring constantly, or until sugar dissolves. 3. Stir in oats and cereal until evenly coated. 4. Let mixture cool for 5-10 minutes. 5. While the mix is cooling, put parchment paper into a 9X13 baking dish (you can halve the recipe, and use an 8x8 dish). Make sure you have some parchment overhang to use as handles to pull the bars out to cut them. 6. *Sprinkle 1/2Cup chocolate chips into baking dish. This is optional, but will make the tops of the granola bars nice and chocolate-y (aka-picky child bribery!). 7. Once mixture has cooled slightly, fold in "mix" and press into the prepared dish. If the cereal/oats mixture is too hot your chocolate chips will melt if you have them in your "mix", so let it cool a bit longer in that case before adding the "mix". 7. Place dish into refrigerator (or if it's the winter, set them outside!) and let bars set up for 1-2 hours. 8. Pull the bars out of the dish using your parchment handles, and gently flip upside down (if you put chocolate chips in the dish first, the bottom will be your top). If you didn't put the extra chocolate chips into the dish first, just pull the bars out. Set on a cutting board. Cut into bars! 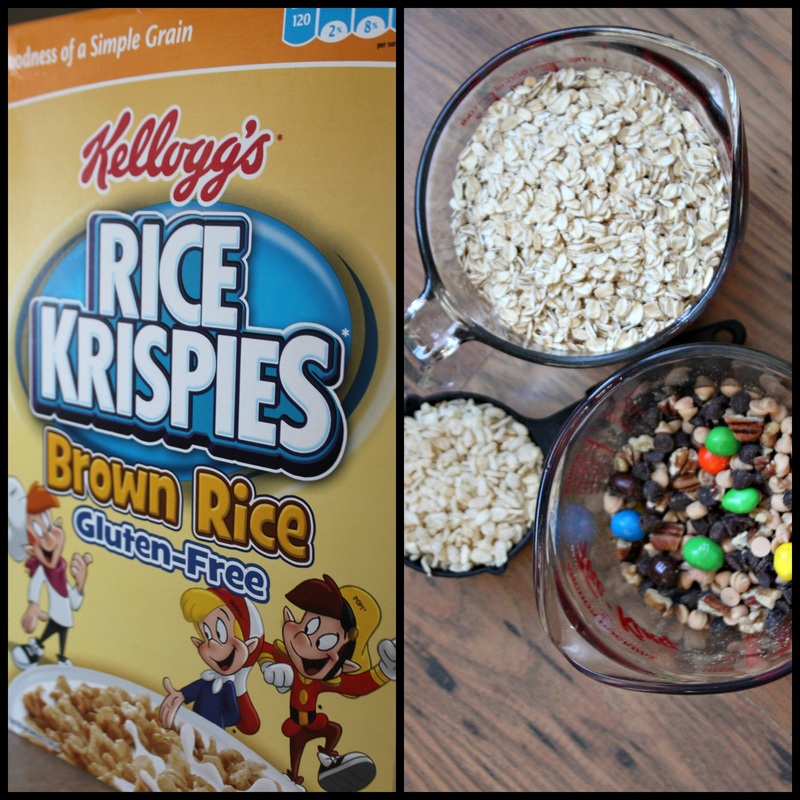
Dry ingredients
I cut the bars into a size that fits into certain plastic containers I have, so that I know they will fit for school lunches with no litter. For general storage, place them all into an airtight container. I keep mine in the fridge to pull out as needed, but they taste better at room temp. 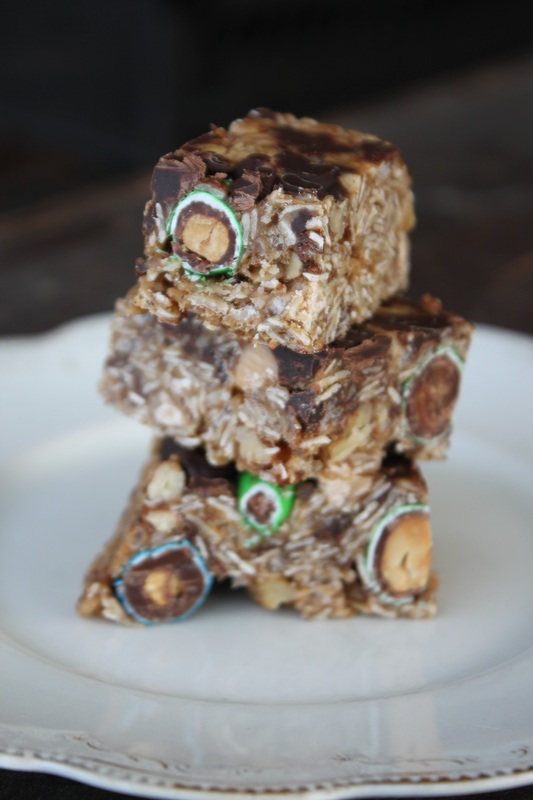
What would you put into your "mix" for these granola bars? Make a batch this weekend for and tell me what you added.
I am so pleased to say that today's post was written by none other than Caleb's amazing E.A (Educational Assistant), Leslie! I write a blog post on Autism every Thursday, and was thinking how I wish I could really pick Leslie's brain about her day to day with Caleb at school. Then, a better thought came-maybe she would be willing to write the post for me?!? She was willing, and I am so glad. 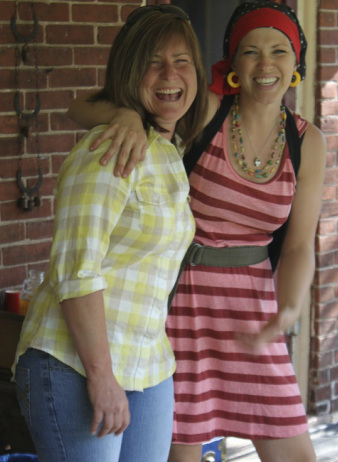
I am using this fantastic picture without Leslie's permission. :) I'm the one dressed as a pirate though, so I don't think she'll mind!
From Leslie: As a parent, you send your child off to school in the trusting hands of his or her teacher. As a parent of a child with Autism, you send your child off to school in the trusting hands of a teacher, occupational therapist, speech therapist etc, etc. But most importantly (in my opinion), you entrust your child in the hands of their educational assistant (E.A.). You hope that your child will come home from school each day with new knowledge of reading, writing and math in their brains. But when it comes to Autism, you hope even more that your child can establish friendships, and that they fit in with their peers. An E.A. plays a crucial role in the development of your child academically as well as socially. 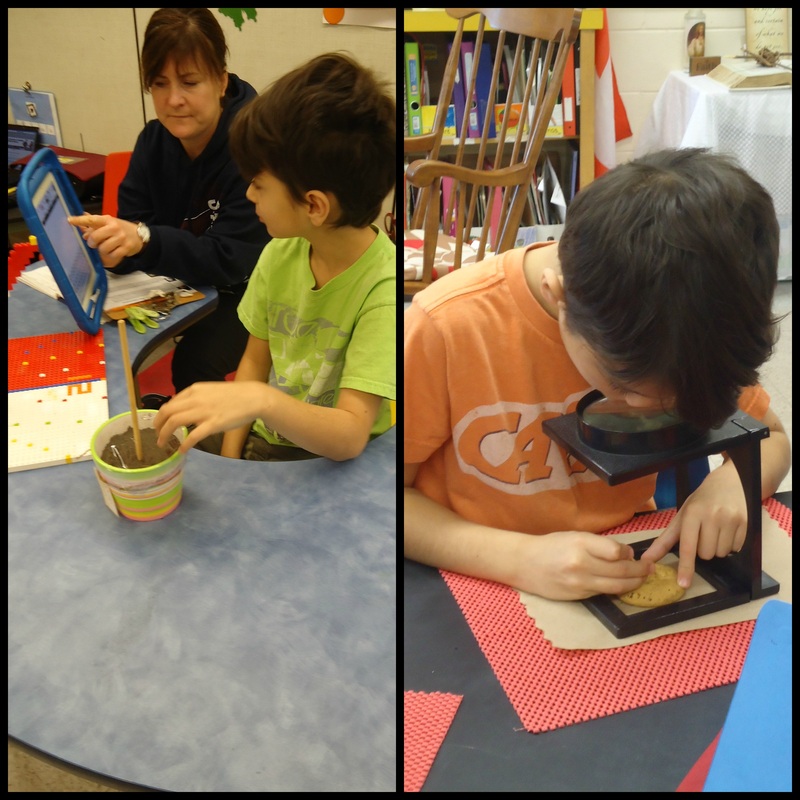
Science (and using the iPad to assist)
There is a delicate balance to providing support to students with special needs within the classroom. It can sometimes be too easy to smother a child and do everything for them as opposed to being extremely patient, as they take time to do it on their own. I first began working with Caleb three years ago. From the beginning, he has been a loveable, humorous, delightful child to work with, and he has certainly built a special place in my heart. I have watched him jump 14 levels in reading, learn to add and subtract and write stories about his favourite animals independently (just to list a few examples of his many accomplishments – I could fill this blog daily with Caleb stories…) 
Caleb examining a rock
Of all of the things that he has worked on, what amazes me most is his ability to be a good friend. He possesses the power to make his classmates laugh, ask them about their interests (this one was hard), feel empathy toward them and work collaboratively with them. These skills did not happen overnight and have not always been easy for him. In order to help Caleb (or any child with Autism) to do their absolute best, you must take their lead and go with it. For example, Caleb loves music, thus his ability to assess his moods is a 5 point scale based on coloured musical instruments (see photo below). He loves Buzz Lightyear, so when it is time for writing – you guessed it – a story about Buzz Lightyear! ( Hey, it works!) 
Caleb's feelings scale as it relates to music and colour. He will often say, "Caleb's face is VERY yellow trumpet"-in other words, he is getting annoyed-watch out!
The biggest attribute to Caleb’s success has been a plethora of support from home. This is a key element in any child’s success. Adam and Amy-Lyn have given 100% support from the beginning, which is a great feeling. I am completely honoured that they entrust their precious son with me each and every day. 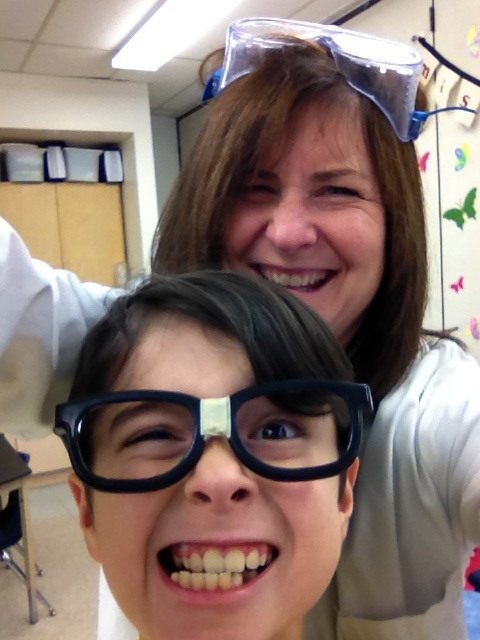
Caleb and Leslie being crazy scientists
Thank-you Leslie! We know that Caleb's life has become much brighter with you in it! You encourage him to do better, and reach farther, and he does, because you believe he can.
I've said it before, but if you challenge a child (special needs or not) in love, and with their best interest at heart, they will almost always meet that challenge. Believe in them, and see what that child can do! I love eggs, and eat them everyday in some form or another. I saw these devilled eggs on realhousemoms.com (sorry, I can't seem to make links live! I will keep trying!), and thought they would be yumm-0, and they are!  Bacon Jalepeno Devilled Eggs (2 person lunch sized. Adapted from realhousemoms.com) Ingredients: 3 Hardboiled eggs 1-2 Tbsp mayonaise 1/4 Jalepeno, seeds removed, diced. 1 pieces of bacon, cooked and crumbled Method: 1. Slice the hard boiled eggs in half, lengthwise and gently scrape the yolks into a mixing bowl. 2. Mash the egg yolks with a fork, then add the mayo, mash together until well blended. 3. Now, this is where the road divides: If you are going to use a piping bag to put the yolk mixture back into the egg white "cup", don't mix in the bacon and jalepeno (those yummy bits just get stuck in the opening of the piping tip). If you are just going to spoon it into the white, mix 1/2 of the bacon and jalepeno into the yolk. 4. Pipe or spoon yolk mixture into the egg white. Sprinkle with the jalepeno and bacon (if you didn't mix any into the yolks, be sure to gently press some into it so that each egg has enough bacon jalepeno goodness). 5. You can chill these and eat later, or in my case, eat them right away for lunch with a salad. 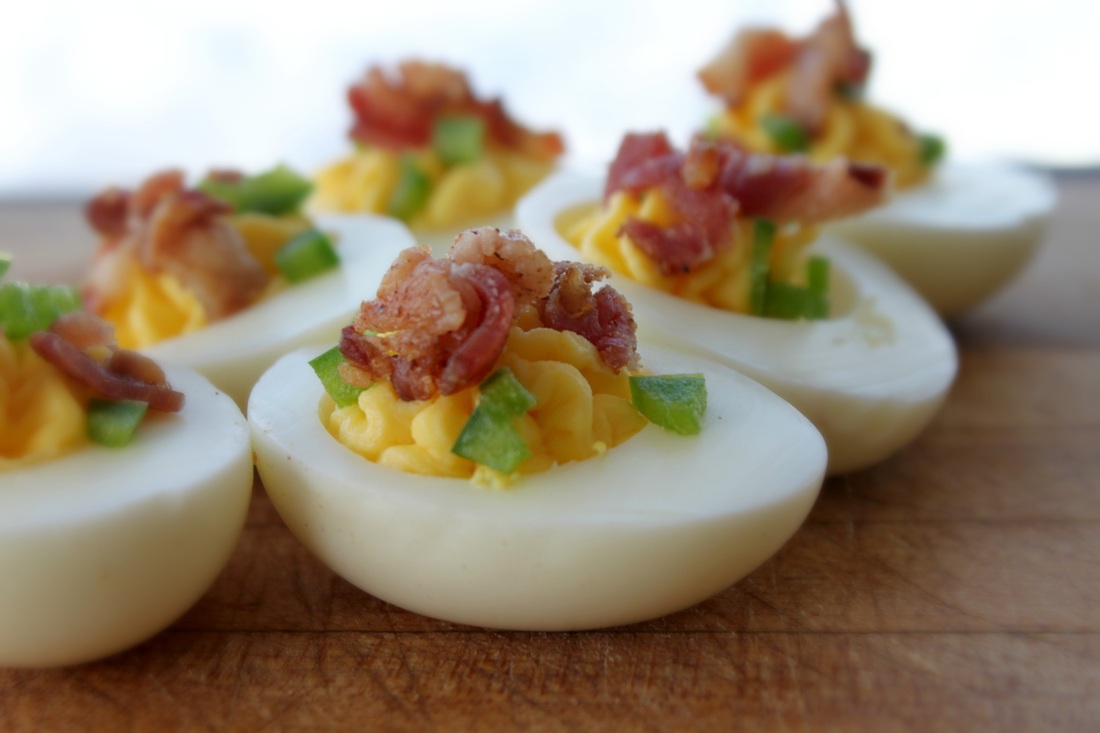 Yummy |
Hi, I'm Amy-Lyn! 
I am the lady behind this here blog! I live in the sticks with my animals, my super handsome husband, and my
3 amazing kids! Here you'll find things from recipes (gluten-free, paleo, and strait up junk food!), DIY ideas, thoughts on raising a son with autism, and whatever else pops into my brain! : ) Read more about me by clicking here! Want to Stay Connected?
Find What
|
 RSS Feed


